Code
According to the circuit, when the GPIO17 of RPi output high level, LED is turned on. Conversely, when the
GPIO17 RPi output low level, LED is turned off. Therefore, we can let GPIO17 output high and low level in
cycle to make LED blink. We will use both C code and Python code to achieve the target.
C Code 1.1.1 Blink
First, execute command into the terminal one by one. Then observe the project result, and analyze the code.
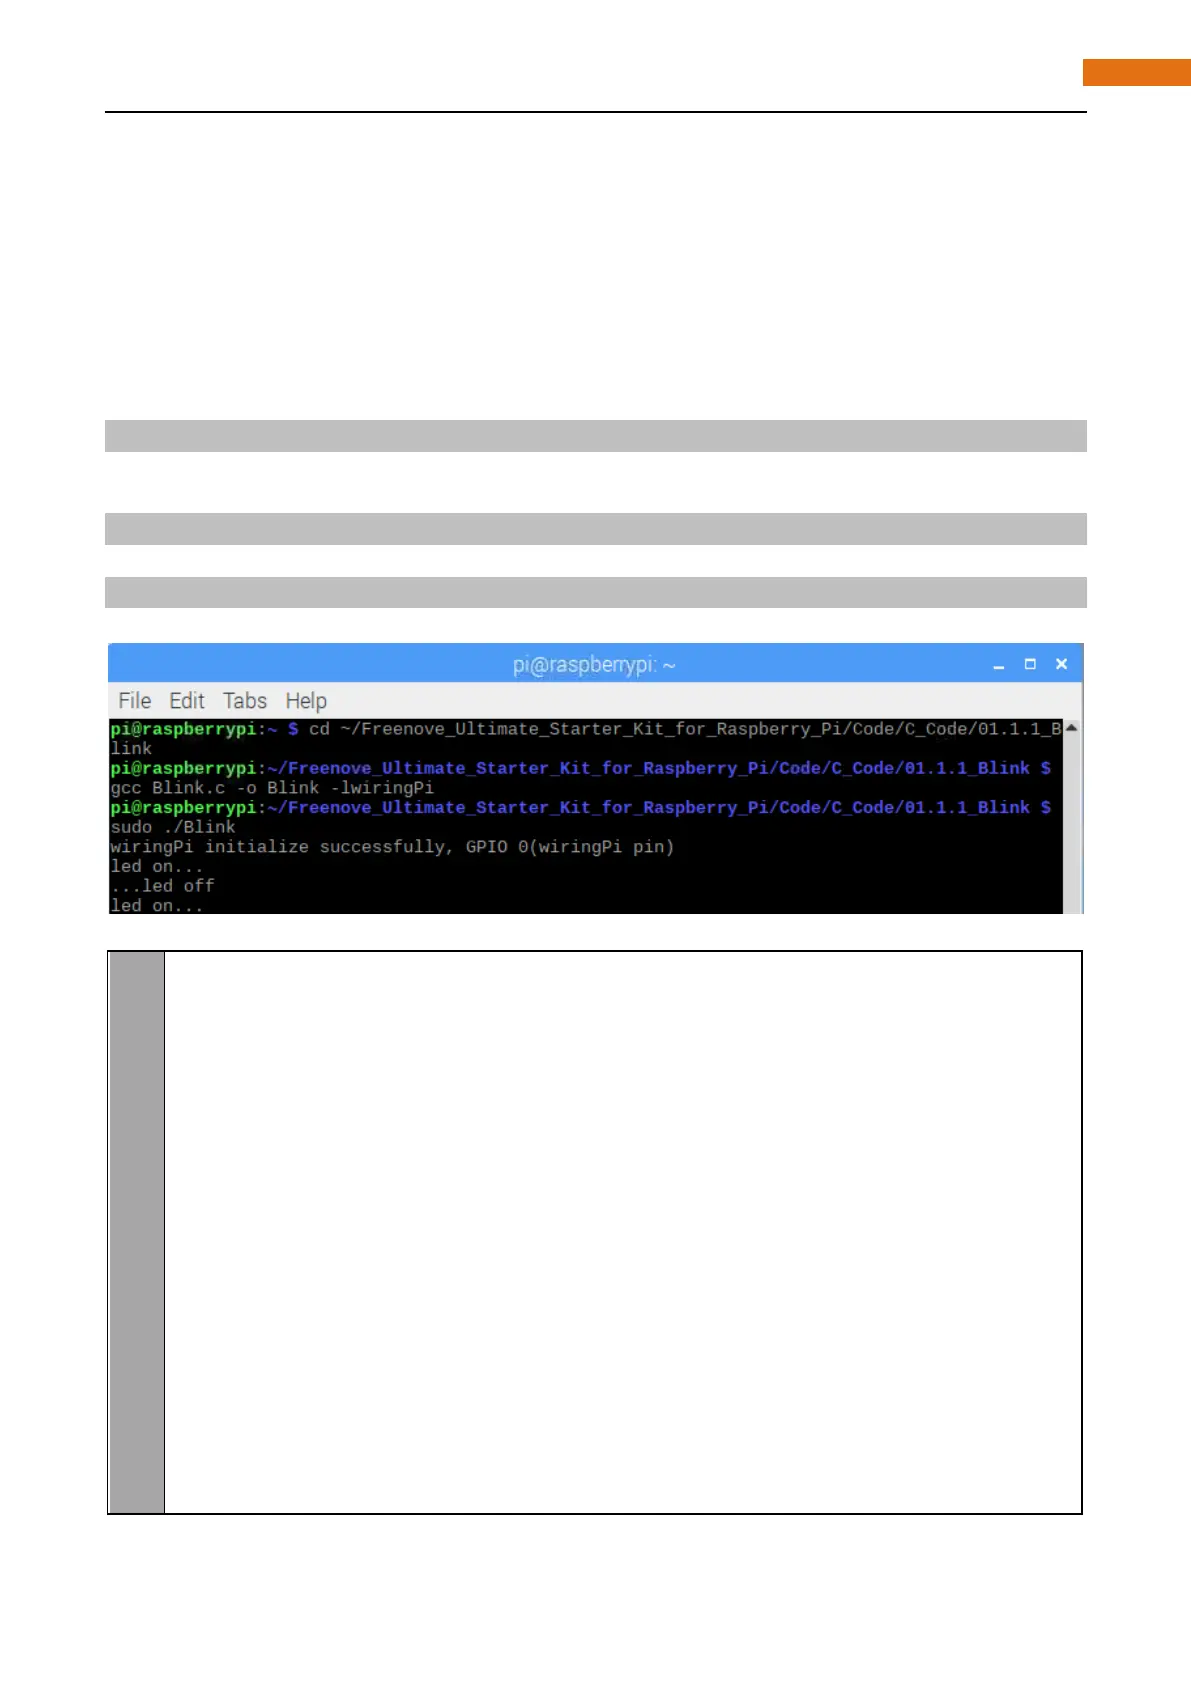
1. Use cd command to enter 01.1.1_Blink directory of C code.
cd ~/Freenove_Ultimate_Starter_Kit_for_Raspberry_Pi/Code/C_Code/01.1.1_Blink
2. Use the following command to compile the code “Blink.c” and generate executable file “Blink”.
“l” of “lwiringPi” is low case of “L”.
gcc Blink.c -o Blink -lwiringPi
3. Then run the generated file “blink”.
sudo ./Blink
Now, LED start blink.
You can press “Ctrl+C” to end the program. The following is the program code:
#include <wiringPi.h>
#include <stdio.h>
#define ledPin 0
int main(void)
{
if(wiringPiSetup() == -1){ //when initialize wiring failed, print message to screen
printf("setup wiringPi failed !");
return 1;
}
//when initialize wiring successfully, print message to screen
printf("wiringPi initialize successfully, GPIO %d(wiringPi pin) \n",ledPin);
pinMode(ledPin, OUTPUT);
while(1){
digitalWrite(ledPin, HIGH); //led on