2
Disconnect connections from the solar
module strings (+/-). Switch off the
battery connected to the inverter.
Wait for the capacitors of the inverter
to discharge (2 minutes).
Installation
CAUTION!
Danger due to insufficiently dimensioned DC cables.
Damage to the inverter due to thermal overload can result.
▶
When dimensioning the DC cables, adhere to the specifications in chapter
Permissible cables for the electrical connection on page 67.
1
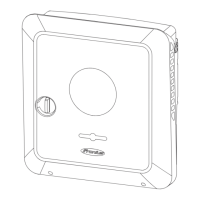
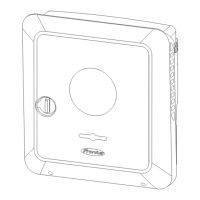
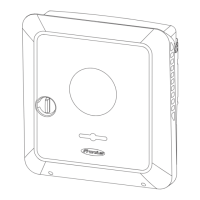
Loosen the 2 screws on the underside
of the housing cover by rotating them
180° to the left using a screwdriver
(TX20). Then lift the housing cover
away from the inverter at the bottom
and detach from above.
2
Loosen the 5 screws of the connection
area cover by rotating them 180° to
the left using a screwdriver (TX20).
Remove the connection area cover
from the device.
156

 Loading...
