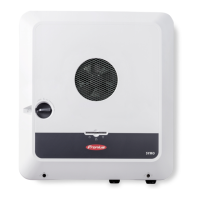
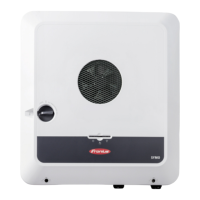
Stand by
WiFi Access Point
DATCOM
USB
Clock
The inverter establishes the WLAN Access Point. The WLAN Access Point stays
open for one hour. The IP switch on the Fronius Datamanager 2.0 can remain in
switch position B by activating the WLAN Access Point.
Installation via Solar.start App Installation via Web Browser
4
Download Fronius Solar.start app
5
Run Fronius Solar.start App
4
Connect the end device to the
WLAN Access Point
SSID = FRONIUS_240.xxxxx (5-8
digits)
-
Search for a network with the
name "FRONIUS_240.xxxxx"
-
Establish a connection to this
network
-
Enter password 12345678
(or connect end device and invert-
er via Ethernet cable)
5
Enter in the browser:
http://datamanager
or
192.168.250.181 (IP address for
WLAN connection)
or
169.254.0.180 (IP address for
LAN connection)
The start page of the Setup wizard appears.
22
 Loading...


