4
If only one inverter with Fronius Datamanager 2.0 is linked to a PC:
Insert the Fronius Solar Net termination plug into the Fronius Solar Net IN
and Solar Net OUT connection sockets
If other Fronius DATCOM components are connected to the network, be-
sides the inverter with Fronius Datamanager 2.0:
Insert the Fronius Solar Net cable into the Fronius Solar Net IN connection
socket of Fronius Datamanager 2.0
5
Connect the other Fronius DATCOM components
IMPORTANT! A Fronius Solar Net termination plug must be inserted into the
empty Fronius Solar Net connection sockets of the last Fronius DATCOM
component.
Starting for the
first time
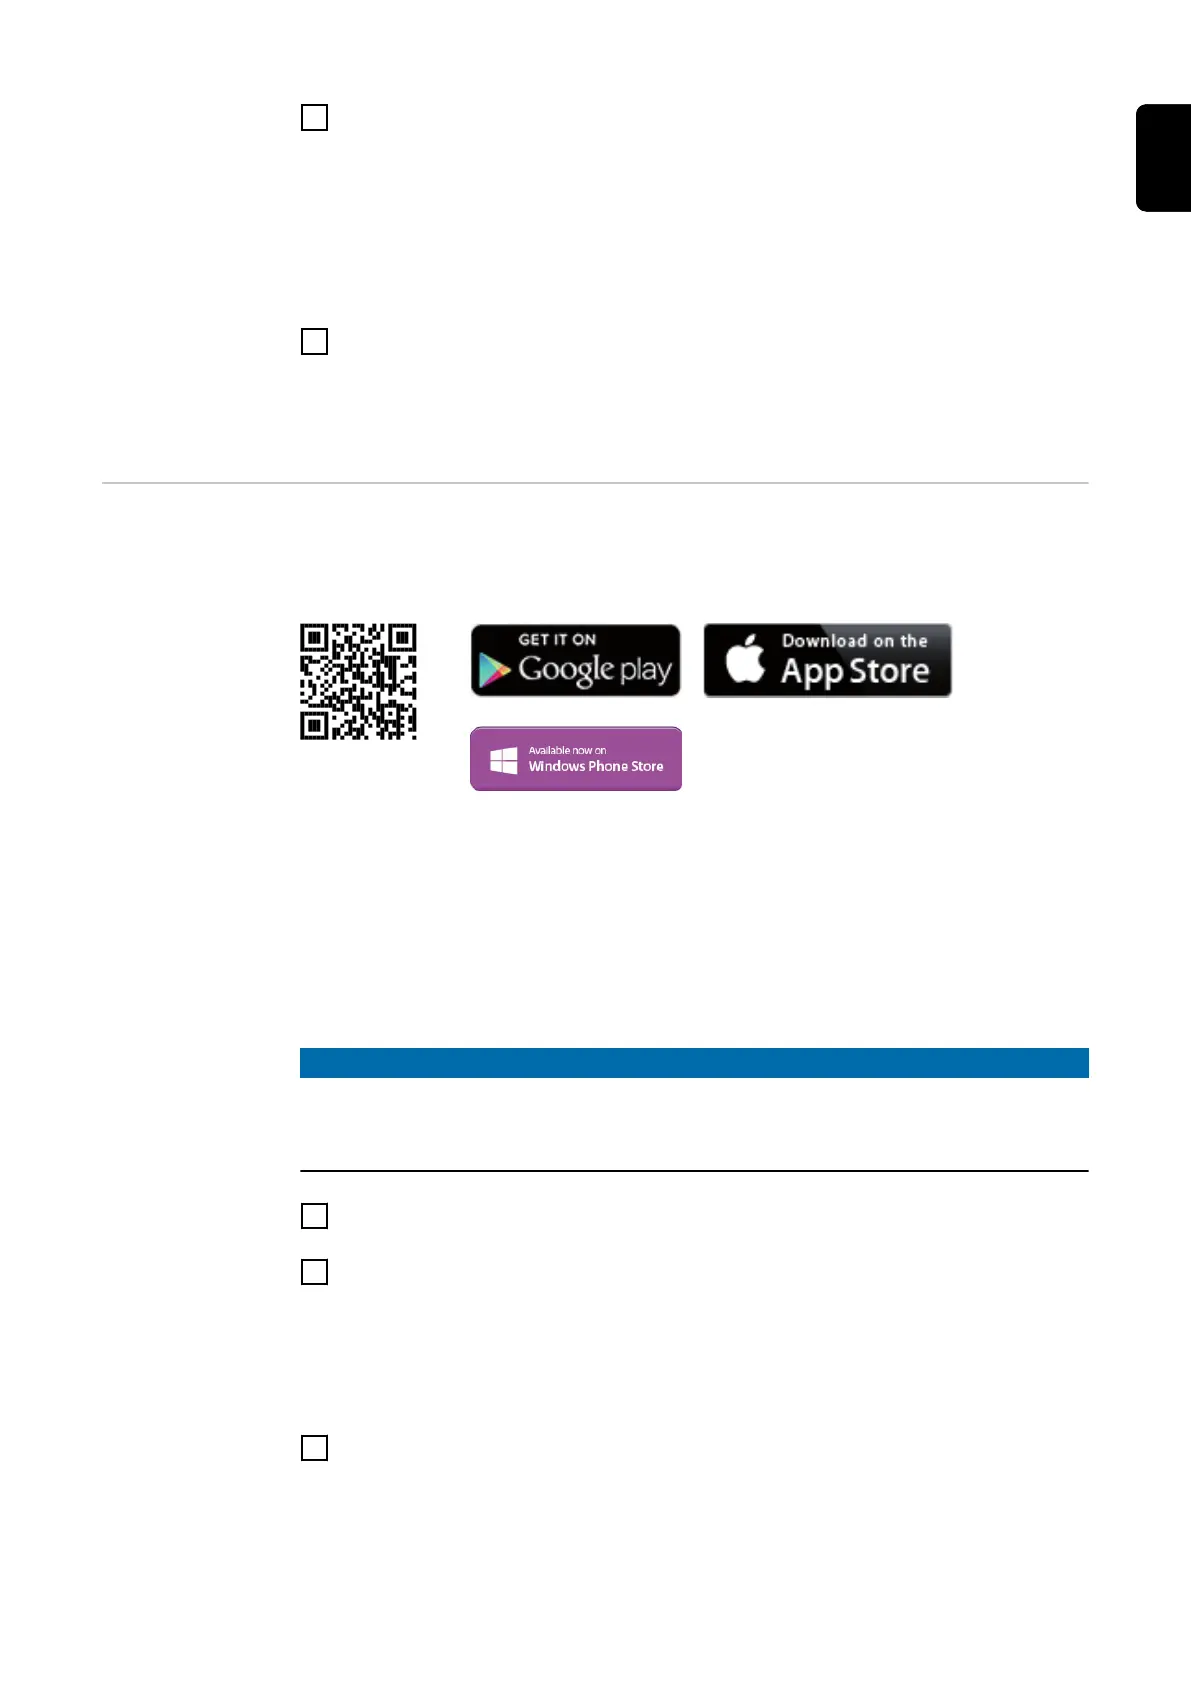
The Fronius Solar.start App makes starting Fronius Datamanager 2.0 for the first
time significantly easier. The Fronius Solar.start App is available from the relev-
ant app store.
To start Fronius Datamanager 2.0 for the first time,
-
the Fronius Datamanager 2.0 plug-in card must be installed in the inverter,
or
-
there must be a Fronius Datamanager Box 2.0 in the Fronius Solar Net ring.
IMPORTANT! "Obtain an IP address automatically (DHCP)" must be activated
for the end device in question (e.g., laptop, tablet, etc.) to establish a connection
to the Fronius Datamanager 2.0.
NOTE!
If the photovoltaic system only has one inverter, the following work steps 1 and
2 can be skipped.
Start the process with work step 3 in this case.
1
Connect the inverters with Fronius Datamanager 2.0 or Fronius Datamanager
Box 2.0 in Fronius Solar Net
2
When networking several inverters in Fronius SolarNet:
Set the Fronius Solar Net primary/secondary switch on the Fronius Dataman-
ager 2.0 plug-in card correctly
-
One inverter with Fronius Datamanager 2.0 = primary
-
All other inverters with Fronius Datamanager 2.0 = secondary (the LEDs
on the Fronius Datamanager 2.0 plug-in cards are off)
3
Switch the inverters to service mode
-
Activate the WLAN Access Point via the inverter's setup menu
21
EN-US

 Loading...