ASSEMBLY
OM 0408SB1184-A
13
TRACTOR PREPARATION
See Dealer for Tractor Preparation information.
SNOWBLOWER ASSEMBLY
The snowblower is assembled at the factory however snowblower kits must be assembled. Use the
present manual and lay out all parts for assembly. Separate bolts and nuts into various sizes. After
assembly, torque all the bolts according to the Torque Specification Table at the end of manual.
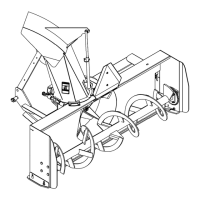
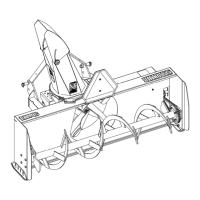
Installation of SMV Sign
(Figures 1-2)
1. Figure 1: Remove the 1/4" NC x 1" bolt, the
flat washer and the 1/4" nylon insert nut
(items 1-2-3) that fixes the sign (item 4) to
the frame. Save the hardware.
2. Figure 2: Install the sign support (item 1) on
the snowblower with two 1/4" NC x 1" bolts,
two 1/4" flat washers and two 1/4" NC nylon
insert nuts (items 2-3-4).
3. Figure 2: Using the hardware previously
removed, attach the SMV sign (item 5) with
two 1/4" NC x 1" bolts, two flat washers and
two 1/4" nylon insert nut (items 6-7-8).
4. Remove the black protective film from the
SMV sign.
Figure 1
Figure 2