4Direct Scan
134
Direct Scan
4
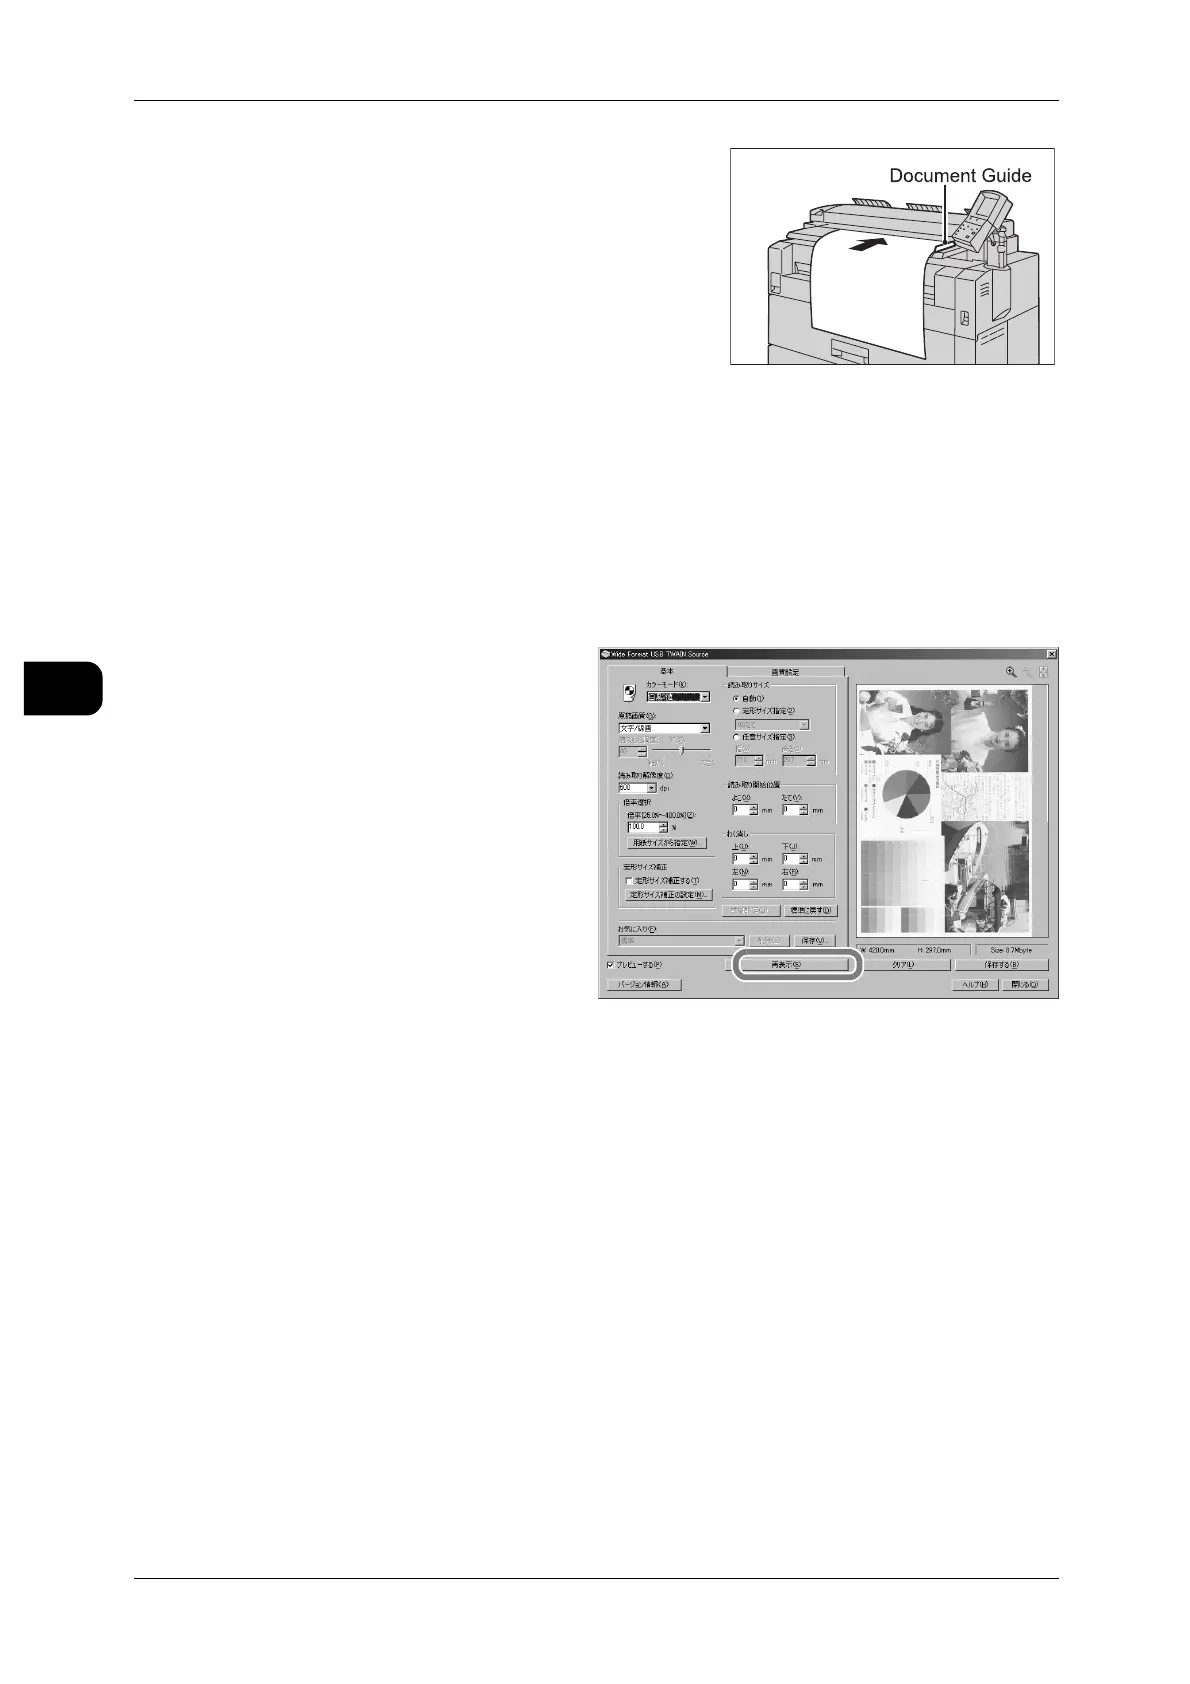
4 Set the document.
With the side to be scanned facing down, align
the document with the document guide, and then
insert it until the leading edge touches the inte-
rior of the machine.
Once placed, the document is automatically fed
in and then stops at a certain position.
Then the machine starts scanning automatically.
Adjusting Image Quality on Preview Screen
The preview screen displays the images of scanned documents before saving them.
You can confirm images by enlarging/reducing them on the screen.
1 Adjust or edit the images as
needed and then press [Reload].
Go directly to Step 2 if adjustment
or editing is unnecessary.
Reload
Re-displays the scan data saved
in the scanner memory. Images
adjusted or edited on the preview
screen are displayed according to
the adjusted/edited setting.
Save
Saves the preview images.
Clear
Clears all the data scanned and the preview images, and returns to the scan mode.
See • "Starting the Scan Job" (P.133)
2 Click [Save].
Exiting the Software
1 Click [Close] of the [Wide Format USB TWAIN Source] screen.
2 Exit the software from the [File] menu.
The software is closed.
 Loading...