36
Using the Flash
Use the built-in ash for additional lighting when shooting at night or indoors under low light.
1
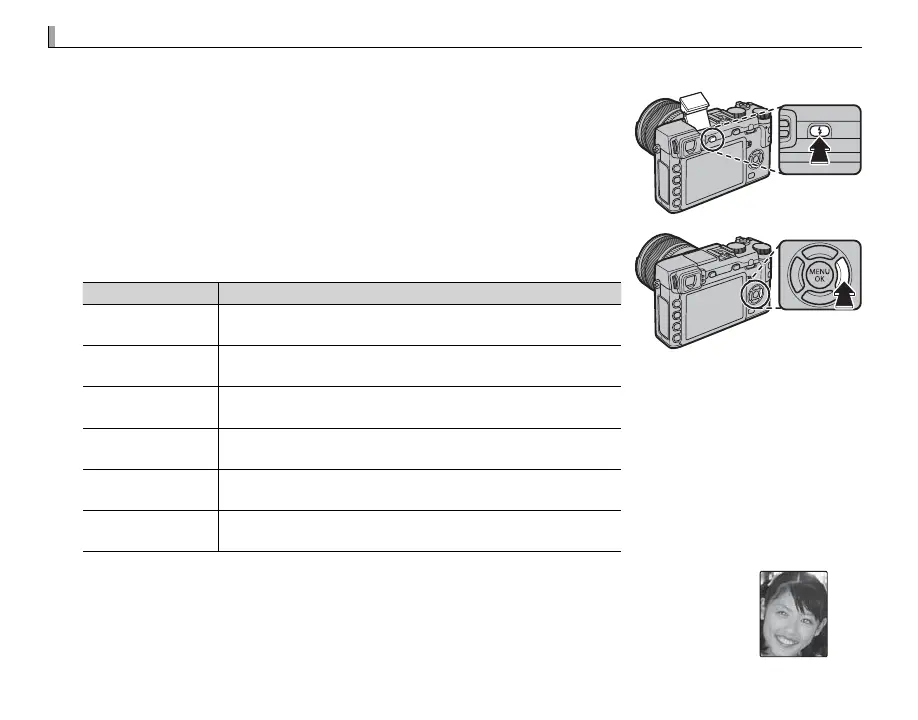
Press the N button to raise the ash.
Q The ash may contact accessories mounted on the hot shoe. If necessary,
remove accessories before raising the ash.
2
Press the function button (Fn5) to display the following options, then
use the selector to highlight an option and press MENU/OK to select.
Mode
Description
AUTO
(AUTO FLASH)
/
K
(RED EYE REDUCTION)
*
The ash res when required. Recommended in most situa-
tions.
N
(FORCED FLASH)
/
L
(FORCED FLASH)
*
The ash res whenever a picture is taken. Use for backlit sub-
jects or for natural coloration when shooting in bright light.
F
(SLOW SYNCHRO)
/
M
(RED EYE & SLOW)
*
Capture both the main subject and the background under low
light (note that brightly lit scenes may be overexposed).
l
(2ND CURTAIN SYNC.)
/
d
(2ND CURTAIN SYNC.)
*
The ash res immediately before the shutter closes.
D
(COMMANDER)
The built-in ash can be used to control optional remote ash
units.
P
(SUPPRESSED FLASH)
The ash does not re even when the subject is poorly lit. A
tripod is recommended.
* Red-eye removal is available in these modes when Intelligent Face Detection is active
(P 91) and red-eye removal is on (P 96). Red-eye removal minimizes “red-eye” caused
when light from the ash is re ected from the subject’s retinas as shown in the illustra-
tion at right.