Removing and installing components during servicing
10600690747, edition 1 63
Removing and installing the CD/DVD drive
If you are asked by the Hotline/Help Desk to remove and install the optical drive yourself, proceed as
follows:
Removing the CD/DVD drive
► Switch the notebook off and pull the power plug out of the mains socket.
► Close the LCD screen so that it locks into place.
► Disconnect all cables connected to the notebook.
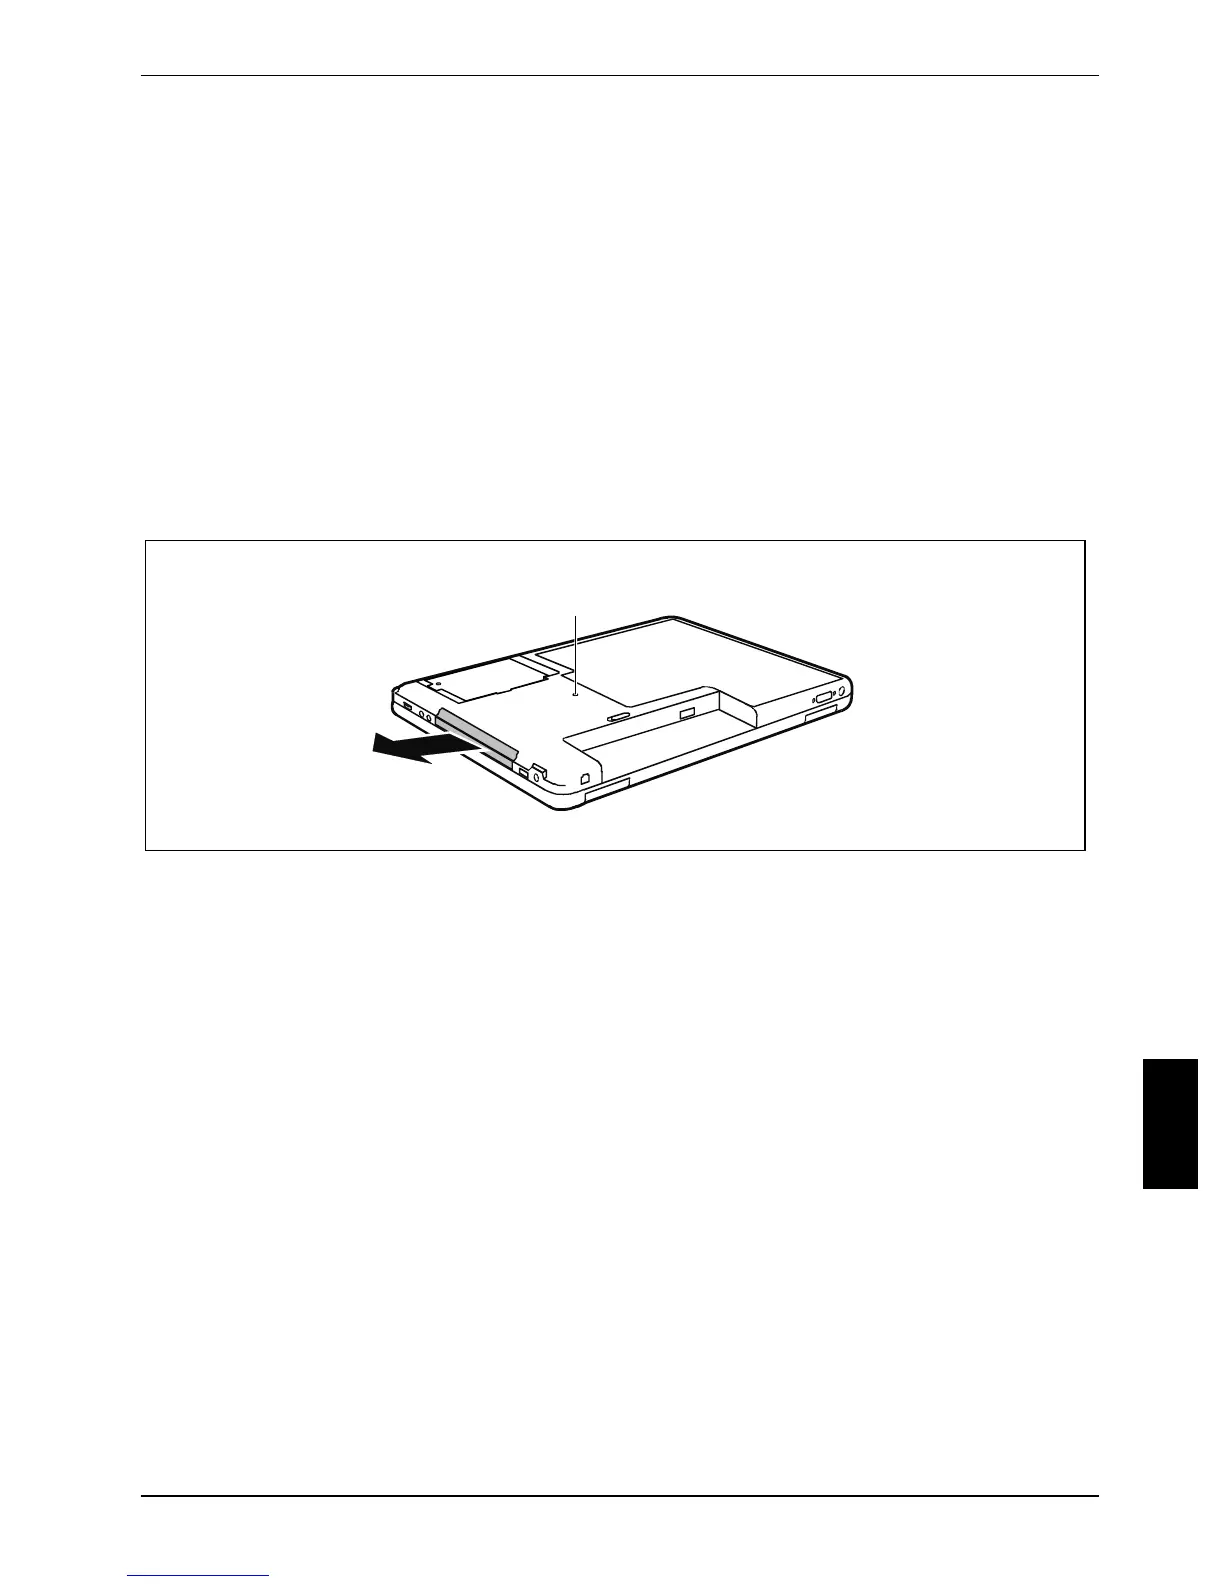
► Turn your notebook over and place it on a stabile, sturdy, flat surface. If necessary, lay an anti-
slip cloth on this surface to prevent the notebook from being scratched.
► Remove the battery (see "Removing and installing the battery").
2
1
► Remove the screw (1).
► Firmly press a metal pin or wire (e.g. paperclip) into the opening (2).
The drive tray is ejected. You can now pull out the drive tray completely.
► Hold the drive tray firmly on both sides in the centre, and carefully pull the optical drive out of
the notebook.
► Push in the drive tray until you feel it lock into place.
 Loading...