Getting Started
Chapter 6 Softune Workbench Getting Started
MCU-AN-391005-E-V17 - 30 - © Fujitsu Microelectronics Europe GmbH
6.4 Entering the code
Now the development of the application can begin, therefore the main-function is already
prepared.
Interrupt definition is done in the file ‘vectors.c'.
6.5 Compiling the Project
Because of the usage of the “Template Project”, you now can compile this example at this
moment. No other settings have to be done.
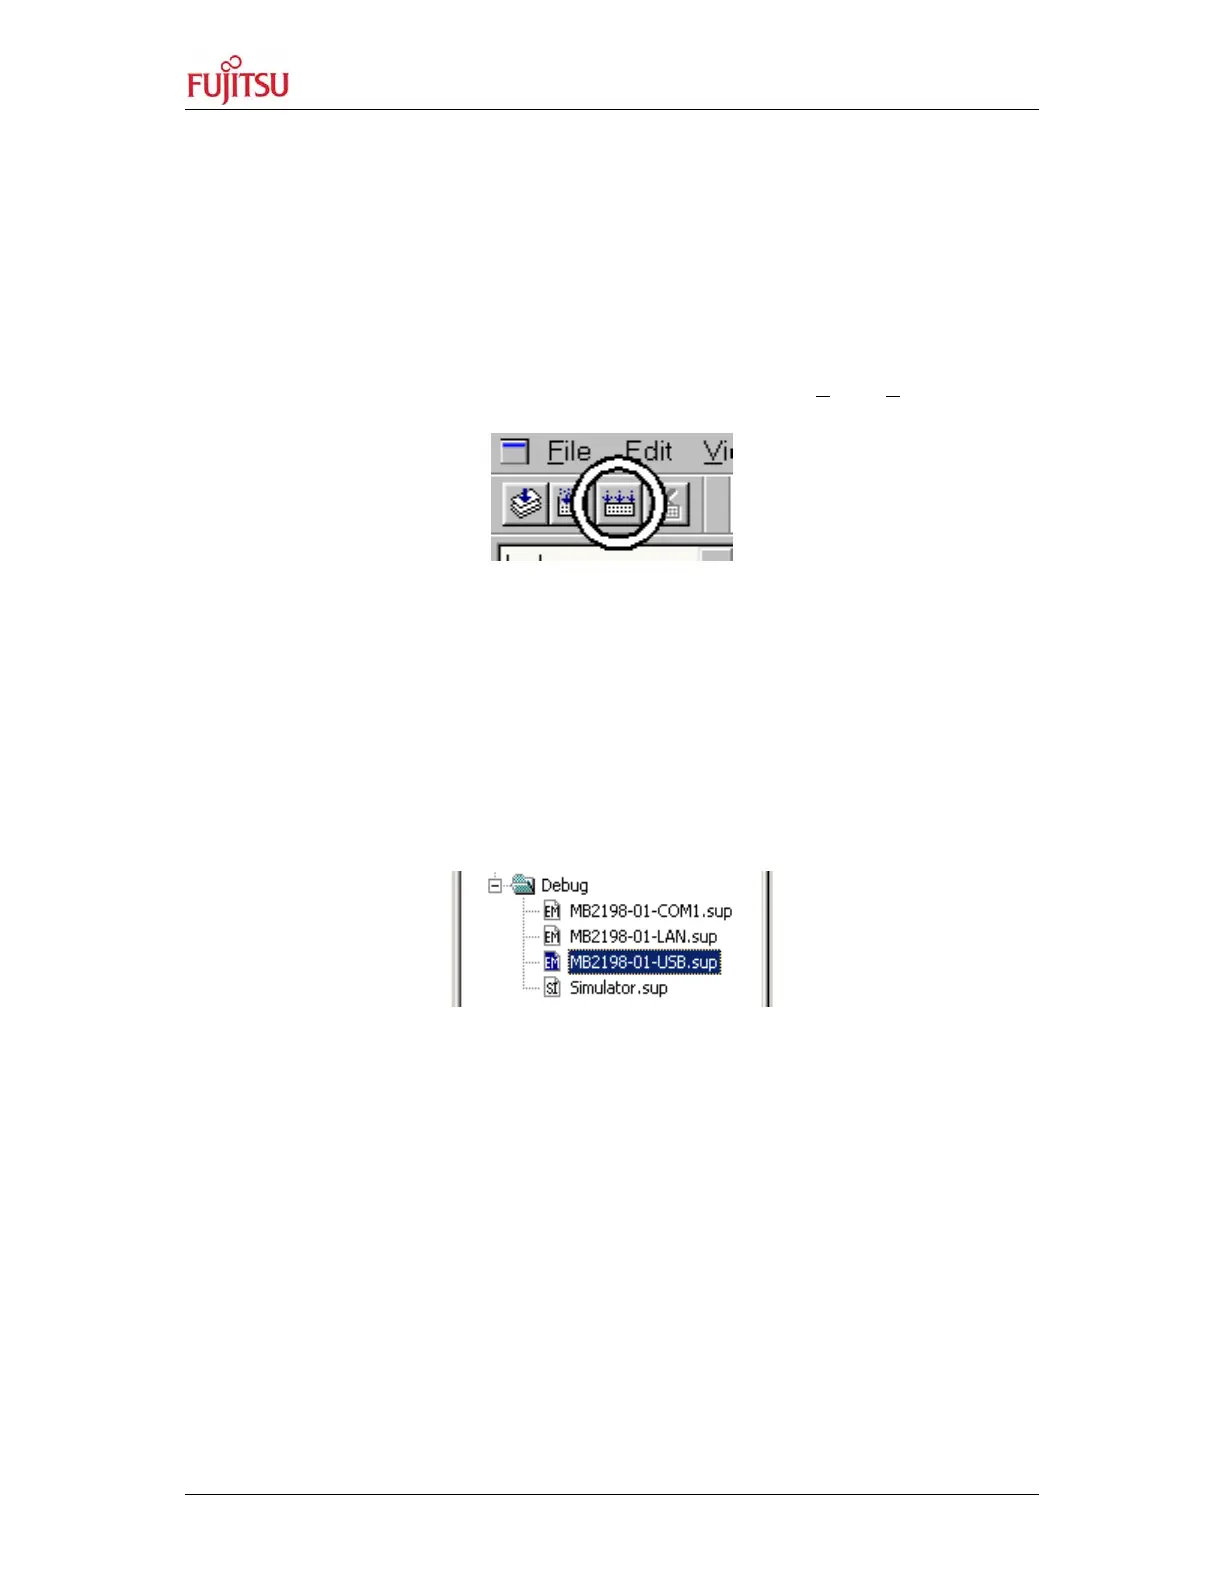
There are two ways to build to the whole project data. Either choose P
roject/Build or click the
button in the circle in the illustration below:
6.6 Enter Debugging Mode
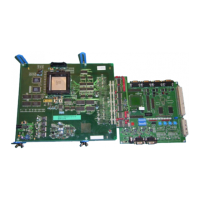
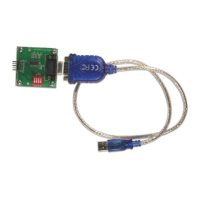
After a successful project built you can enter the debugger mode via three different
interfaces depending on your hardware set up:
• PC-COM-Port (RS232)
• LAN Interface
• USB Port
By double clicking on the correct connection type of the Debug dependency in the Project
window (*.sup-files), your PC will connect to the MB2198-01 Emulator and the Softune
Workbench will enter the Debugging Mode.
After a successful connection, the Softune Workbench will look like this:
 Loading...