TX150 S6 Service Supplement 25
Replacement routines Replacing the 2.5“ SAS backplane
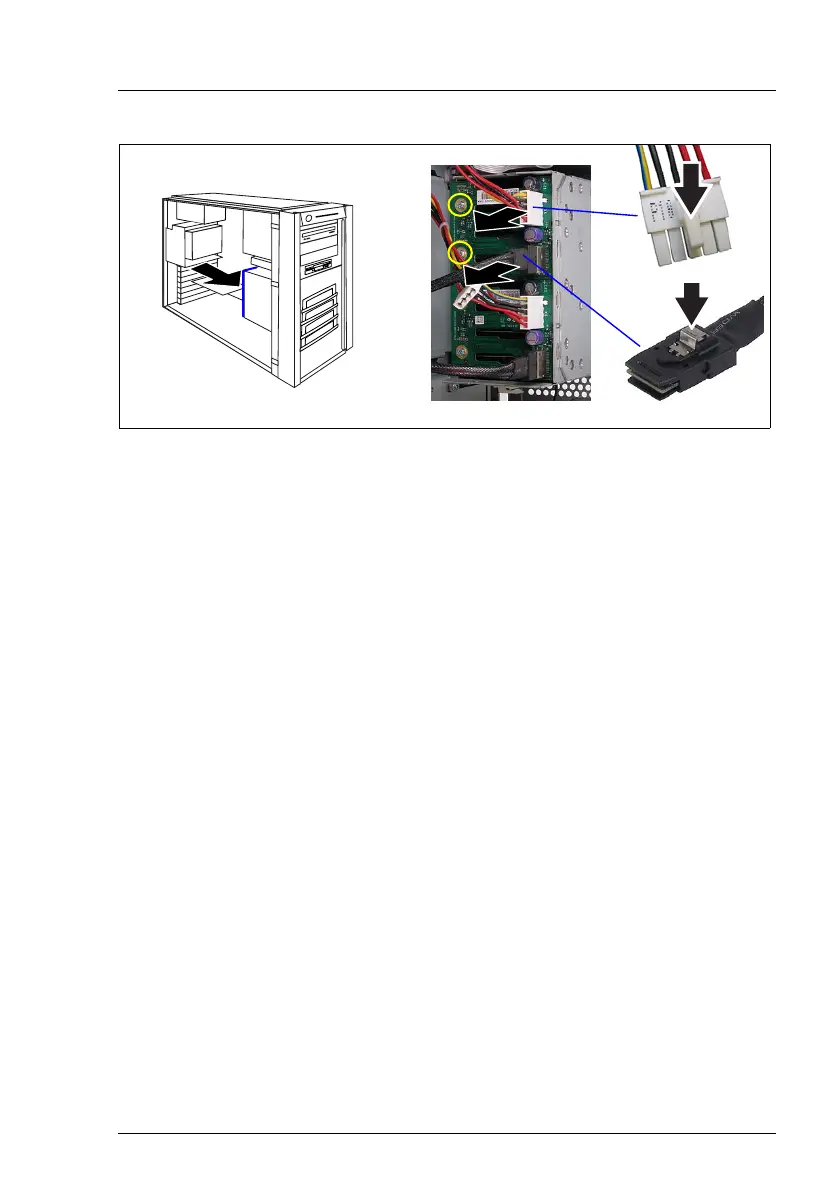
Figure 7: Disconnecting cables - 2.5“ SAS backplane
Ê Press the locks (1) to release the connectors of the SAS cable and the power
cable and pull out the connectors (2) from each 2.5“ SAS backplane.
Ê Remove the two screws for each that fasten the 2.5“ SAS backplane to the
hard disk cage.
Ê Take the 2.5“ SAS backplanes out of the server.
Ê Insert the new 2.5“ SAS backplanes.
Ê Fasten the 2.5“ SAS backplanes using two screws each on the hard disk
cage.
Ê Attach the connectors of the SAS cables and the power cables to the
2.5“ SAS backplanes (see the figure 7 on page 25).
I The lower backplane must be connected to channel 1 (connector SAS-
MLC1), the upper backplane to channel 2 (connector SAS-MLC1) of the
RAID controller.
Ê Reinstall all hot-plug hard disk drives.
Ê Close the server and connect all power plugs (for a detailed description see
the Options Guide).
1
2
2
1
 Loading...