Changing a Connected Computer to a Computer That
You Want to Connect to the ScanSnap from the
Touch Panel (iX1600 / iX1500)
Change a connected computer to a computer that you want to connect to the ScanSnap in the
following procedure:
1. Press
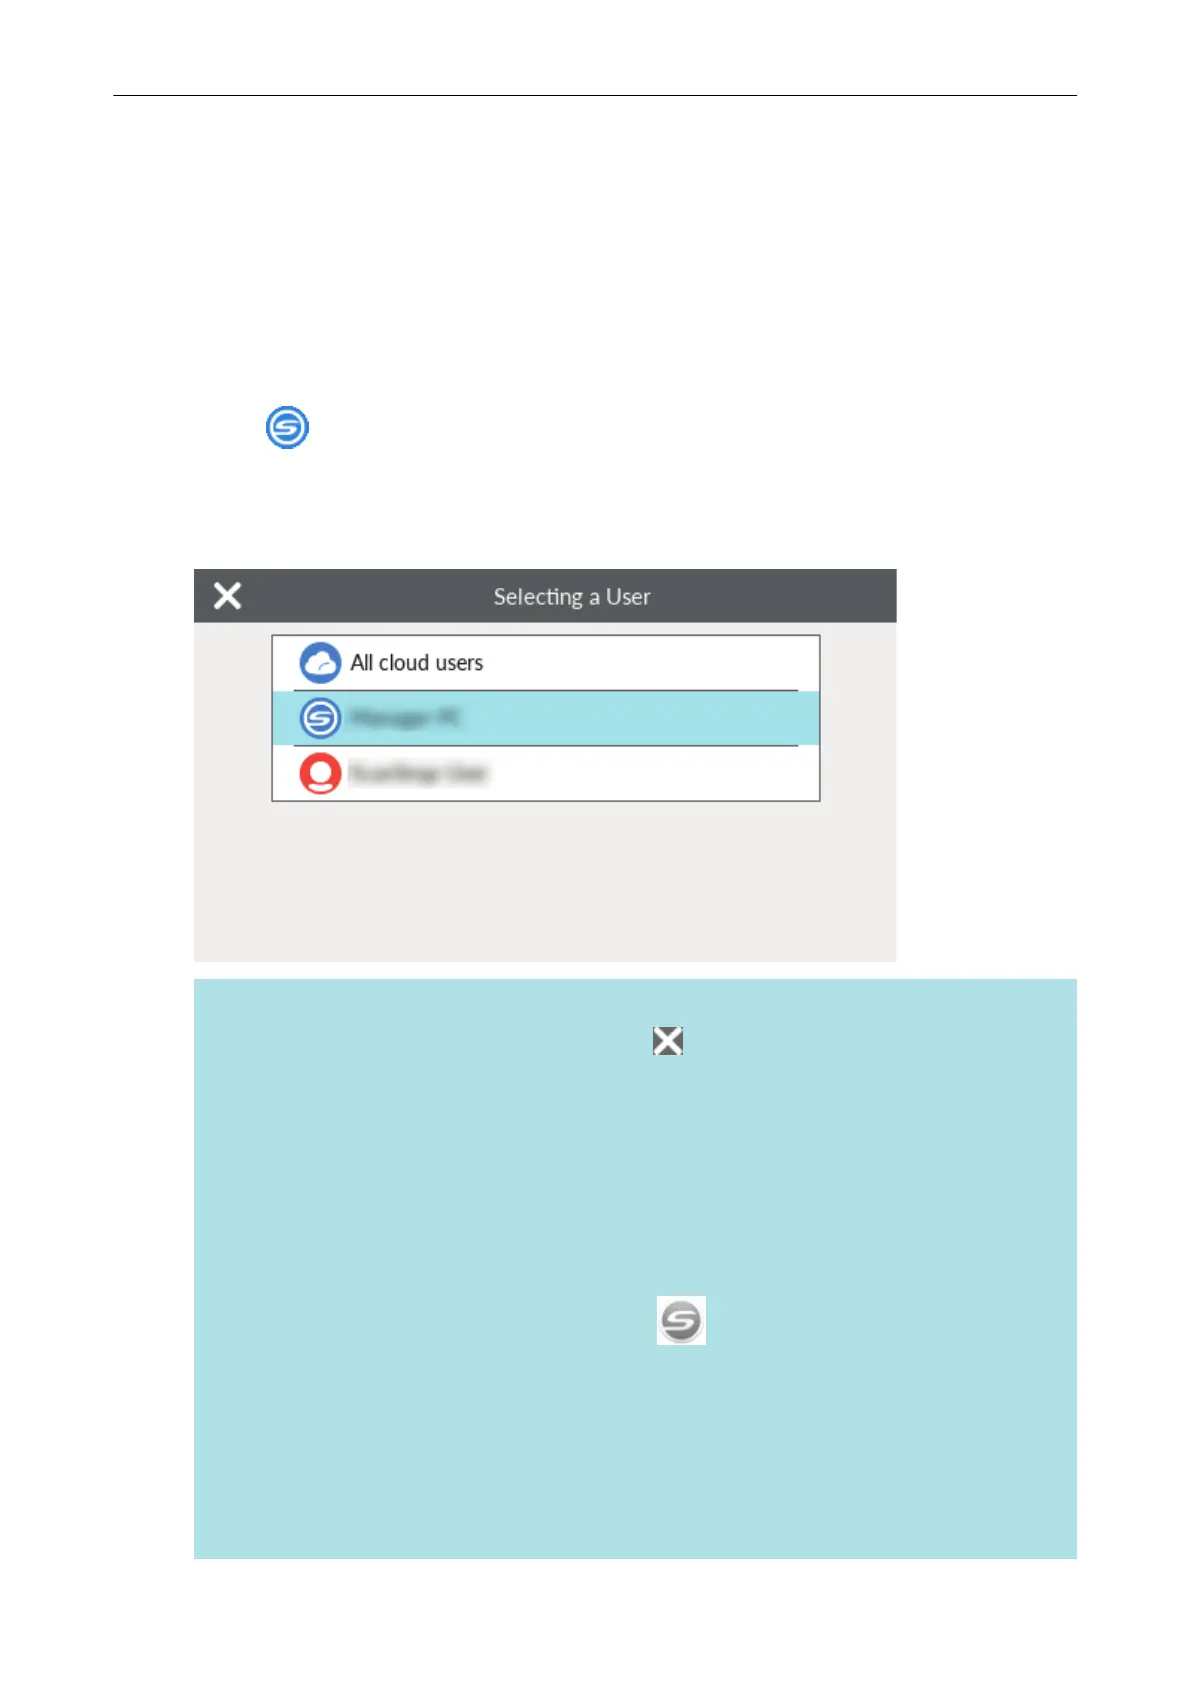
in the home screen on the touch panel of the ScanSnap.
a The [Selecting a User] screen appears.
2. Select a user name for a computer that you want to connect the ScanSnap to.
HINT
l If you do not want to change computers, press to close the [Selecting a User] screen.
l To use ScanSnap Cloud to save scanned images to a cloud service, select [All cloud users].
l The [Selecting a User] screen displays up to 20 user names of the most recent computers
that have been connected to the ScanSnap. If a new computer connects to the ScanSnap
when 20 user names are displayed, the user name for the least recent user to connect to the
ScanSnap is removed.
To connect the ScanSnap to a computer with a user name that is not listed in the [Selecting a
User] screen, follow the procedure below.
- When connecting the ScanSnap to a computer via wireless LAN
1. Right-click the ScanSnap Manager icon in the notification area located at the far
right of the taskbar and select [Connect by Wi-Fi] from the "Right-Click Menu" (page
87).
a The [ScanSnap Manager - Connect by Wi-Fi] window appears.
2. From the list of the ScanSnap units to be connected, select the ScanSnap that you
want to connect, and click the [Connect] button.
If the intended ScanSnap for connection does not appear in the list of the ScanSnap
units to be connected, refer to the ScanSnap Manager Help.
Changing a Connected Computer to a Computer That You Want to Connect to the ScanSnap from the Touch Panel (iX1600 / iX1500)
172

 Loading...