1. MOUNTING
1-2
2. Fasten the wing bolts and the wing nuts of the flush mount fixture so that the pro-
tector for screw moves to the flush mount fixture.
Note: Slowly fasten the four wing bolts evenly with your hand. Do not use a tool
to fasten the wing bolts. A tool can be used to fasten the wing nuts; use caution
so as not to damage the wings or thread.
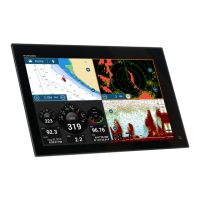
3. Connect all cables at the back of the TZT16F. (See section 2.1)
4. Remove the hex bolts from the flush mounting plate.
5. Attach flush mount sponges to the bezel of TZT16F.
6. Set TZT16F to the cutout made at step 1.
Wing nut
Wing bolt
Flush mount fixture
Flush mount fixture
Protector for screw
Move to the fixture
Attach mount sponge on
the highlighted area.
Peel off the release paper.
Flush mount sponge 16V (2 pcs.)Flush mount sponge 16H (2 pcs.)
Unit (Rear Side)
 Loading...