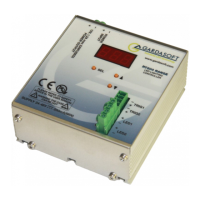
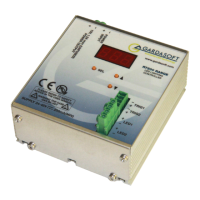
RTxxx LEDlighting controllers - User Manual
9 Front panel configuration (RT200)
Using the front panel keypad, you can set the configuration for each
channel, set a keylock code so unauthorised users cannot change any
settings, set the internal trigger time, view trigger status, and set the
voltage or current rating.
9.1 Startup
On power up, the RT200 displays b for five seconds followed by 8.8.8.
to show that the display is working, then RT2 and 00, followed by the
firmware version (for example 039). The controller is then ready for
operation.
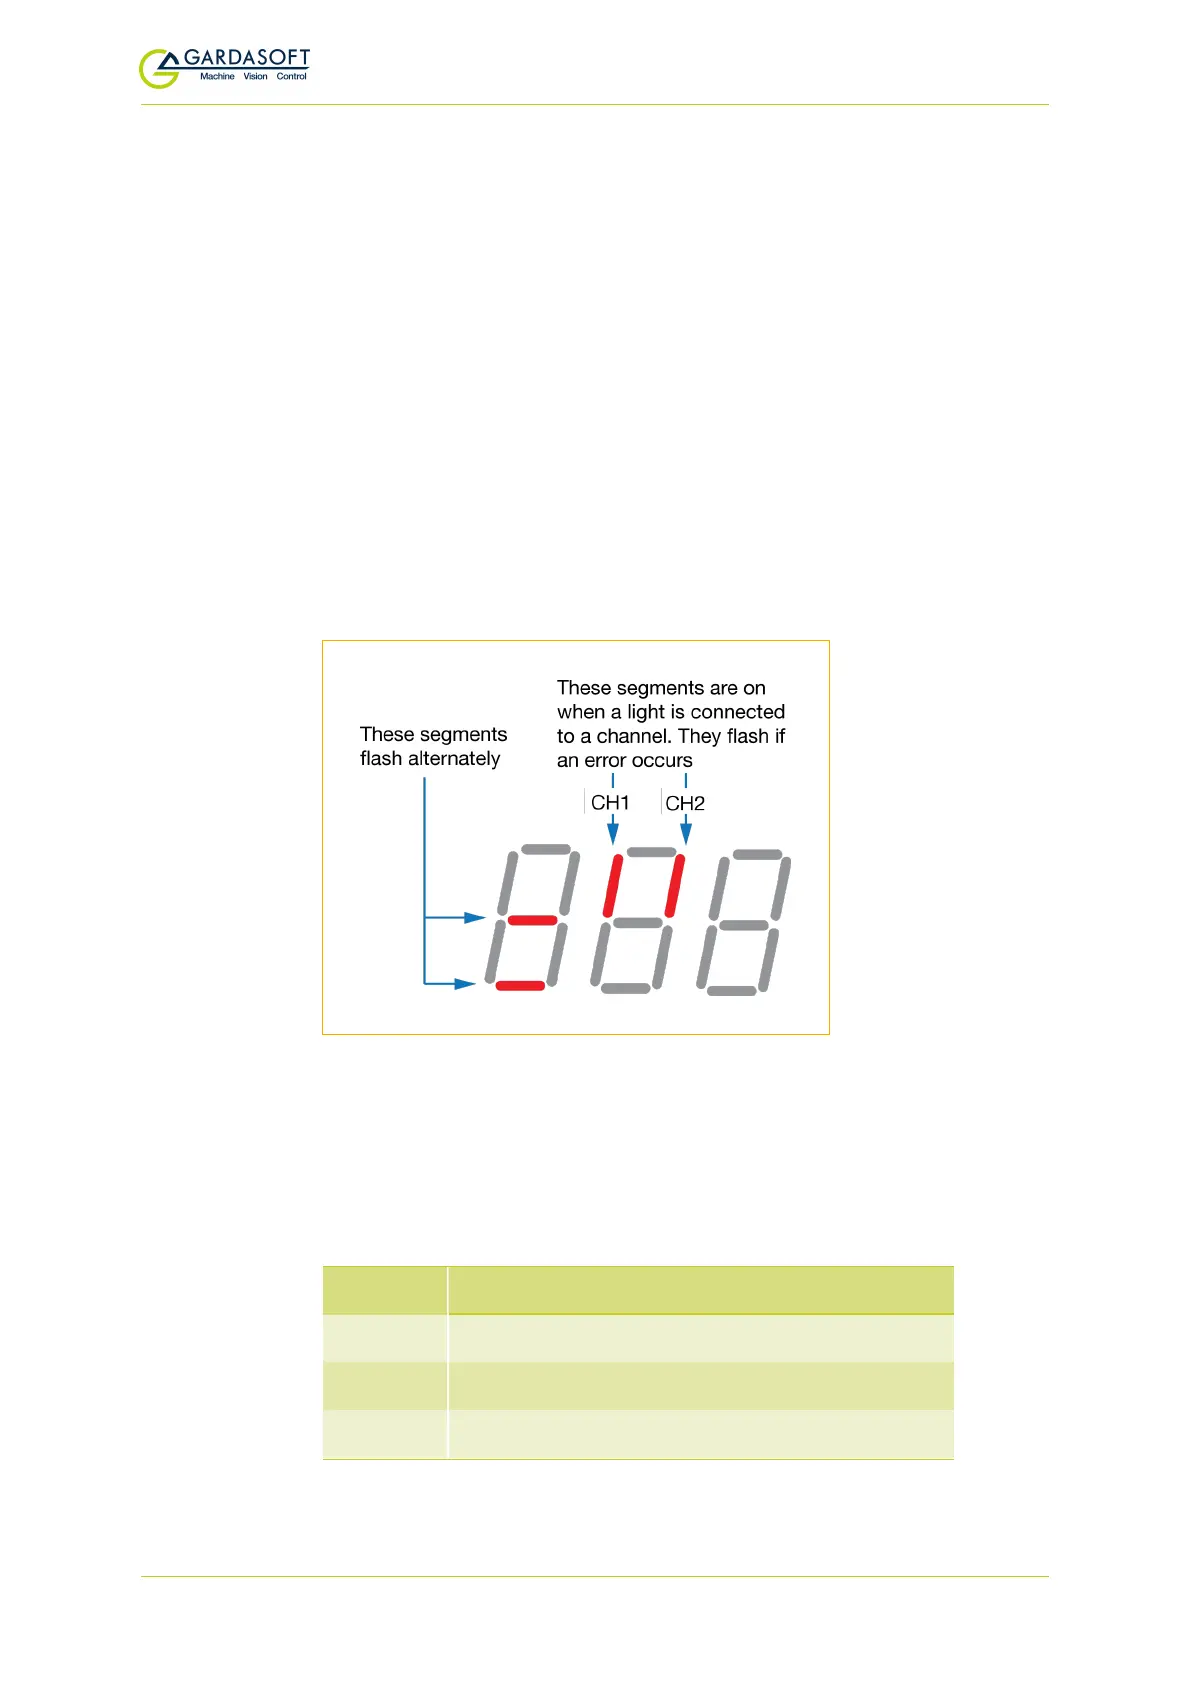
When the RT200 is not being configured the display indicates the
status of both channels as shown below:
The RT200 displays an error if a light is connected but no rating has
been specified. See Section 9.2, Setting the light rating.
To configure the RT200 from the front panel, press and hold SEL for 1
second. CH1 is displayed. You can then use the p and q keys to scroll
through the menu, pressing the SEL button to access the required set
up as shown in the table below:
Display Select to:
CH1 Set up output channel 1
CH2 Set up output channel 2
LOC Set up a key lock
— 31 —
 Loading...