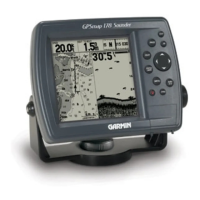
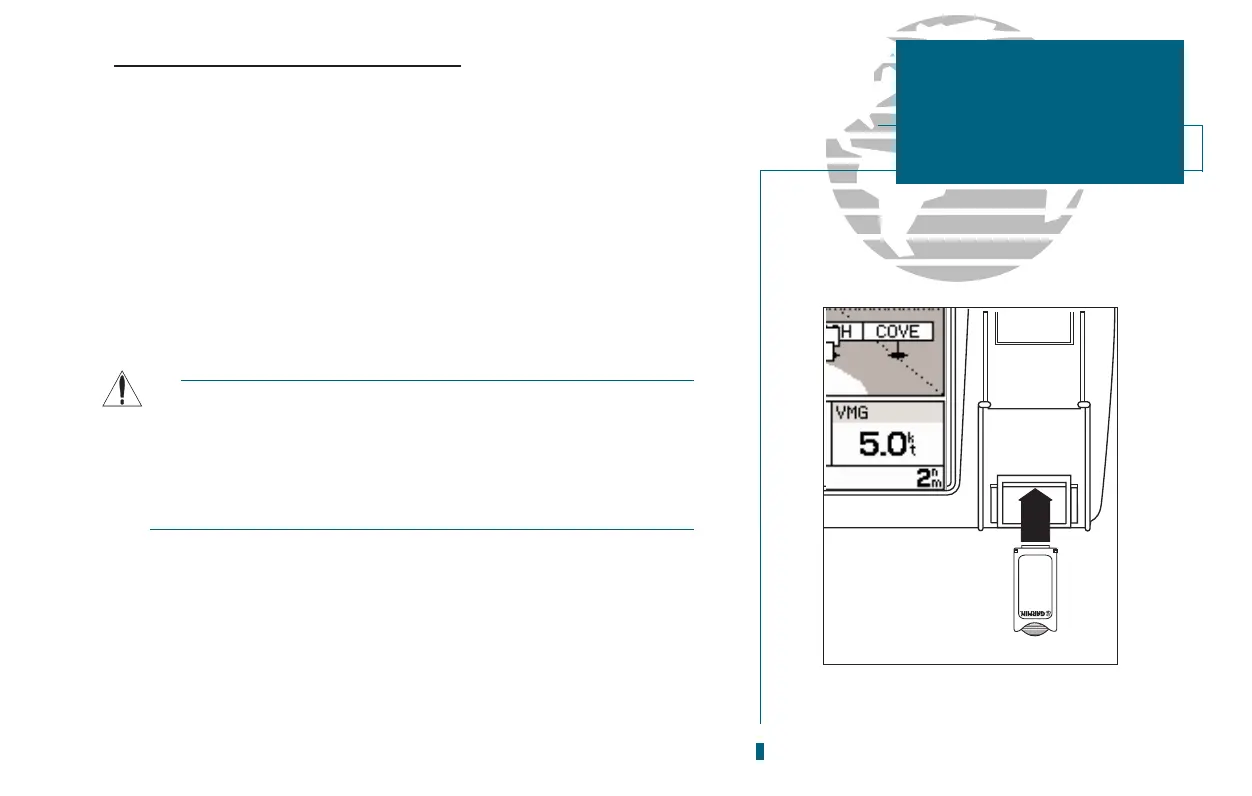
Installing & Removing Micro G-chart Cartridges
The GARMIN GPSMAP 180 system uses Micro G-chart offshore or inland cartog-
raphy to display digital charts on-screen. Micro G-chart cartridges are installed ti the
card slot located at the bottom right of the GPSMAP unit. Micro G-chart cartridges
may be installed or removed at any time, whether the unit is turned on or off.
To install a Micro G-chart cartridge:
1. Open the cartridge door on the GPSMAP 180 unit.
2. Insert the card (label facing front and Micro G-chart logo at top) into the slot.
3. Use your thumb to firmly push the cartridge into place. If your GPSMAP 180 is on, a confir-
mation tone will sound when the cartridge has been properly installed and accepted.
4. Close the door (Note: The door will not close unless the Micro G-chart is fully inserted.).
If you insert a Micro G-chart cartridge and get a card format not recognized
message, try removing the card and reinserting it. If the card is still not recog-
nized, contact the dealer you purchased it from for assistance. Micro G-chart
cartridges are not waterproof, should not be exposed to moisture or exces-
sive static charges, and should be stored in the anti-static bag supplied with
the cartridge.
To remove a Micro G-chart cartridge:
1. Open the cartridge door.
2. Grasp the card at the bottom groove and pull firmly.
3. If your GPSMAP is on, a confirmation tone will sound when the Micro G-chart
cartridge has been removed.
65
SECTION
10
G-CHARTS
Installing &
Removing G-charts