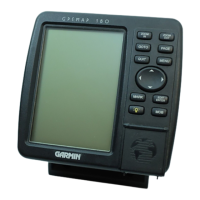
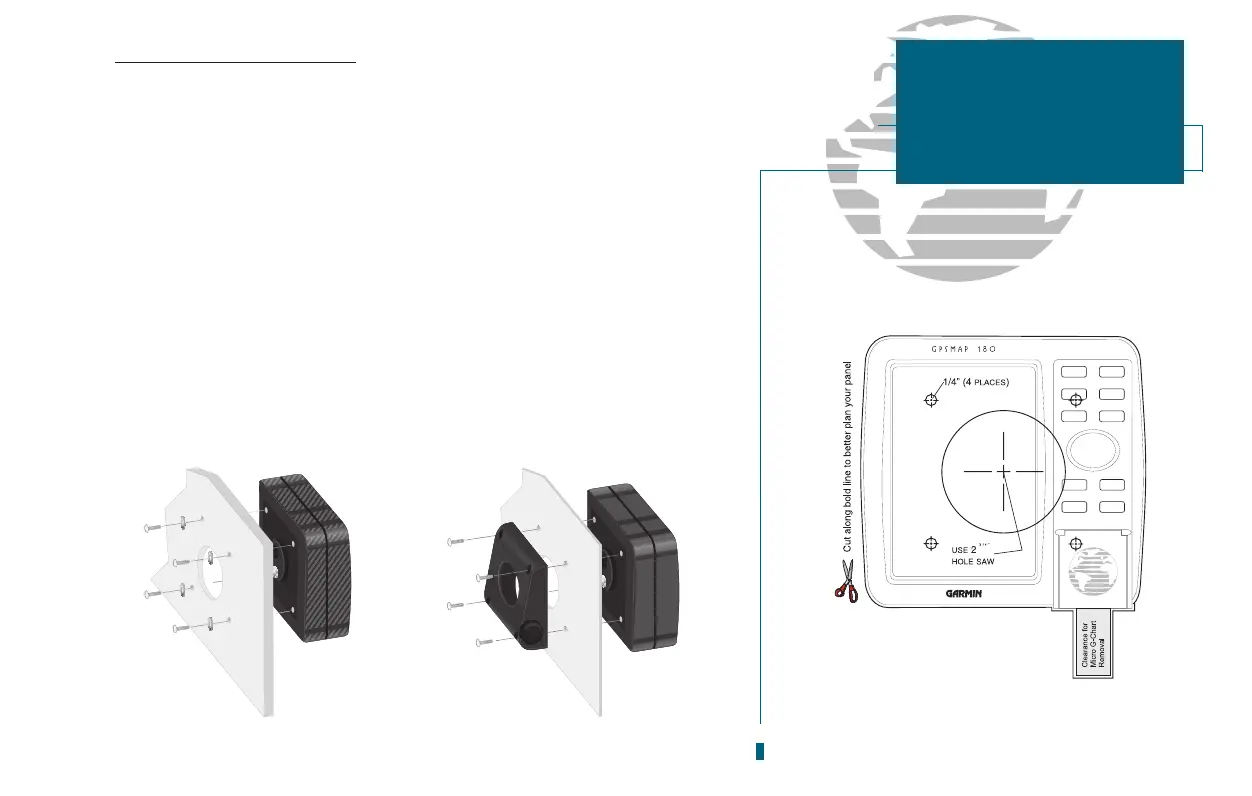
To flush mount the GPSMAP 180
1. Remove the four M5 screws from the back of the unit and remove the mounting
bracket .
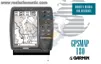
2. Using the mounting template provided in the box, determine the location where you
want to mount the unit and tape the template in place.
3. Using a hammer and center punch, mark the centers of the relief hole and mounting
screw holes.
4. Using a drill and 2.75 hole saw, cut the center relief hole from the panel. Drill the
four 0.25 screw holes, using a 1/4 drill bit.
5. From the front, place the GPSMAP 180 into the relief hole until the unit rests flush
against the mounting surface.
6. Secure the unit to the mounting surface using M5 screws. Note: For thick mounting
surfaces, insert the M5 screws directly thru the four drilled holes (figure 1). For thin
panels, place the mounting bracket on the back side of the panel for more support
(figure 2).
7. Attatch the power/data cable and antenna connectors.
69
SECTION
A
APPENDIX
Installation
Figure 1
Figure 2
Mounting template provided in box
Mounting Template