2
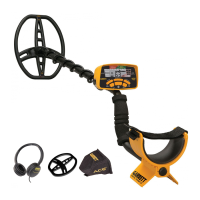
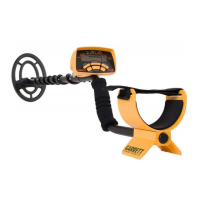
Garrett Metal Detectors AT Max
™
3
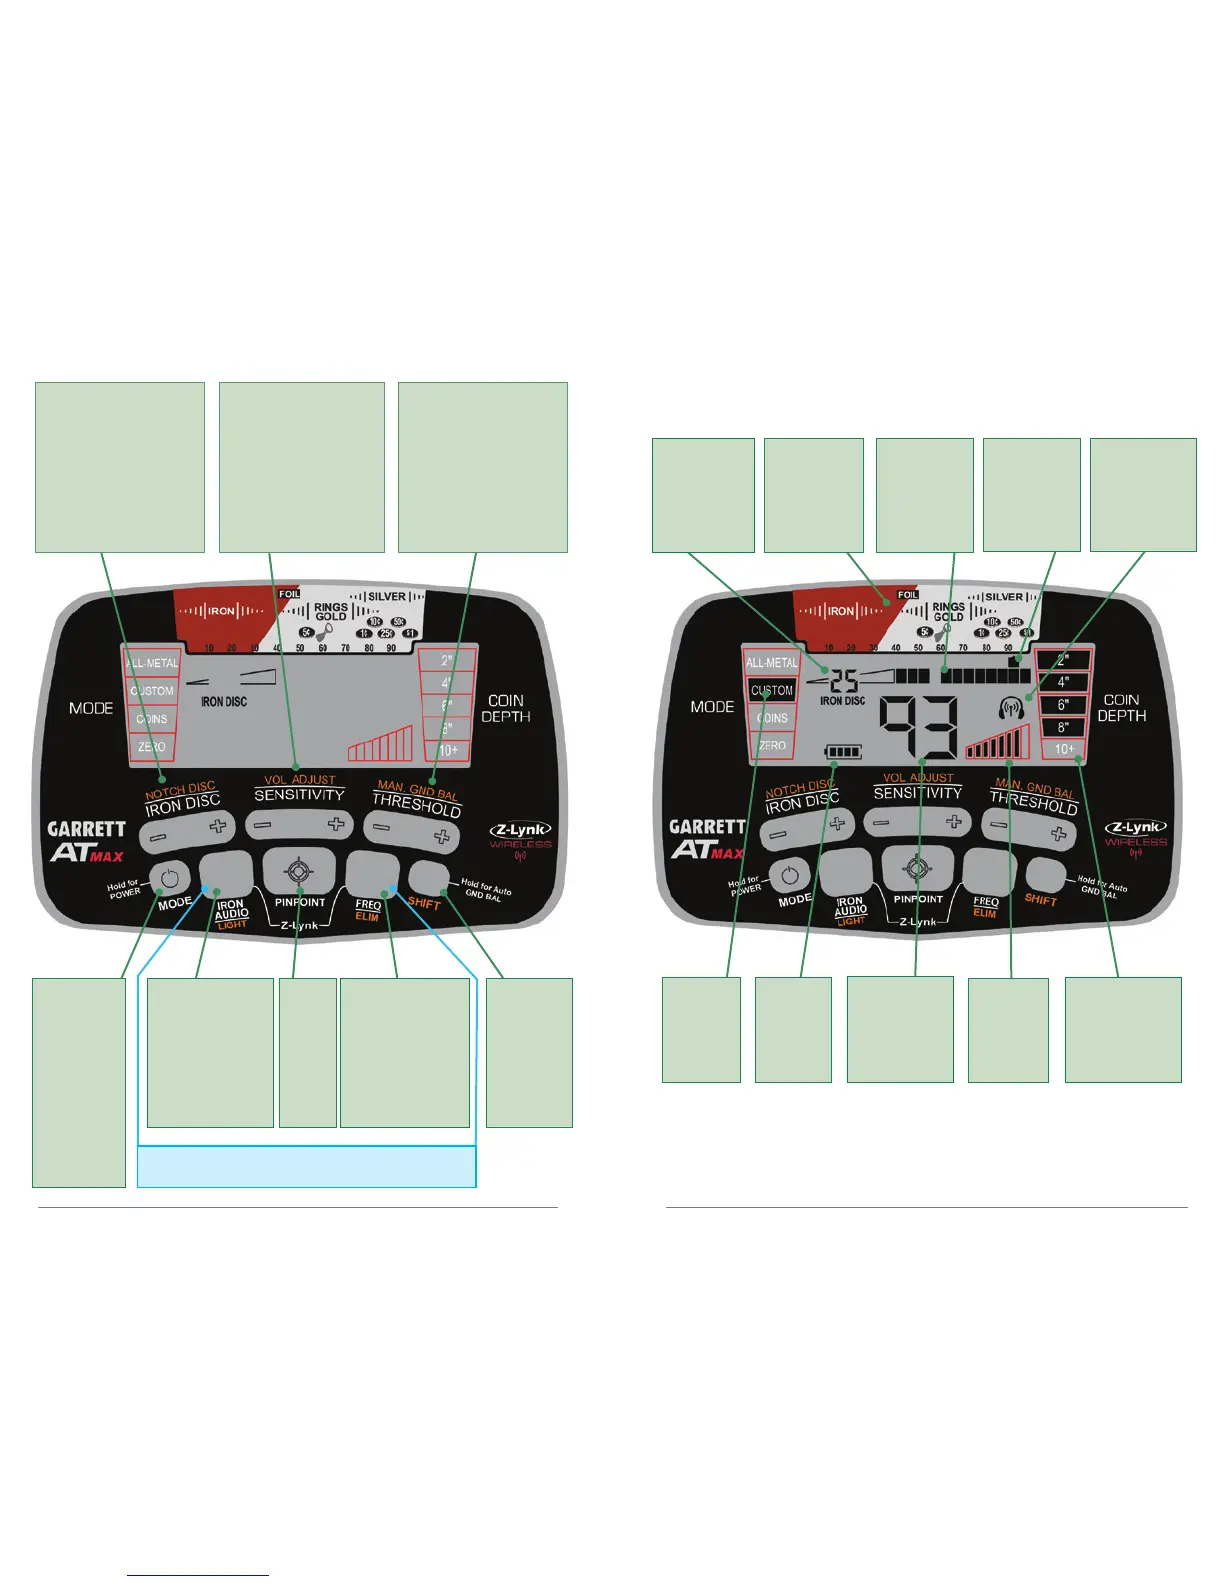
AT Max User Controls
AT Max Display Information
Press for
secondary
functions.
Hold for
Auto Ground
Balance.
IRON AUDIO: Use
to hear discrimin-
ated iron (pg. 28).
LIGHT: Press Shift,
then press to switch
LCD backlight on/
off (pg. 9).
Hold 1 second
to switch
power on/off.
Tap to select
detection
mode.
Hold 5
seconds to
restore factory
settings.
FREQ: Tap to select
frequency (pg. 9).
ELIM: Press Shift,
then use with
NOTCH DISC (+) or
(-) to modify discrim
pattern (pg. 18).
Notch Discrimination:
Press Shift Button, use (+)
or (-) keys to select pixels,
then switch on or off with
ELIM button (pg. 18).
Iron Discrimination:
Direct press (+) or (-) keys
to adjust Iron Discrim
level (pg. 26).
Volume Adjust: Press
Shift Button, then use
(+) or (-) keys to change
volume (pg. 11).
Sensitivity: Direct press
(+) or (-) keys to increase or
decrease sensitivity level
(pg. 20).
Manual Ground
Balance: Press Shift
Button, then use (+) or (-)
keys to change ground
balance setting (pg. 22).
Audio Threshold: Direct
press (+) or (-) keys to
change level of background
sound (pg. 21).
Mode
Indicator
(pg. 12)
Battery
Level
Indicator
(pg. 47)
Digital
Target ID:
Also shows
settings during
adjustments.
Sensitivity
Setting
(pg. 20)
Depth
Indicator:
indicates depth of
coin-sized target.
(pg. 10)
Press
and hold;
use to
precisely
locate a
target
(pg. 41).
Iron Discrim
Setting (0-44):
also indicates Auto
Ground Balance
Window setting
Target ID
Legend:
indicates metal
types
Lower Scale:
indicates notch
discrimination
pattern
Z-Lynk Icon:
indicates unit is
wirelessly paired
to a receiver.
Steady = paired
Blinking = searching
Off = not paired
Simultaneously press and release these two buttons to
pair to a new wireless receiver (pg. 32).
Target ID
Cursor:
indicates
probable target
identity