DS2000-IFR Installation and Maintenance Guide
3-1
C
HAPTER
3
I
NSTALLATION
This chapter provides the necessary instruction to install the DS2000-IFR. It is assumed that the
guidelines listed in the pre-installation section have been followed and the site is prepared for the
installation. To install the DS2000-IFR follow the order as presented in the following section.
3.1 C
HAPTER
O
RGANIZATION
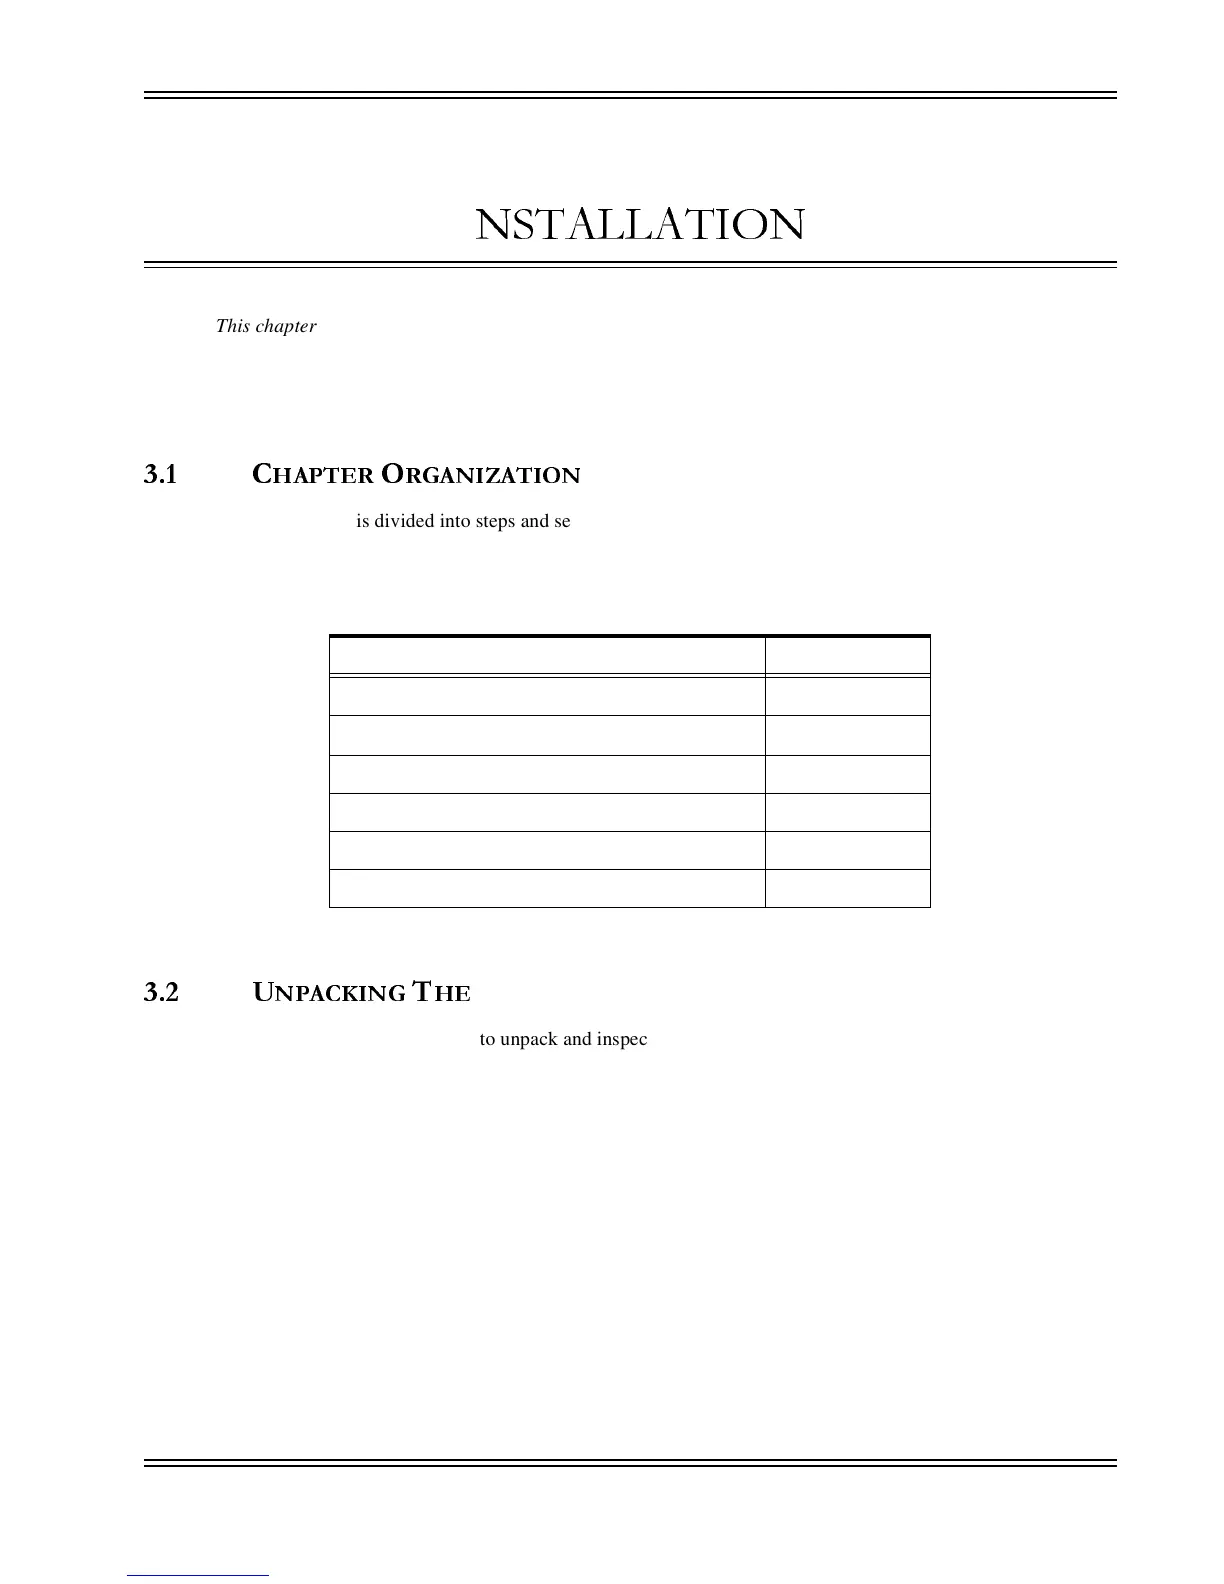
This chapter is divided into steps and sections. The sections are listed below in Table 3 - 1, “Installation
Procedures”.
3.2 U
NPACKING
T
HE
DS2000-IFR
Perform the following steps to unpack and inspect the DS2000-IFR.
The DS2000-IFR is shipped with the following items in the box: (if anything is missing from the shipping
container contact Customer Support immediately.)
1. Open the shipping container and verify that the contents match those listed below:
• DS2000-IFR with rack mounting brackets attached
• Document CD-ROM
• Ethernet ribbon cable - RJ45 terminations, 14' long
• RJ45 to DB9 female adapter
• RJ45 to DB25 female adapter
• Console cable, RJ45, 10' long
2. Remove the unit from the styrofoam end caps and inspect the DS2000-IFR chassis for damage
and insure that there are no dents, dings or other shipping related damage. Report any damage
immediately to Dymec customer support and DO NOT INSTALL the unit.
Table 3-1. Installation Procedures
Procedure Page
Unpacking the DS2000-IFR
3-1
Installing the
DS2000-IFR
3-3
Installing Optional SFP Ports 3-2
Connecting Facility Power Cables 3-4
Connecting Network Cables 3-6
Verifying Installation 3-9