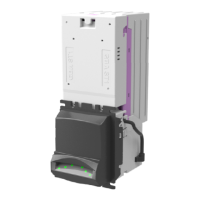
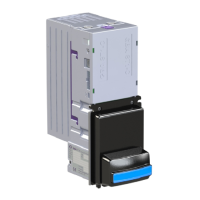
3.2 Horizontal Stacker
The GBA ST1 product can be configured for installation in either up or down stacking applications.
3.2.1 Top Cover & Top Plate Assembly Fitting / Removal
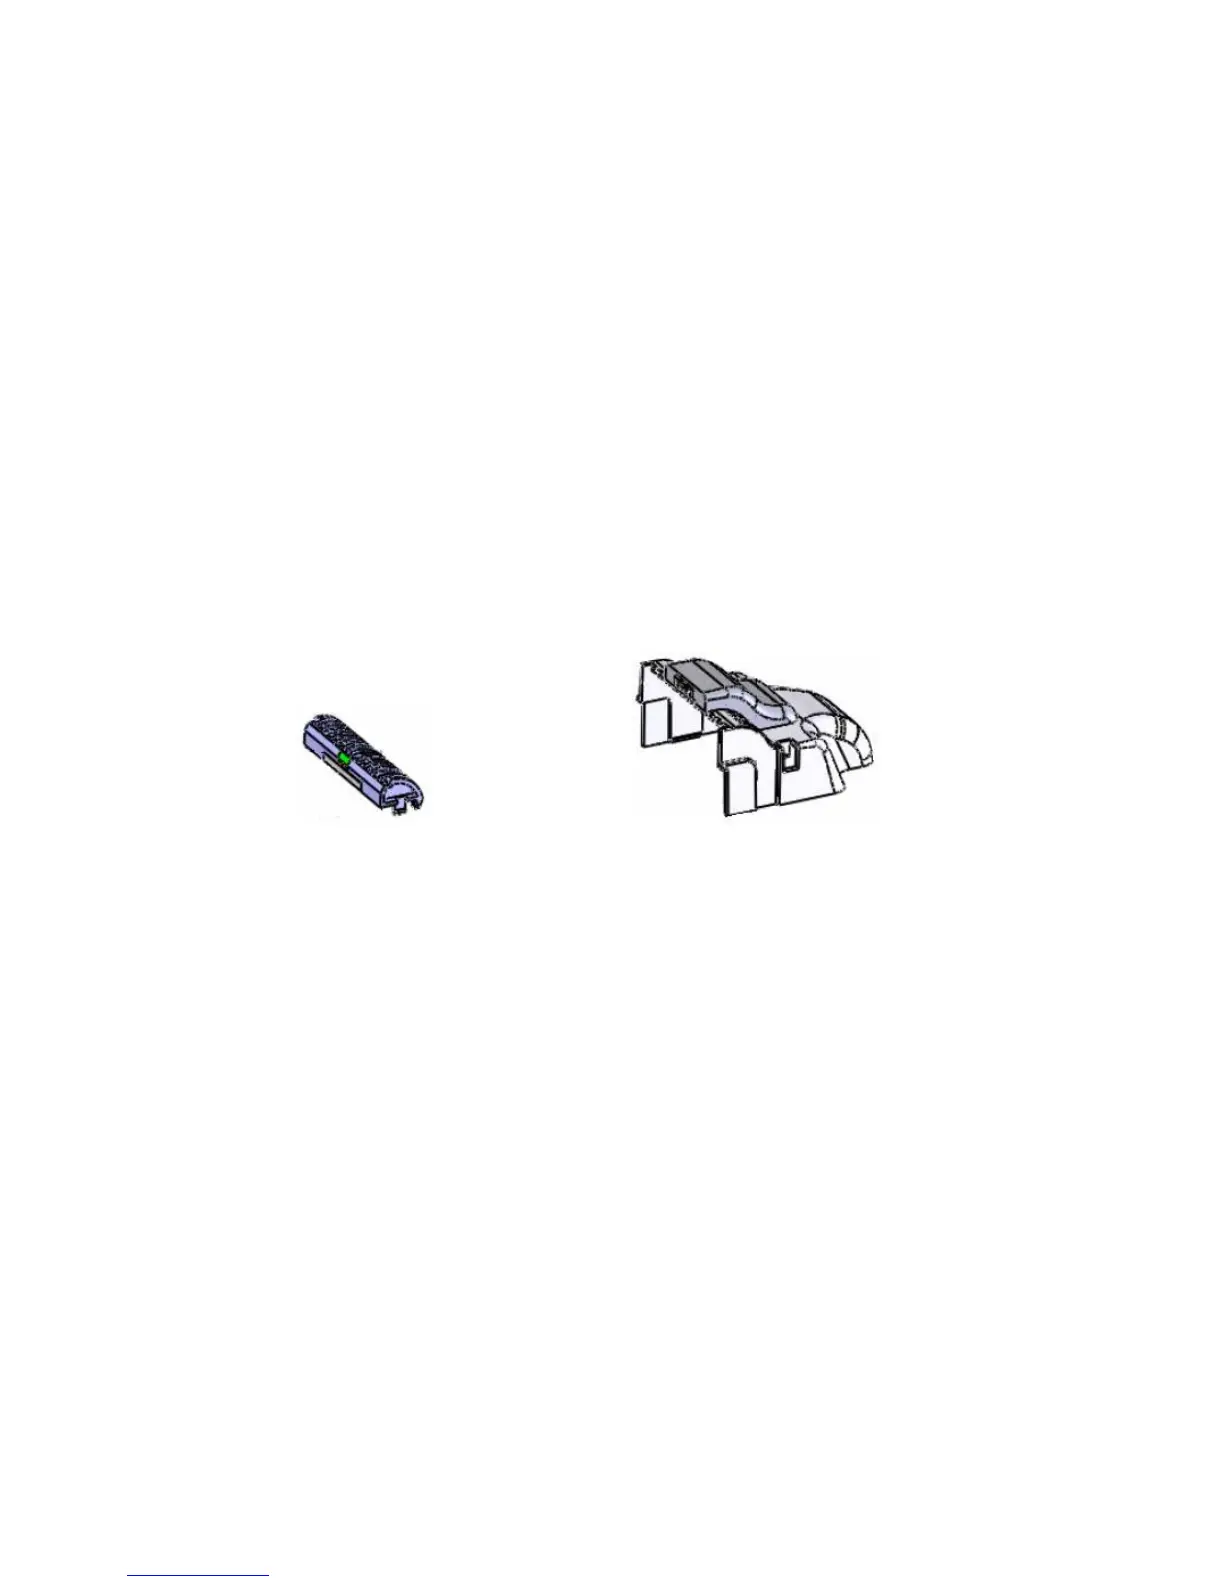
To enable the note to traverse correctly in both Horizontal and Top entry formats, a Top Cover is
required to be fitted to the normal note entry point of the ST1. The Top Cover can only be fitted
when the existing Faceplate and Note Guide have been removed. Firstly you will require the Top
Plate Assembly to be inserted into the lower Note Guide socket. Line up the 4 pins from the
underneath of the Top Cover with the upper most Note Guide socket and push in. The Cover will
click into place.
To remove the Top Cover you will require a small flat bladed screwdriver to be inserted into the
clips to gently lever out. The Top Cover can then be pulled away from the ST1 body.
To remove the Top Plate Assembly, locate and then depress the two clips either side of the note
guide, and pull away from the validator.
3.2.1a – Top Plates Assembly 3.2.1b – Top Cover Assembly
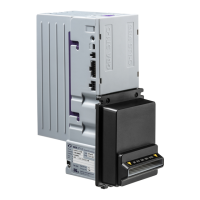
3.2.2 Bracket Fitting / Removal
For either Horizontal or Top Entry formats, ST1 must be fitted with a metal bracket. The bracket
simply fits over the Top Cover and locates onto 4 locating studs. Once in place the ST1 should be
pushed towards the note guide so that the 2 clips on the side of the validator snap into place on
the bracket.
To adjust for different panel thicknesses, first fit the metal bracket and Face Plate to the panel.
Loosen the 4 nuts securing the sliding metal plates. Fit ST1 into the metal bracket and slide ST1 so
as to be in intimate contact with the Face Plate. Slide the Plates to engage with the two locking
tabs on ST1 and tighten the 4 locking nuts.
Please note: Both sliding metal pieces should fully engage on the locking clips of the ST1.
To remove the bracket simply loosen the nuts, depress the two clips either side of the faceplate
and pull the bracket towards the faceplate and then away from the validator body.