Do you have a question about the GCC Technologies EXPERT 24 LX and is the answer not in the manual?
Crucial safety guidelines for operating the cutting plotter.
Lists all items included in the cutting plotter package.
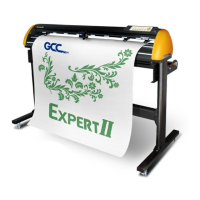
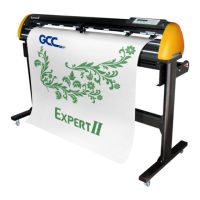
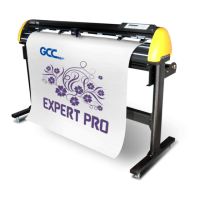
Highlights key features and capabilities of the Expert 24 LX cutting plotter.
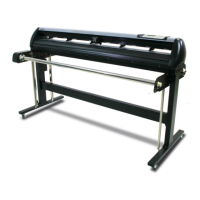
Details the physical components and layout of the cutting plotter.
Important warnings and considerations before starting the installation process.
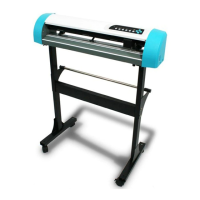
Step-by-step guide for assembling the optional stand for the cutting plotter.
Instructions on how to properly install and adjust the cutting blade.
Procedures for correctly loading various types of media into the cutting plotter.
Detailed steps for loading sheet media onto the cutting plotter.
Detailed steps for loading roll media onto the cutting plotter.
Method to adjust media size settings without powering down the machine.
Guides on connecting the cutting plotter to a computer via USB or serial ports.
Instructions for connecting and installing the USB driver for the cutting plotter.
Steps to completely remove existing printer drivers from the system.
Information on connecting the cutting plotter using an RS-232 serial cable.
How to set up the cutting plotter as a shared printer on a network.
Overview of the cutting plotter's control panel, including keys and functions.
Installing and using the VLCD computer program for cutting function parameters.
Tool for loading HPGL format files for direct output.
Options for transmitting data from computer to cutting plotter.
Configuration options within the Expert 24 LX print driver.
Recommended cutting parameters for various material types.
Procedures for cleaning the cutting plotter's exterior and components.
Steps for cleaning the grid drum to ensure proper media movement.
Instructions for cleaning the pinch rollers for optimal media grip.
Overview of the AAS II system for precise contour cutting.
Procedures to calibrate the AAS system for maximum accuracy.
Calibrating the sensor to recognize registration marks on different media.
Guidelines for setting registration marks for auto-detection.
Details the three types of AAS II mark patterns: 4-Point, Segmental, Multiple Copies.
Performing tests to ensure AAS II cutting accuracy.
Recommended ranges for registration marks to ensure detection.
Steps for creating graphics and performing accurate contour cuts with AAS.
Advice for achieving better contour cutting results with the AAS system.
Troubleshooting steps for when the cutting plotter fails to operate.
Explains the meaning of various indicator lights on the control panel.
Interprets warning indicators and suggests corrective actions.
Interprets error indicators and suggests corrective actions.
Addresses common issues affecting the quality of the cuts produced.
Steps to install the AASII VBA installer for CorelDRAW.
Guide on using the CorelDRAW plug-in to add registration marks.
Steps to edit images in CorelDRAW for use with GreatCut.
Guide on setting up 4-Point Positioning within GreatCut.
Steps to install the AASII VBA installer for Adobe Illustrator.
Configuration settings for the printer before using the plug-in.
Guide on using the Illustrator plug-in to add registration marks.
Instructions for installing the SignPal 10.5 software.
Guide to setting up the GCC cutter in Production Manager.
Lists and compares features available across different SignPal versions.
Steps for completing output settings using the DirectCut plug-in.
| Maximum Media Width | 24 inches |
|---|---|
| Resolution | 0.025 mm |
| Pen Capacity | 1 pen |
| Interface | Parallel |
| Compatibility | HP-GL |
| Media sizes | A4, A3, A2 |