
N
Nicholas ColemanJul 31, 2025
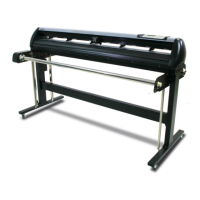
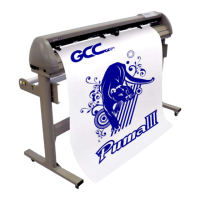
How to troubleshoot a GCC Technologies P3-60 Plotter that doesn't operate?
- KKarina Wright MDJul 31, 2025
If your GCC Technologies Plotter isn't operating, try switching it off and then on again. If the problem continues after rebooting, contact a technician from your dealer.