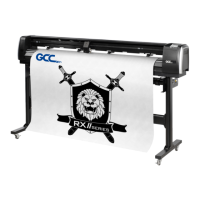
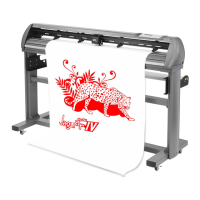
Puma III User Manual
The Control Panel 3-1
Chapter 3 The Control Panel
This chapter describes the button operations with the LCM menu flowcharts of Puma III. When
the cutting plotter is ready for use as described in Chapter 1 & 2, all functions are under default
parameters.
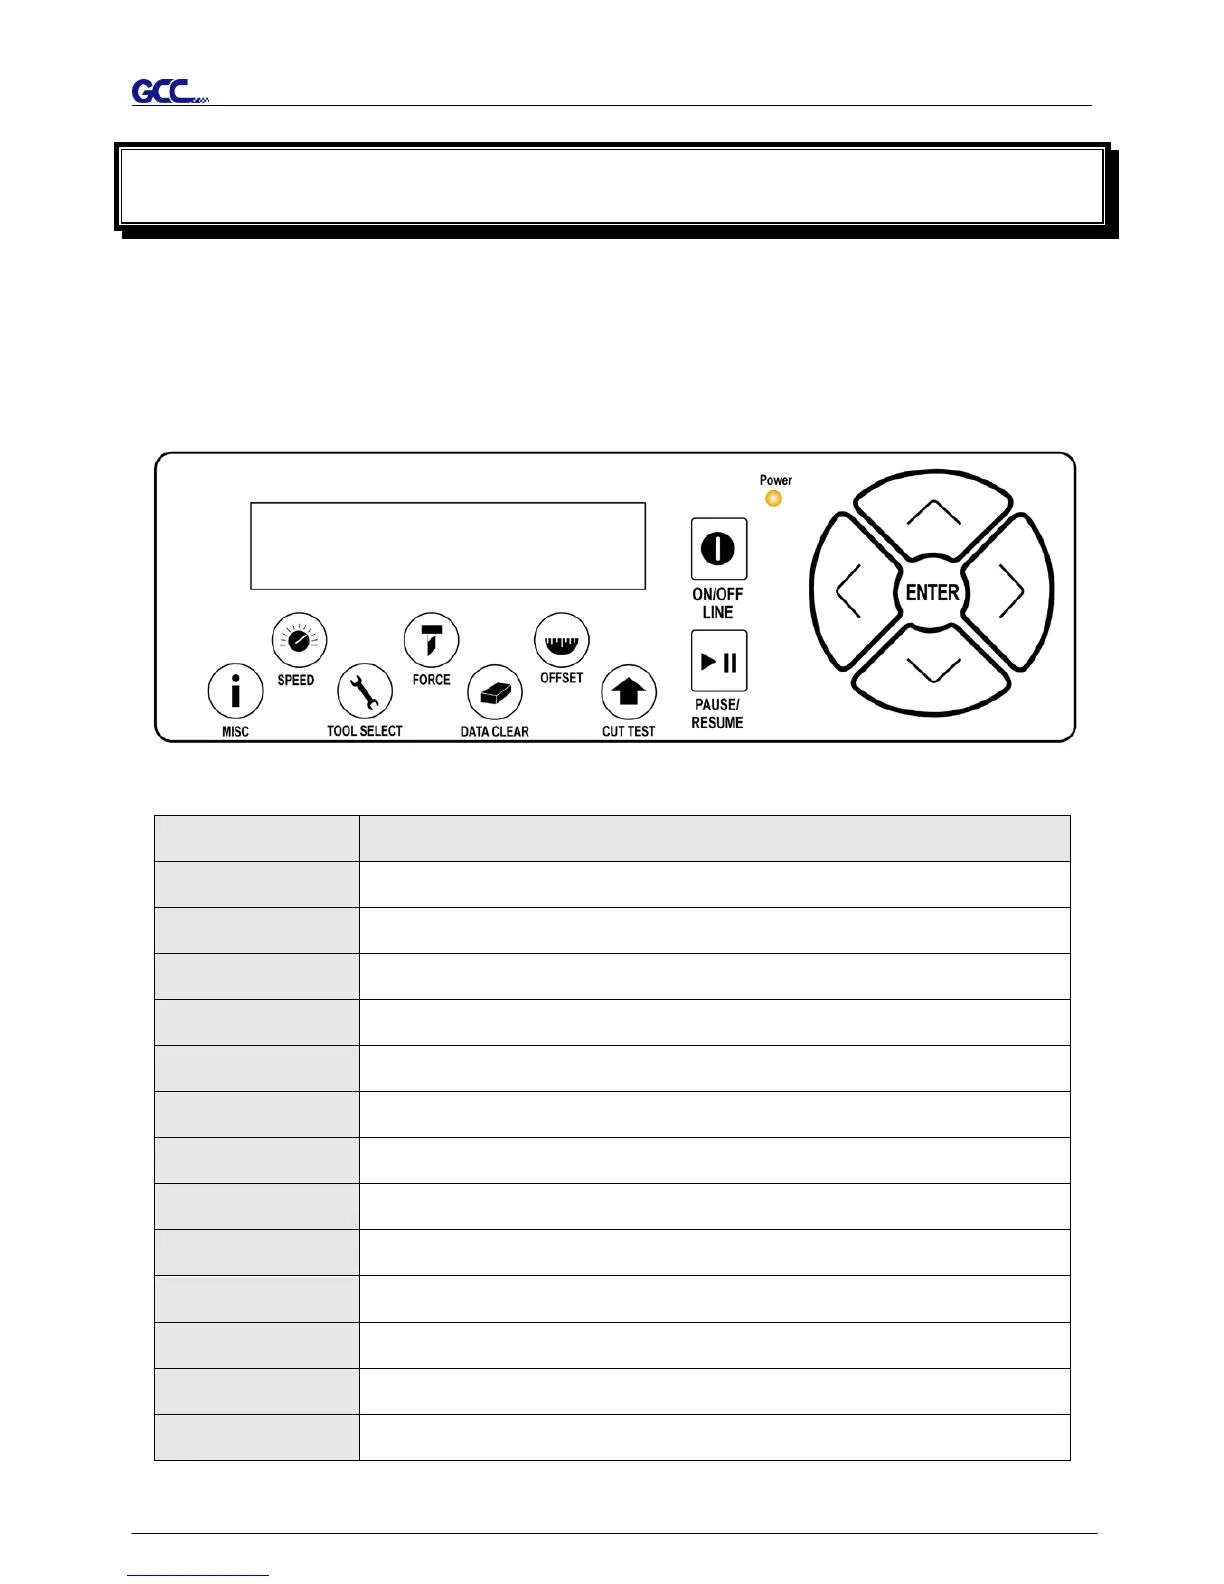
3.1 The LCD Panel
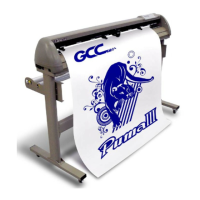
< LCD Control Panel on Puma III series >
Key Function
To display functions and error messages.
Power LED To indicate the power status ( light up: power on; light off: power off )
To move position, select function, or change setting.
ENTER To set item or register the immediately preceding input value.
PAUSE/RESUME To temporarily halt cutting process or to continue
ON/OFF LINE To switch modes, stop cutting job, or abort changes of settings.
To adjust the value of blade’s offset.
FORCE To adjust the value of cutting force.
To adjust the value of cutting speed and quality.
CUT TEST To perform cutting tests on different media
DATA CLEAR To clear up buffer memory.
TOOL SELECT To select tools.
MISC To set up functions.
Please see details in “3.4 Menu Items”