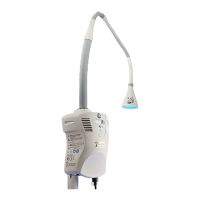
11.5 Unit Cover / Control Board Replacement
SENSITIVE TO ELECTROSTATIC DISCHARGE CAUTION
This procedure includes ESD sensitive parts. ESD control guidelines must be followed during this
procedure to ensure that static charges are safely conducted to the ground and not through the
sensitive device, to prevent damage to the equipment.
1. Make sure the system power cord is unplugged from the power outlet.
2. Remove the light pipe as instructed in section 11.3.
3. Release the power cord retainer to unplug the power cord from the system.
4. Use a Philips screwdriver to remove the back plate screws (Refer to Figure 11-7).
5. Slide o the unit cover gently until the control board harness is accessible and disconnect the harness
from the LED driver board (Refer to Figure 11-8).
6. To remove the control board, use a Philips screwdriver to remove the control board screws and pull out
the sh paper, control board and the LCD cover.
7. Reverse steps to re-install.
NOTE: When re-installing the unit cover, ensure the standby/on switch is aligned properly with its
corresponding hole on the unit cover prior to cover installation.
Figure 11-7
Figure 11-8
67
Chapter 11: Replacement Procedures

 Loading...