6
Warning!
Beware of the application of some products
commonly used against corrosion (such as
WD-40 family products) as they could damage
the pack, due to a negative chemical reaction
between some industrial oils and its plastic
enclosure. Any other materials which may
come in contact with the enclosure must be
carefully evaluated under end use conditions for
compatibility.
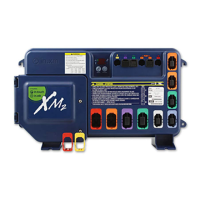
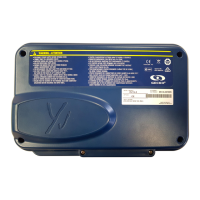
To prevent water from getting inside 2 positions are allowed.
in.yj positioning
1
2
Bonding lugBonding lug
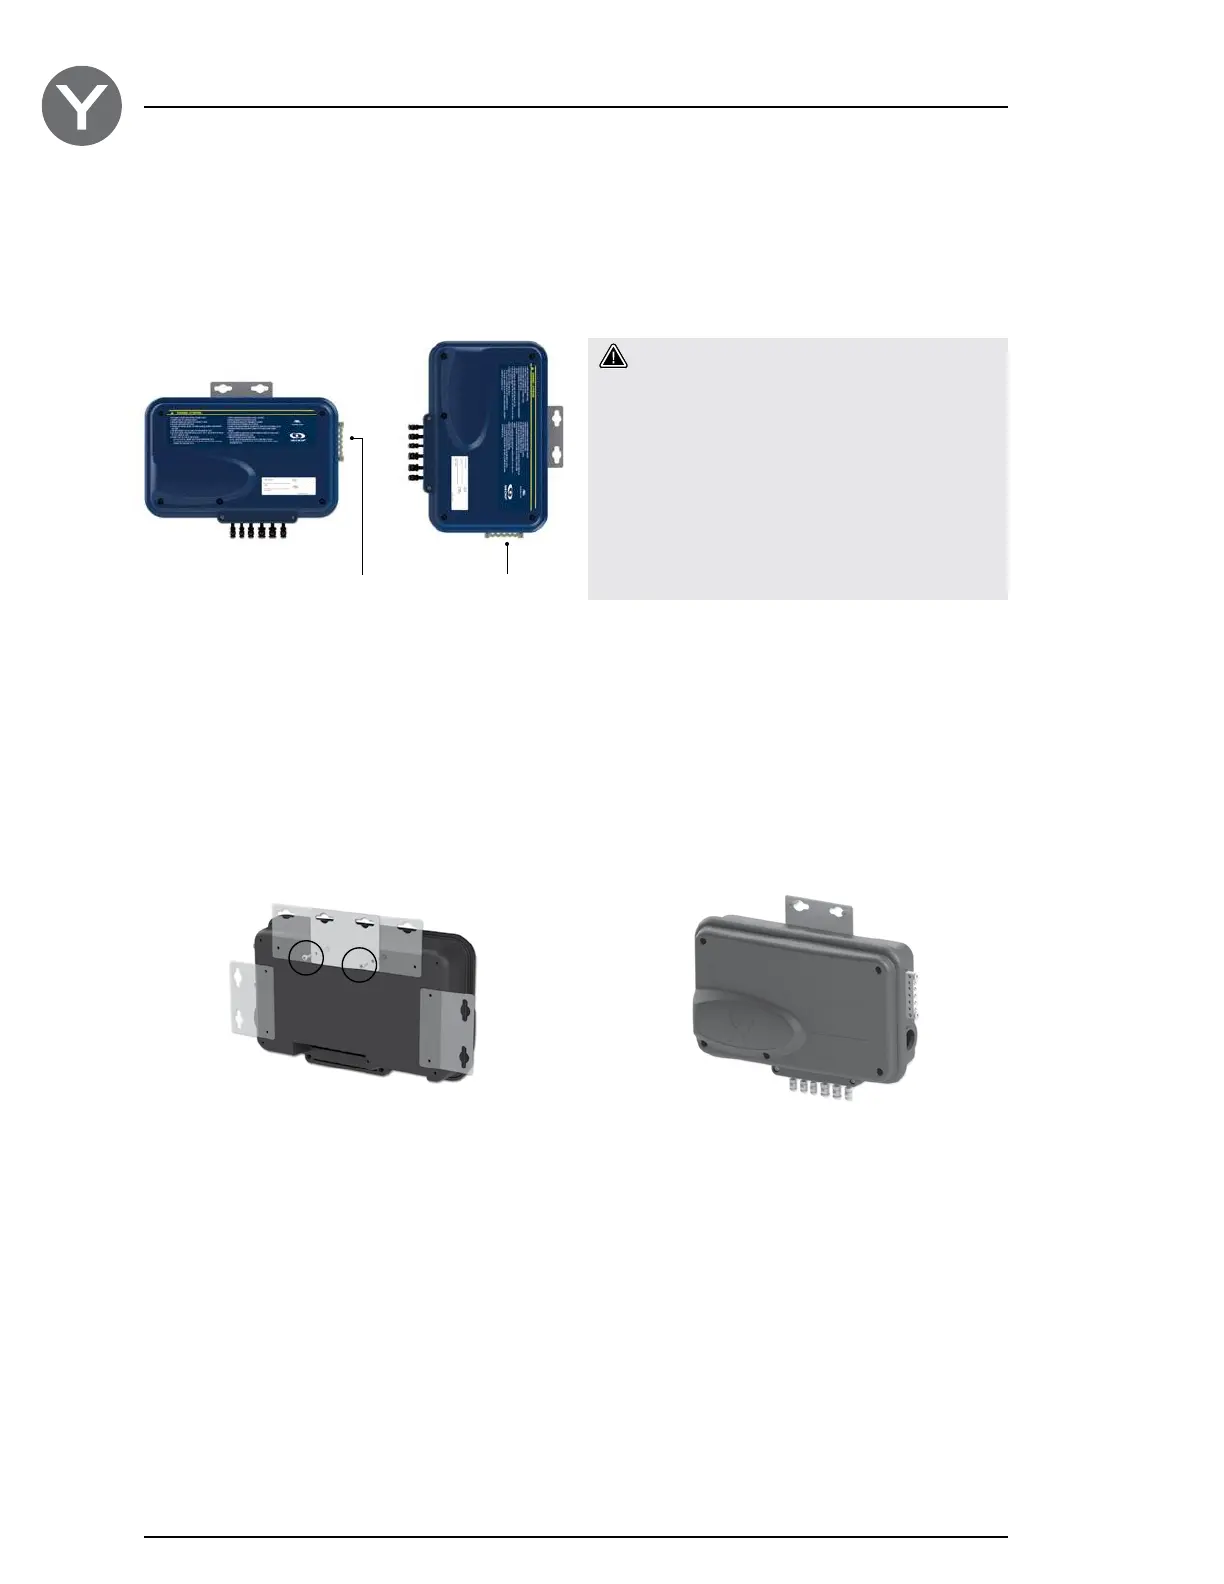
Flat aluminum brackets are designed for back wall
mounting. There are 5 possible positions you can use.
Multiple brackets can be used if extra support is needed.
Fasten the mounting bracket(s) to the back of the pack
with the supplied screws.
Part number:
Wall mount bracket kit 100 pcs - 9920-101474
(with 200 screws to attach to pack)
Using the brackets, fasten pack to 2" x 4" or 2" x 6" timber
wall studs under the spa. We recommend using #10 self
threading screws with pan or truss heads and washers
1/2" OD x 1/16” (12 mm OD x 1.5 mm).
Note: The spa pack must be installed at least 4" (100 mm) above
potential flood level. If floor is on ground level, pack should be
raised at least 4" (100 mm).
Two types of brackets can be used to secure the pack:
1
2 3 4
5
in.yj installation procedure with standard wall mounting bracket(s)
Installation
 Loading...