www.geeetech.com
Page 41
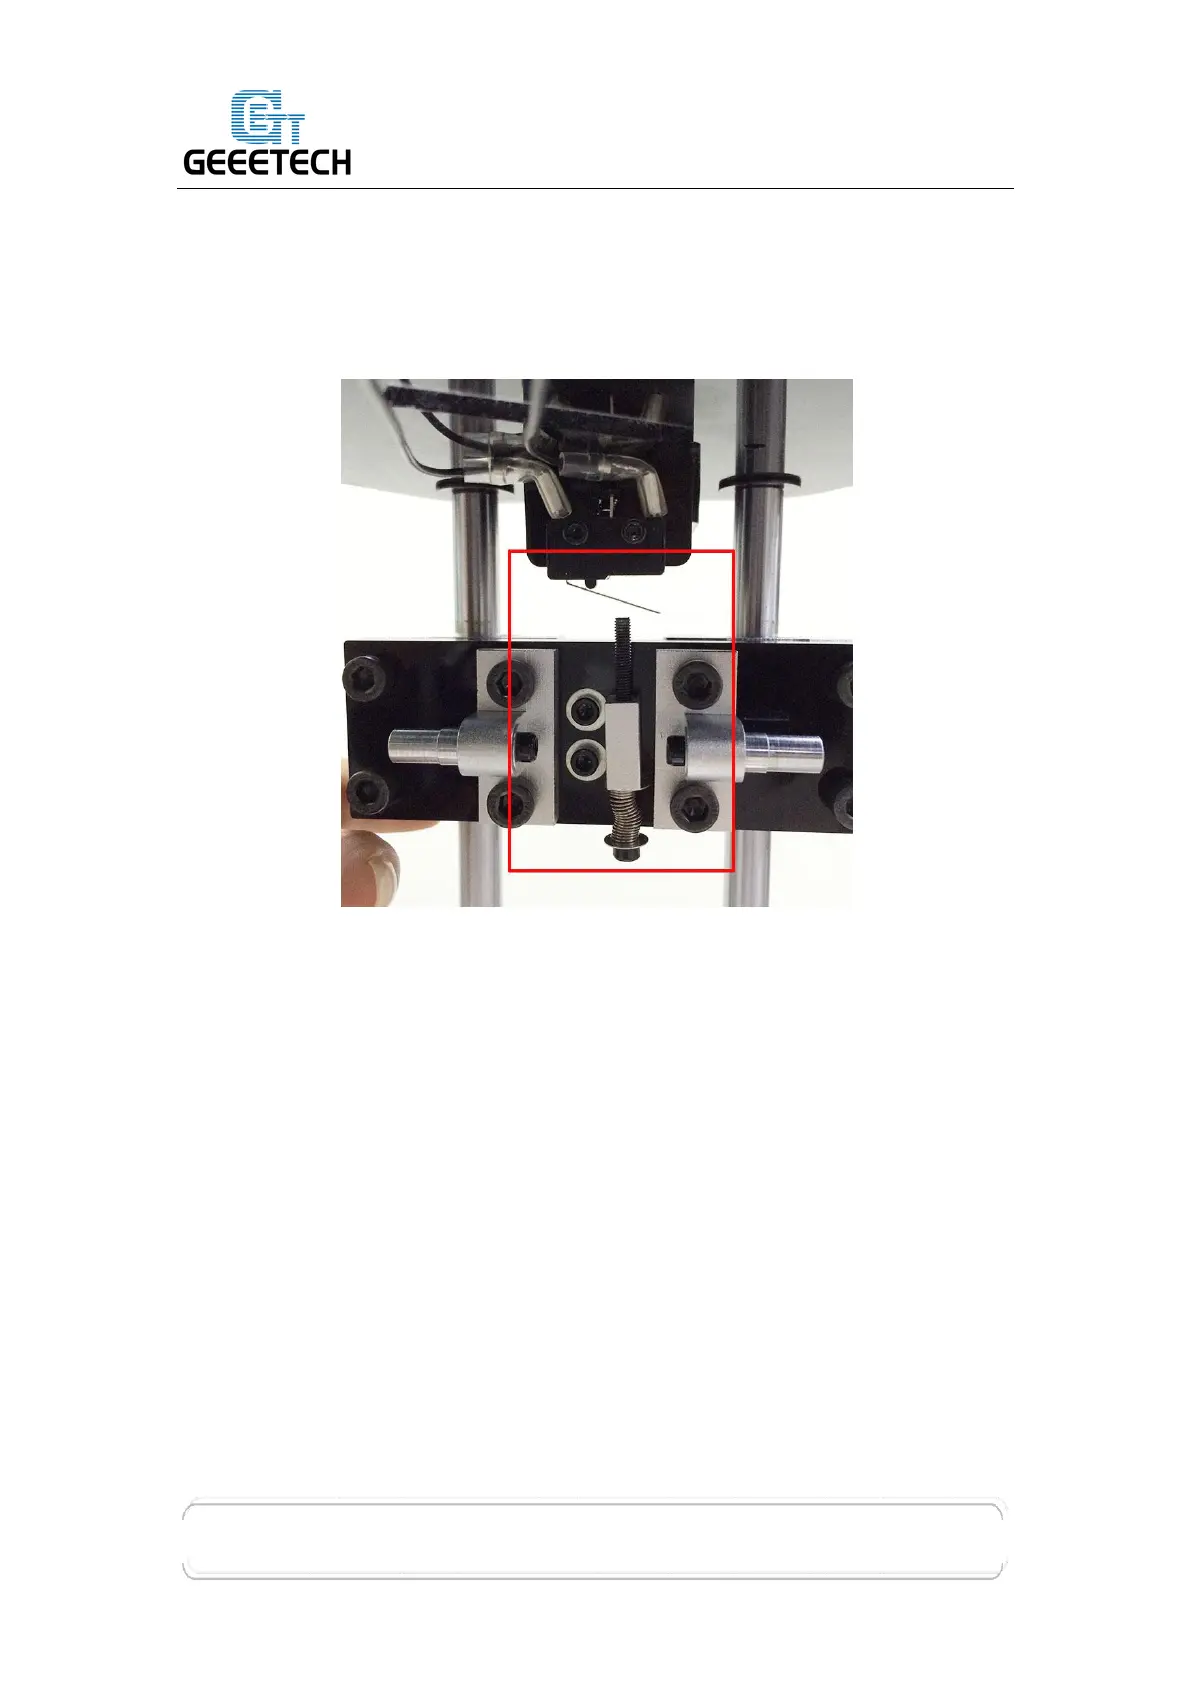
*Note: At this point it may be a good opportunity to check that the carriage
endstop screws (#24) actually connect with the endstops (#47). Align the
top place (#A1) on to the top of the rods (#1) and check that the endstops
are correctly orientated.
*Note: If you find it difficult to slide the carriage along the rod, or the carriage
does not slide smoothly, you can slightly loosen the screws on the difficult
linear bearing (#37) to release some alignment pressure with the smooth
rod (#1).
Step 2. Slide a M8 washer (#7) on each top of each smooth rod (#1) and then align
the top plate (#A1) and smooth rods (#1) until with some pressure the top
place (A1) slides on to the three towers. Fix the top place (A1) in place
with the M4x 8 screws (#25) and M4 washers (#6).
 Loading...