The system setting menuPage110
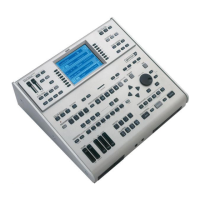
owner's manual
genesys xp
SELECTION
MP3 LYRICS EDITOR
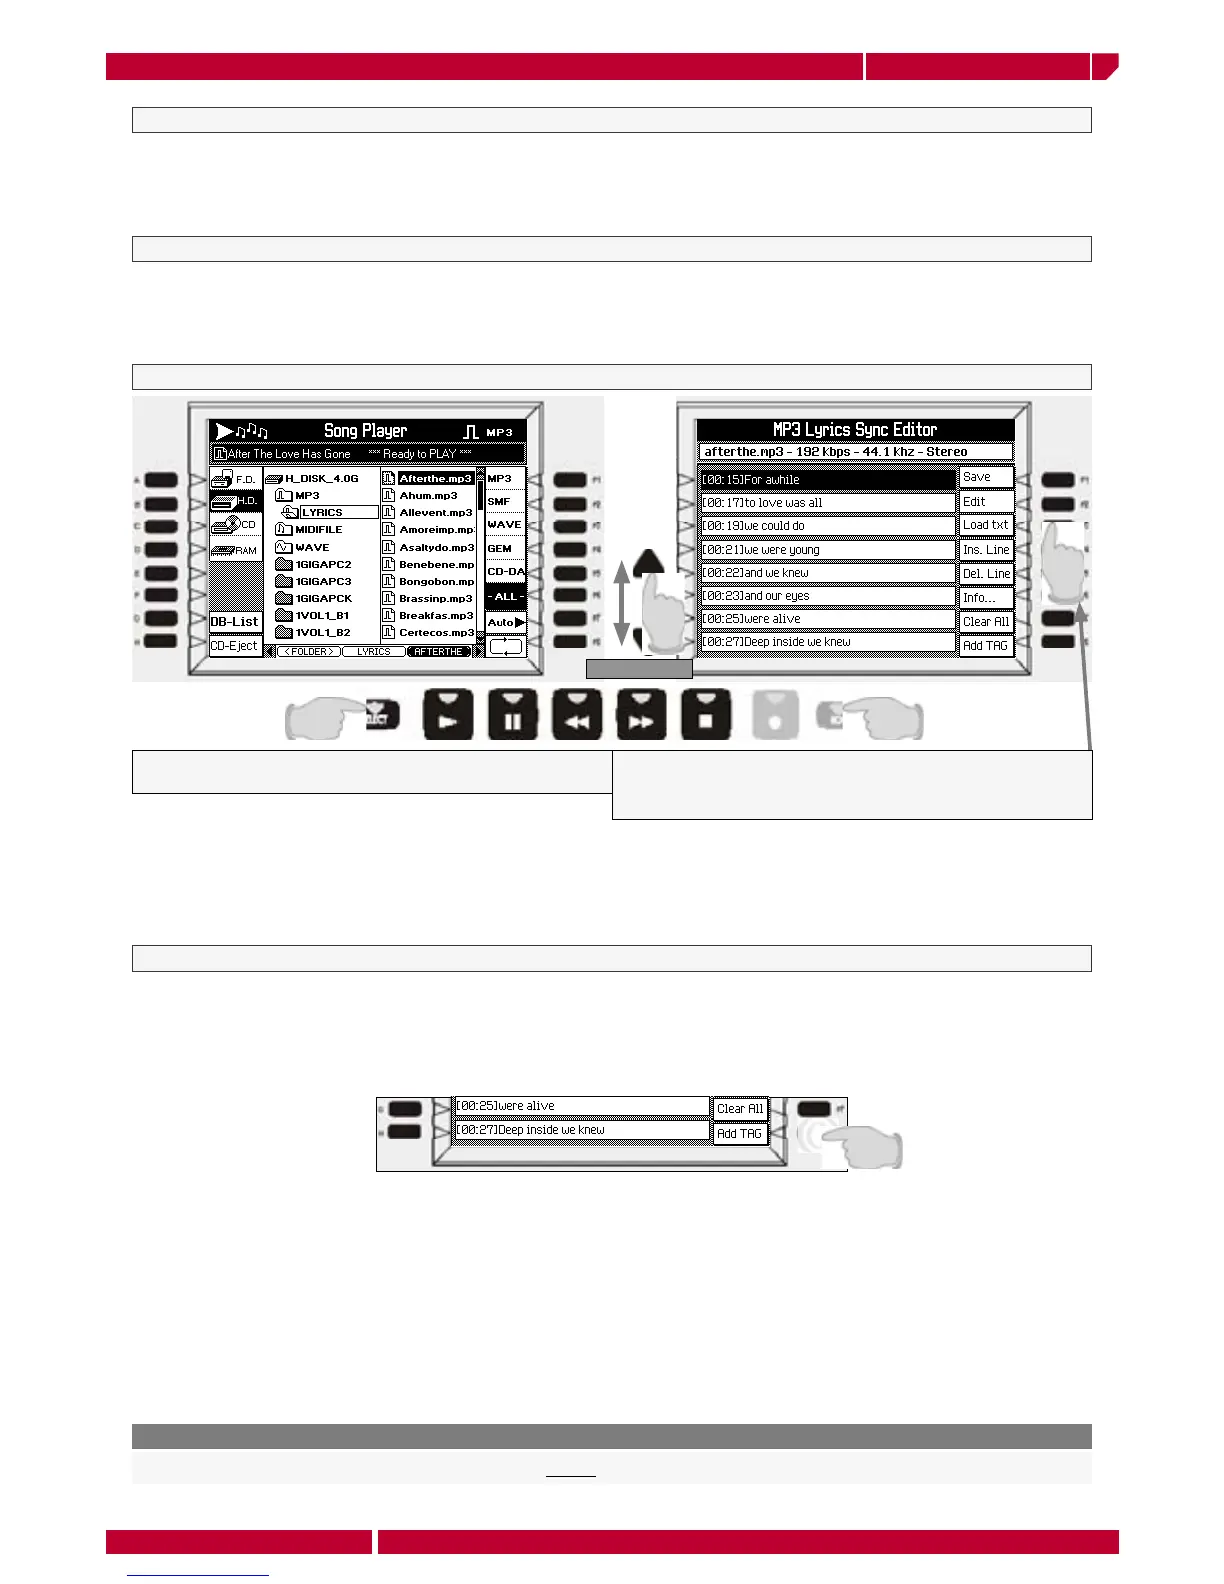
Playing one of the Mp3 file contained in the Genesys xp music CD, and pressing the LYRICS button on the panel, the lyrics
contained in the file are visualized on the display (and on a TV if connected). The Mp3 Lyrics Sync Editor can be used to edit
the existing lyrics to an Mp3 or to create new lyrics for any Mp3 which does not contain them. The created lyrics can then be
saved along with the original Mp3 for future recall.
Displaying Mp3 Lyrics
Mp3 lyrics operate in a slightly different way than midifiles or GEM song lyrics do, because they are highlighted one line at a time instead of one word at
a time. While this is slightly less convenient for learning an unfamiliar song, it offers the great advantage that the lyrics can be created as a normal text file
on a computer and then loaded into the editor where you can add the synchronization tags. You can create the lyrics using a standard text editor. Lyrics
should be typed as single lines with a "linefeed" (ENTER key), inserted between each line. Save the completed file to a floppy disk, (with the extension .TXT)
and then insert the disk into the Genesys.
Select first a Mp3 file with SONG PLAYER/SELECT and then
press EDIT
Press the F3 LOAD TXT button. Locate and select the file
using the disk menu which is now displayed.Press ENTER to
load the file.
We suggest to use a standard PS2 PC keyboard to insert the text. First press F4 INS. LINE, type the first line of lyrics and
then press ENTER. Press INS. LINE again and repeat the same procedure as many time as you wish. Making a mistake,
select the line using the up or down arrows and then press F2 EDIT. Use the DIAL to locate the error and re-type the line.
Press ENTER when finished.
Synchronization tags move the highlight cursor on the next line. Whether you've entered the text (manually or by typing
directly into the editor), adding the synchronization tags is easy. Use the F8 ADD TAG button to insert each tag, by simply
listen to the song playback and pressing the ADD TAG button every time we hear a point where the next line should be
highlighted.
Adding synchronization tags
Before you can test your lyrics, you have to save them. Press F1 SAVE to do this. Now you can play the song and press the
LYRICS button to see how your lyrics will be displayed and check for any errors. If you find an error, return to the editor by
pressing EDIT, locate the offending line and press F3 EDIT. Use the DIAL to locate the error and re-type as necessary. If a tag
was found to be in the wrong place you can manually edit it by re-typing the time tag at the beginning of the line. If you have
too many tag errors and wish to try the whole thing again, press F7 CLEAR ALL to remove all the tags.
Save your changes each time by pressing F1 SAVE before you review your changes with the LYRICS button.
Remember
Ensure that the first line of text is selected by using the UP CURSOR, get your finger ready on the ADD TAG button and
then press PLAY. Press ADD TAG on the poin of you want the highlight cursor. You'll notice that a TIMING MARKER is now
displayed at the beginning of the first line and the second line is now selected ready for tagging. Press ADD TAG on the
second point and so forth. Continue through the song in this way until you have tagged all of the lines.
Type or load the text