22
GB
Before starting the blind rivet setting tool, read and observe the operating instructions and
safety information and keep in a safe place. Have technical personnel connect the compressed
air supply to the blind rivet setting tool.
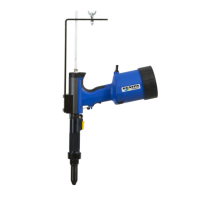
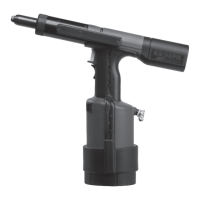
7. Start-up
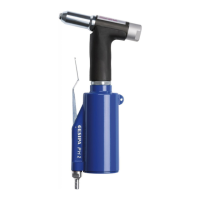
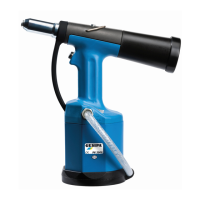
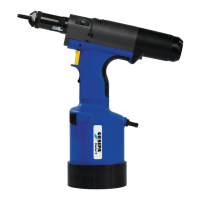
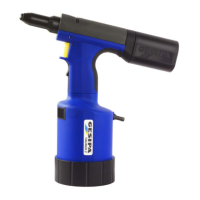
7.1 Selecting and changing the nosepiece
Caution:
Always t the nosepiece corresponding to the size of the blind rivet (refer to table in Section 6).
To change the nosepiece:
• Disconnect the tool from the compressed air supply.
• Unscrew nosepiece from steel head sleeve.
• Screw in corresponding nosepiece and tighten.
7.2 To set a blind rivet
• Connect the blind rivet setting tool to the compressed air supply.
• Insert the blind rivet in the nosepiece and t as far as it will go in the hole in the material
to be joined.
• Press trigger until the mandrel breaks off.
• Release the trigger.
• The spent mandrel is conveyed into the spent mandrel container by tilting the tool back -
automatically in tools with spent mandrel evacuation - (see 8).
 Loading...