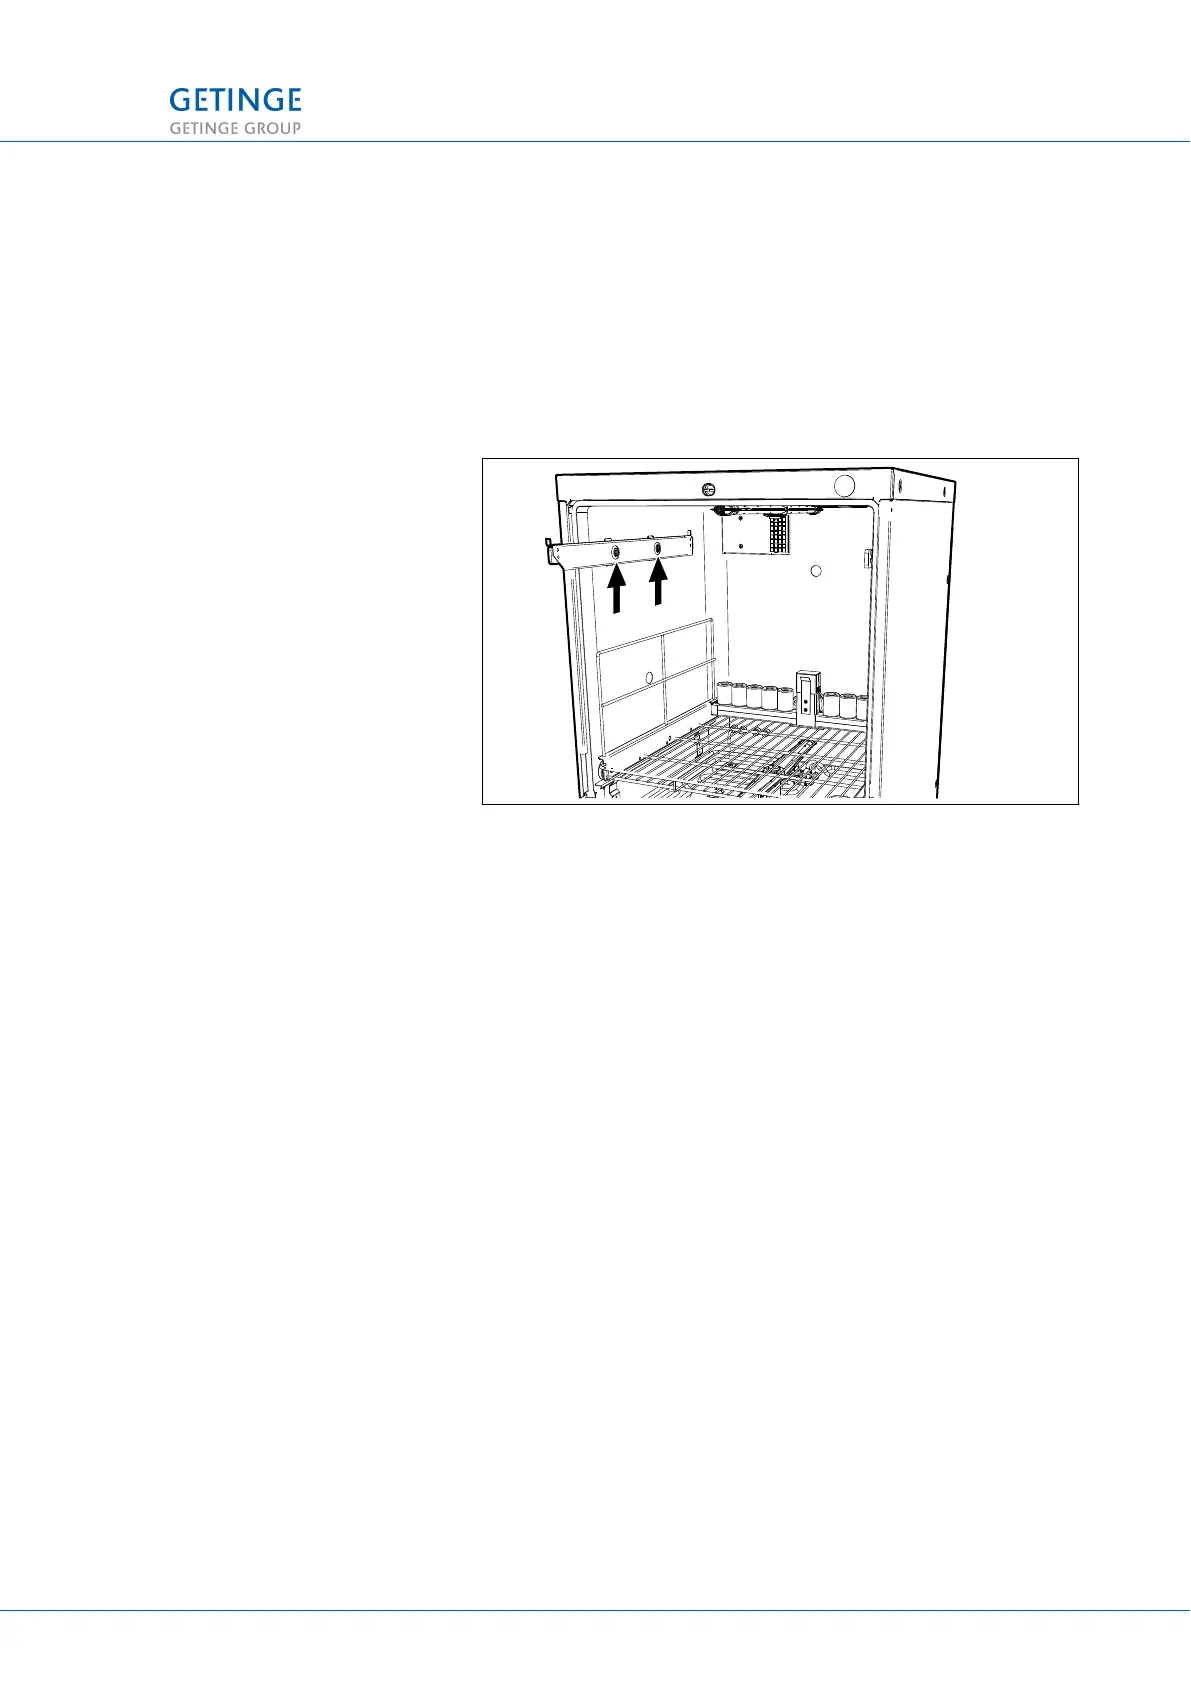
7.2.4 Replacing the guides for the upper tray
Removal
• Remove the upper tray.
• Pull out the guide rail until the screws are visible in the hole.
• Remove the two screws that are holding the guide rail in
place.
• Then take out the guide rail from the chamber wall.
Figure 15. Pull out guide rails
Assembly
• Move the guide rail towards the chamber wall with the hole
set so that the screw hole is visible.
• Line the holes up against each other.
• Spread Loctite on the screws and then tighten them.
• Push in the guide rail and put the upper tray back on the
guide rails.
7 REPAIRS AND ADJUSTMENT
TECHNICAL MANUAL GETINGE WD15 CLARO 81 (128)
<Doc_TEC><Doc_6001396902><Rev.I><Lang_en>
 Loading...