56
Girard Systems © 2005
Solution
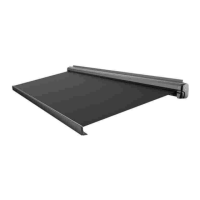
Open awning about three (3) feet. Loosen the set screw on each arm at the points of connection to
the lead rail. Remove both fabric set screws, located at each end of the rail. The lead rail is now
ready to be shifted. Close awning to about four (4) inches and, using a rubber mallet, tap the end of
the lead rail to move it over. Check for proper alignment, retighten the set screws, and replace the
fabric set screws. See “Adjusting Lead Rail.”
Problem
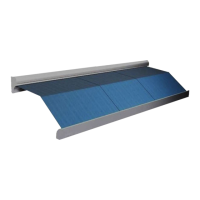
Motor end of awning box closes correctly when retracting, but opposite end does not.
Solution
See “Adjusting Lead Rail.”
Problem
After above adjustment, end of box opposite from motor still does not close tightly.
Solution
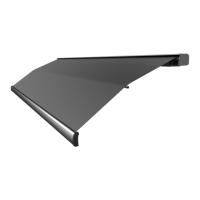
On later-model awnings, a “pivotal” lead rail adjustment is available. (The lead rail can pivot on its
connection bracket to the awning arms.) If this option is present, check that the lead rail is free to
pivot on its bolt, and that the pivot angle is correct.
Problem
The motor will not operate.
Solution
Check that the GFI switches in the vehicle are turned on. If the coach is equipped with an awning
main power switch (located inside the cabinets), check that it is turned on. The 110V motor in the
G-2000 awning is for intermittent use only (4 minutes per hour) and is designed to cut out
temporarily if used to the point of overheating. In this event, the motor must be allowed to cool, to
provide time for its built-in circuit breaker to reset. Allow up to one hour (depending on outside
air temperature) for a cool-down period. The manual crank can be used during this period.
 Loading...