Section 4 Operating Instructions
4-2
NOTE
!
The rechargeable handle should always be replaced and stored in the charger. Circuitry in the
charger will prevent the batteries from being over-charged.
NOTE
!
When charging the handles, ensure that the internal contacts in the charging compartments are
clean and that the instruments are switched o by turning the handle to the “0” position.
WARNING
!
DO NOT INSERT FINGERS INTO RECHARGER PORTS.
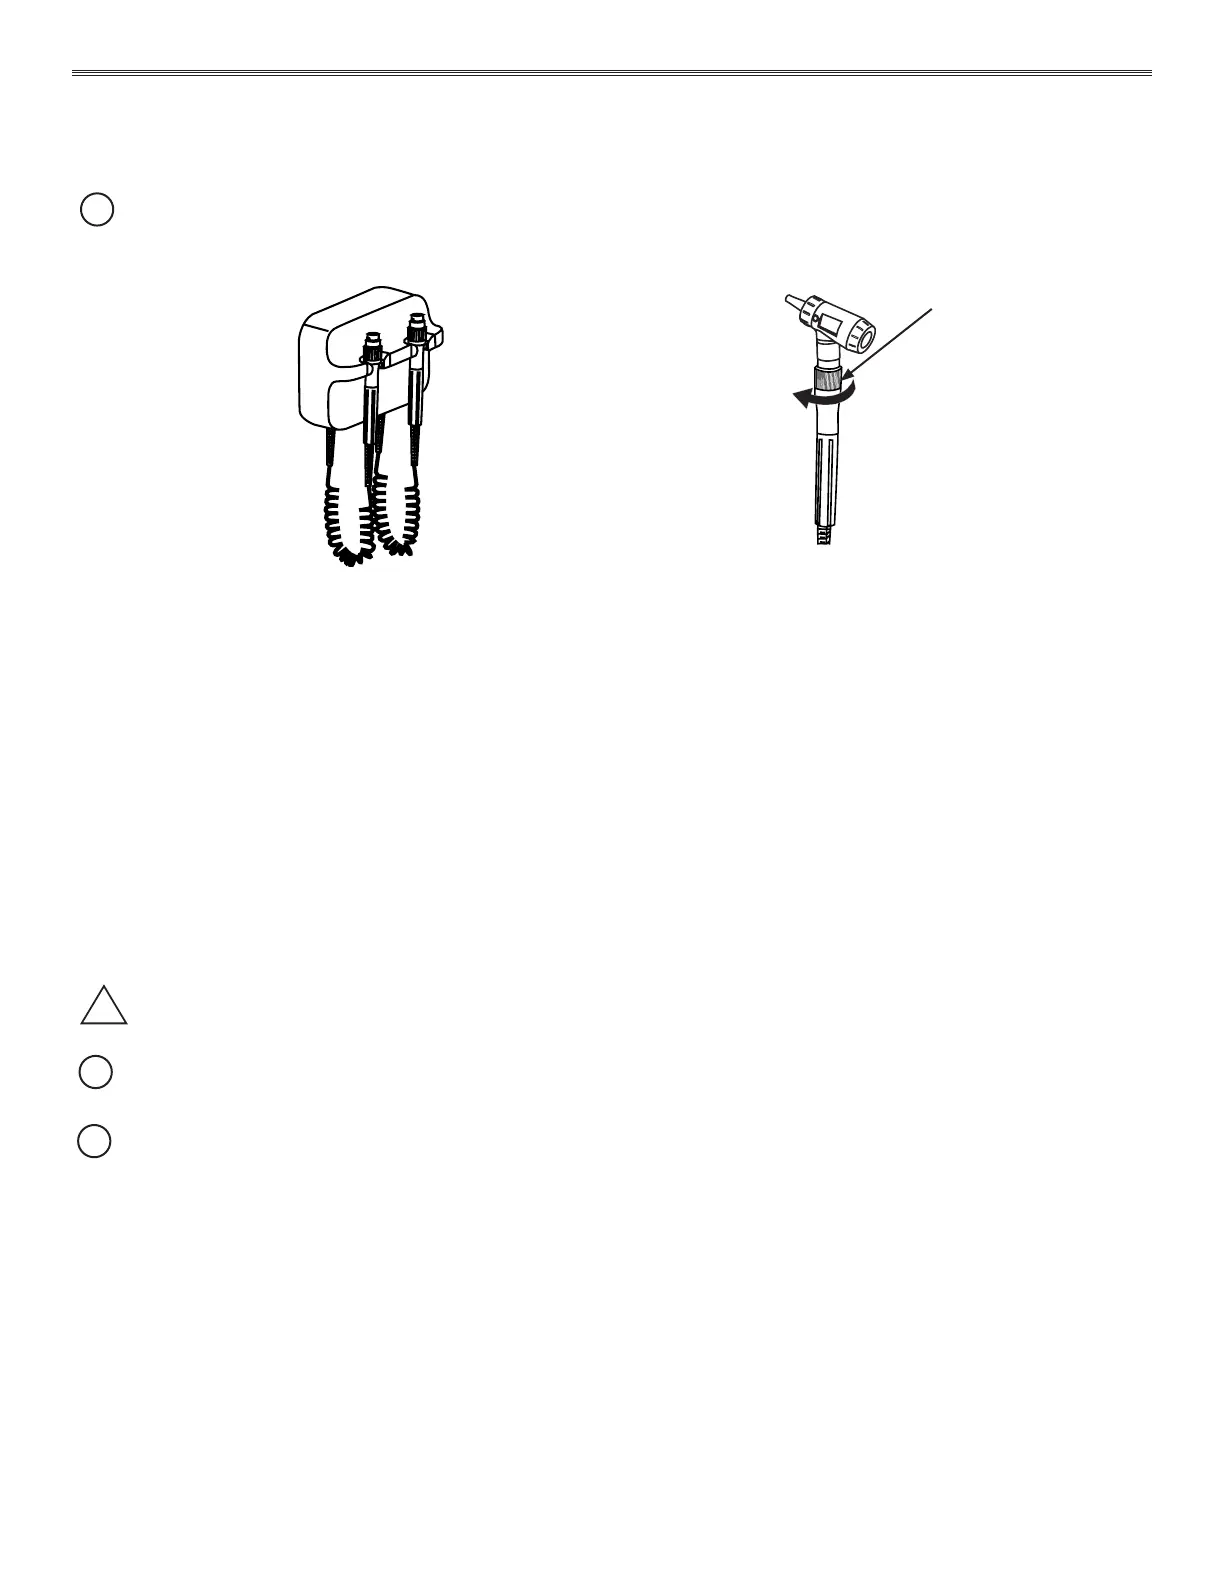
Figure 4-3. S WA77710 Wall Transformer w/ Otoscope Handles
NOTE
!
Decreasing the light output to minimum level does not power down the instrument. Returning
the handle to cradle will power the instrument down.
TURN RHEOSTAT
CLOCKWISE TO
INCREASE THE LIGHT
OUTPUT
4.4.1. Corded Instruments
S WA77710 Wall Transformer w/ Otoscope Handles
Sensor switches in the cradle operate so that power is applied to a corded handle ONLY when it is lifted out
of its holder. The sensor switches for the two illuminators are wired so that only one instrument may be used
at a time and the other instrument must be in its proper hanger. The lamp intensity is controlled by turning
the rheostat clockwise to increase the light output. Turning the rheostat counterclockwise decreases the light
output.
See the manufacturer’s wall transformer manual part number 773553, 80020201 for warnings, product
instructions, cleaning instructions and any further information.
4.4.2. Rechargeable Instruments
123-007-072 HEINE NT300 OTOSCOPE CHARGER
The pulsating light around the charging compartment shows that current is owing and that the battery is being
recharged. When the light is permanently lit, the charging sequence is complete. The battery in the handle is
fully-charged and is ready to supply maximum power.
See the manufacturer’s manual med 0613 for warnings, maintenance, electromagnetic compatibility and other
information.
See Appendix A-2 “ Accessories” for list of Otoscope Batteries, and Handles.
 Loading...