-43-
1. Expand the loop to its maximum circumference by in-
serting your ngers in the loop and slowly applying out-
ward pressure until the loop will no longer expand.
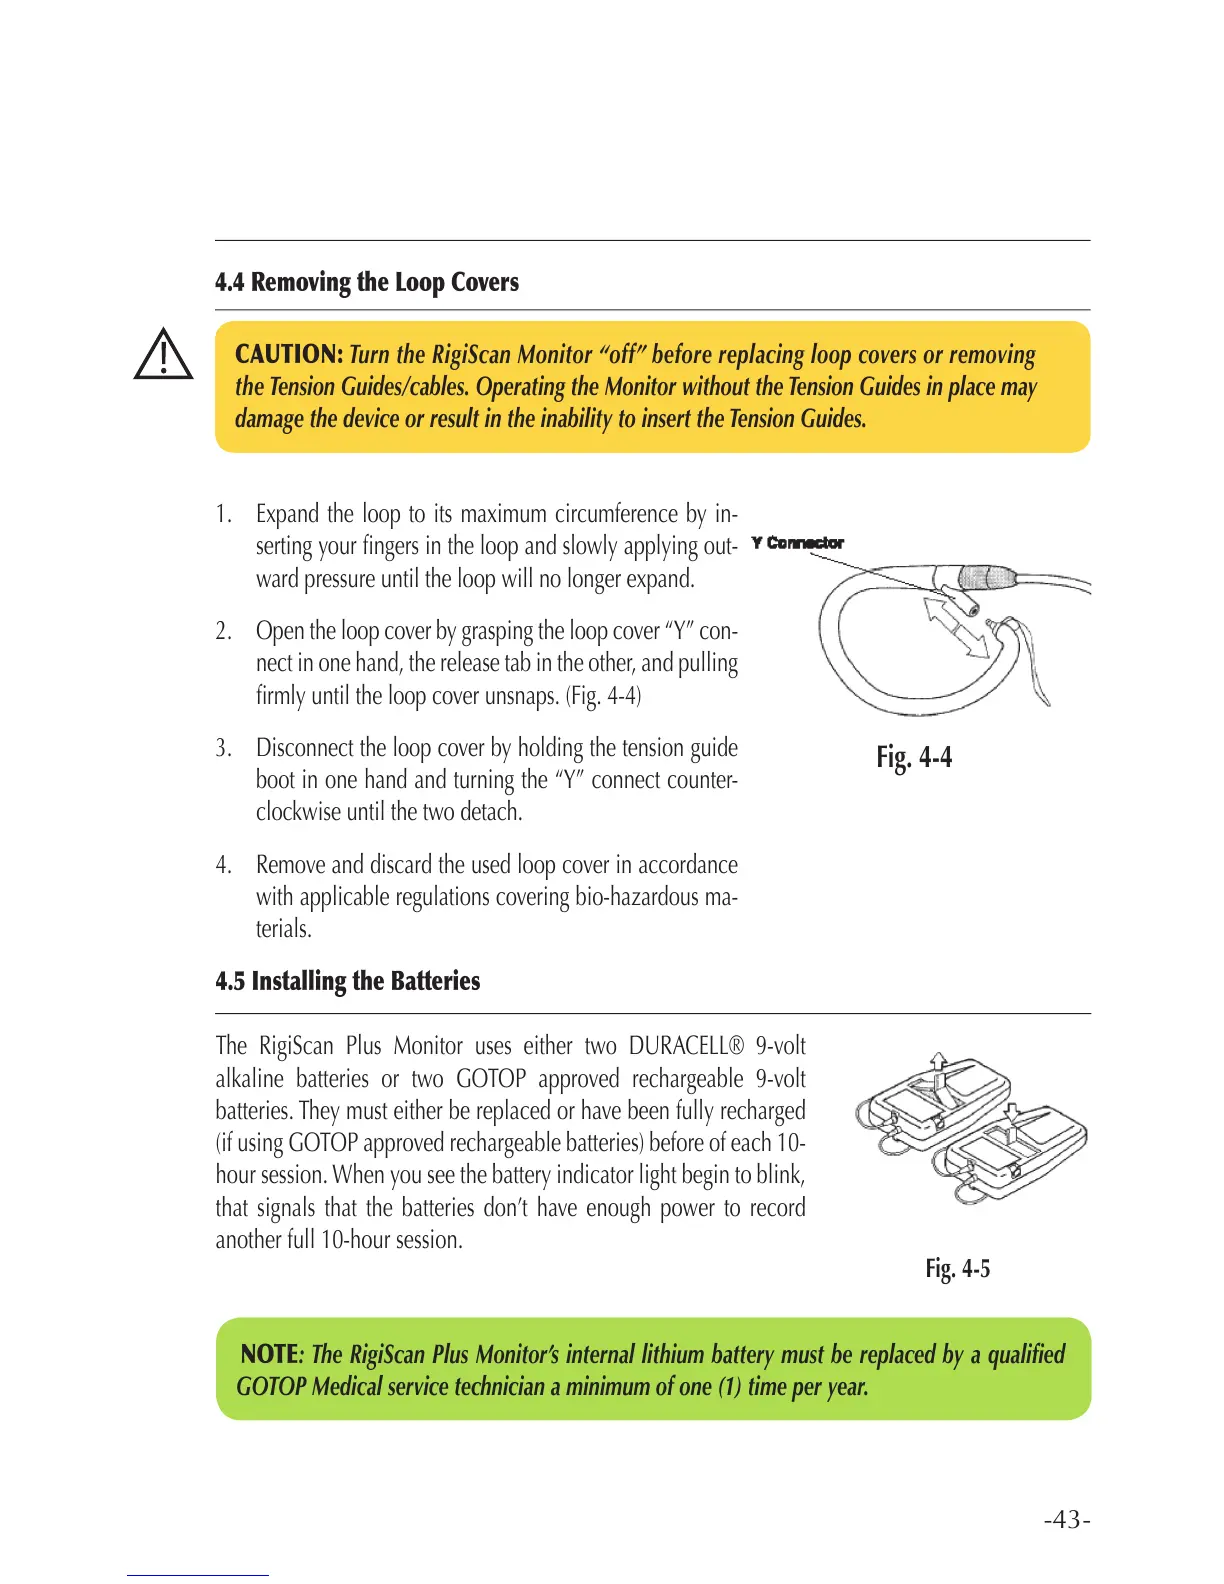
2. Open the loop cover by grasping the loop cover “Y” con-
nect in one hand, the release tab in the other, and pulling
rmly until the loop cover unsnaps. (Fig. 4-4)
3. Disconnect the loop cover by holding the tension guide
boot in one hand and turning the “Y” connect counter-
clockwise until the two detach.
4. Remove and discard the used loop cover in accordance
with applicable regulations covering bio-hazardous ma-
terials.
4.5 Installing the Batteries
The RigiScan Plus Monitor uses either two DURACELL® 9-volt
alkaline batteries or two GOTOP approved rechargeable 9-volt
batteries. They must either be replaced or have been fully recharged
(if using GOTOP approved rechargeable batteries) before of each 10-
hour session. When you see the battery indicator light begin to blink,
that signals that the batteries don’t have enough power to record
another full 10-hour session.
CAUTION: Turn the RigiScan Monitor “off” before replacing loop covers or removing
the Tension Guides/cables. Operating the Monitor without the Tension Guides in place may
damage the device or result in the inability to insert the Tension Guides.
4.4 Removing the Loop Covers
Fig. 4-5
Fig. 4-4
NOTE: The RigiScan Plus Monitor’s internal lithium battery must be replaced by a qualied
GOTOP Medical service technician a minimum of one (1) time per year.