! WARNING !
Ensure that the electrical supply has been isolated before
making any connections to the boiler.
8.1 GENERAL
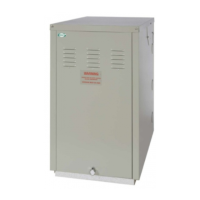
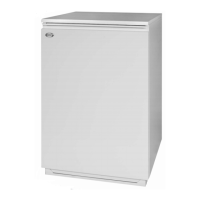
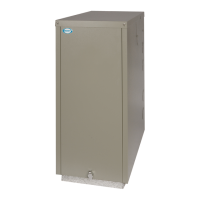
Grant Vortex Boiler House models require a ~230V 1ph 50Hz
supply. It must be protected by a 5 Amp fuse.
Refer to Figures 8-1 and 8-2 for typical control system wiring
diagrams for all models.
Refer to Figure 8-3 for the dual thermostat wiring diagram.
! WARNING !
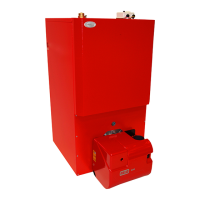
The Vortex boiler contains electrical switching equipment
and must be earthed.
The supply must be fused at 5 Amp and there must only be one
common isolator for the boiler and control system, providing
complete electrical isolation.
A fused double pole switch or a fused three pin plug and shuttered
outlet socket should be used for the connection.
The power supply cable should be at least 0.75 mm
2
PVC as
specied in BS 6500, Table 16.
All the wiring and supplementary earth bonding external to
the boiler must be in accordance with the current IET Wiring
Regulations.
Any room thermostat or frost thermostat used must be suitable for
use on mains voltage.
In the event of an electrical fault after installation of the boiler, the
following electrical system checks must be carried out:
• Short circuit
• Polarity
• Earth continuity
• Resistance to earth
! NOTE !
If the supply cord is damaged, it must be replaced by
the manufacturer, its service agent or similarly qualied
persons in order to avoid a hazard.
8.2 CONNECTING THE POWER SUPPLY
It is recommended that the boiler should be connected to a
switched mains power supply from an external programmer or
control system.
Fit and connect the dual thermostat control as follows:
1. First t the ow pipe (26-46 models only). Refer to Section
5.3. Fit the thermostat phials of the dual thermostat into the
thermostat pockets on the ow pipe. Refer to Figure 5-6.
2. Fit the dual thermostat and bracket (15-26 and 26-46 models
only).
For 46-70 models – the dual thermostat is factory tted (refer
to Figure 5-4).
3. Undo the three screws securing the dual thermostat cover
and lift o the cover.
4. Withdraw the cable support bushes from the cover. Pass the
burner supply cable through one of the bushes and connect
it to the boiler (control) thermostat (refer to Figure 8-3) as
follows:
• Live (Brown) to terminal 1 on the control thermostat
• Green/Yellow to the earth terminal, marked ⏚, on the
control Thermostat
• Pass the Earth ‘ying lead’ (Green/Yellow) from casing
through the same bush and connect to earth terminal,
marked ⏚, on the control thermostat.
5. Pass a switched mains power supply through the other cable
support bush and connect it to the overheat thermostat (refer
to Figure 8-3) as follows:
• Switched live (Brown) to terminal C on the overheat
thermostat
• Earth (Green/Yellow) to the earth terminal (marked ⏚) on
the overheat thermostat
• An earth link (not supplied) must be tted between the
earth terminals of the overheat and control thermostats
both marked ⏚. Refer to Figure 8-3.
• Neutral (Blue) wire from incoming switched mains
supply must be linked to the neutral (Blue) wire to the
burner using a single connector (not supplied).
• A link (not supplied) must be tted between terminal 2
on the overheat thermostat and terminal C of the control
thermostat. Refer to Figure 8-3.
Refer to Figures 8-1 and 8-2 for typical control system wiring
diagrams.
For other systems not covered, contact Grant Engineering (UK)
Ltd.
Section 8: Electrical Page 23
8 ELECTRICAL
 Loading...

