Greenlee Textron / Subsidiary of Textron Inc.
6
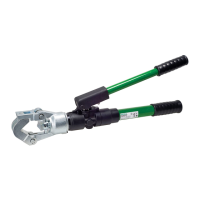
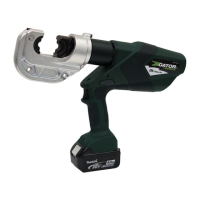
1990 Dieless Hydraulic Crimping Tool
Pressure Adjustment Procedure
1. Fully retract the ram, then pump the handle one
stroke.
2. Remove the RTV (16) and set screw (17) from the
fixed handle assembly (18).
3. Unscrew the fixed handle assembly (18) from the
tool body.
4. Pump the handle to fully extend the ram.
5. Remove the plug (19) from the reservoir, taking care
not to spill the oil.
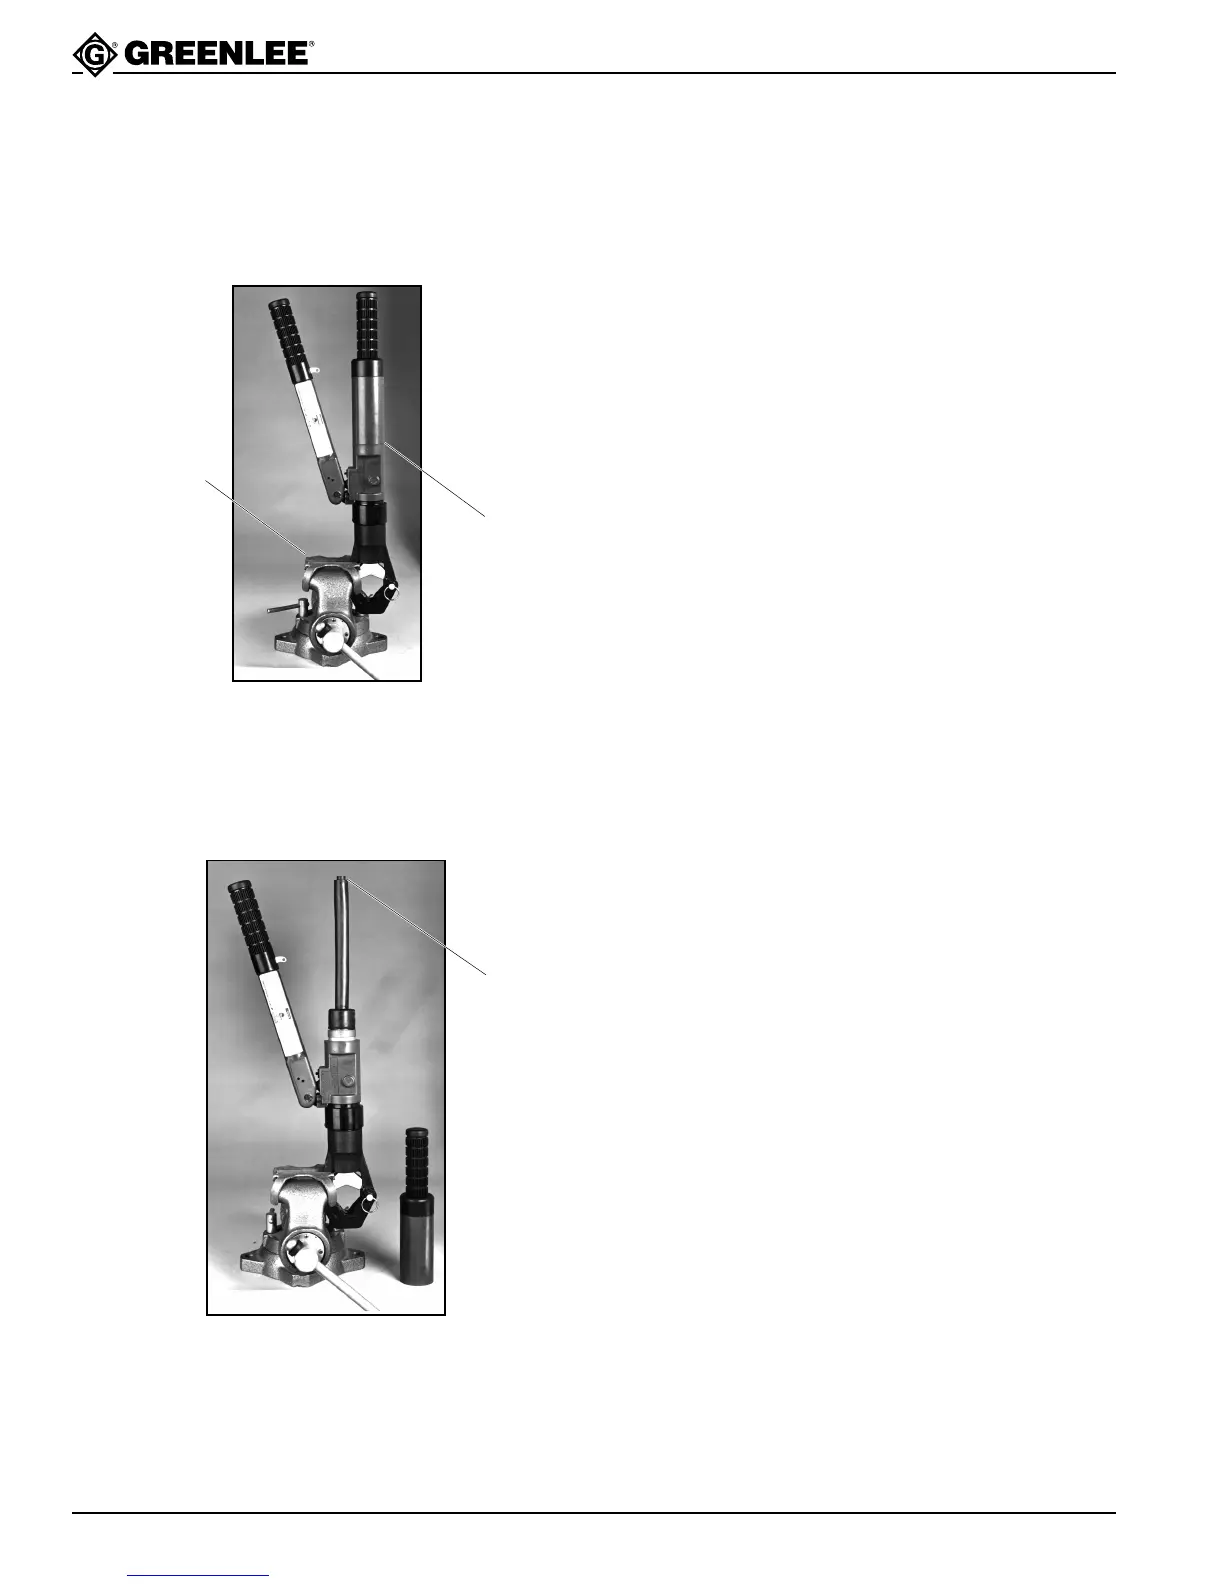
6. Remove the tool from the vise and pour the oil into a
waste oil container.
7. Clamp to tool head in the vise. Remove O-ring (21)
and reservoir (20). Add oil until the pump block is
3/4 full.
8. Serial Code WH: Remove RTV (101) and screw
(100).
9. Loosen fastener (92).
10. Adjust the pressure by turning screw (93) in small
increments. Each 15° of adjustment makes a
difference of approximately 10 Bar (150 psi).
Adjust as follows:
• clockwise to increase relief pressure
• counterclockwise to decrease relief pressure
11. Install reservoir (20).
12. Pump the handle to fully extend the ram. Note the
pressure required to open the relief valve (which
produces an audible click). Repeat the adjustment
procedure until the valve consistently relieves
between 90 and 103 Bar (1300 to 1500 psi).
13. Serial Code WH: Tighten the set screw (92). Install
the nylon washer (99) and screw (100).
Serial Code YM: Tighten the jam nut (92).
14. Pump to achieve pressure relief, to ensure that the
adjustment was not disturbed during Step 13.
15. Install the reservoir (20) and O-ring (21).
16. Retract the ram fully.
17. Repeat Step 5 of the Pressure Check Procedure.
18. Remove the gauge and adapter and install the port
plug (97).
19. Add hydraulic oil to the reservoir until it overflows.
20. Cover the reservoir with a clean shop cloth. Pump
the handle 10 to 12 times, then retract the ram fully.
Repeat several times to eliminate any air in the
system.
21. With the pump handle vertical and the ram fully
retracted, fill the reservoir until it overflows.
Note: The pump handle must be all the way up and
the ram must be fully retracted. Otherwise, you may
overfill the reservoir which will cause it to leak.
22. Install the reservoir plug (19) and wipe off all excess
oil.
23. Serial Code WH: Coat the reservoir lightly with a
dry white lubricant (silicone or talcum).
24. Pump the handle one stroke and install the reservoir
handle (18). Install the set screw (17) and tighten
securely.
25. Clean the following items, then cover them with an
RTV sealant:
• set screw (17)
• pipe plug (97)
• screw (100)
Vise with
Jaw Protectors
RTV and
Set Screw
(16, 17)
Reservoir
Plug (19)