-16-
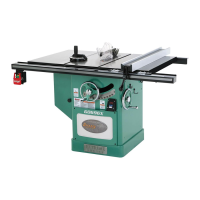
Model G0803Z (Mfd. Since 12/18)
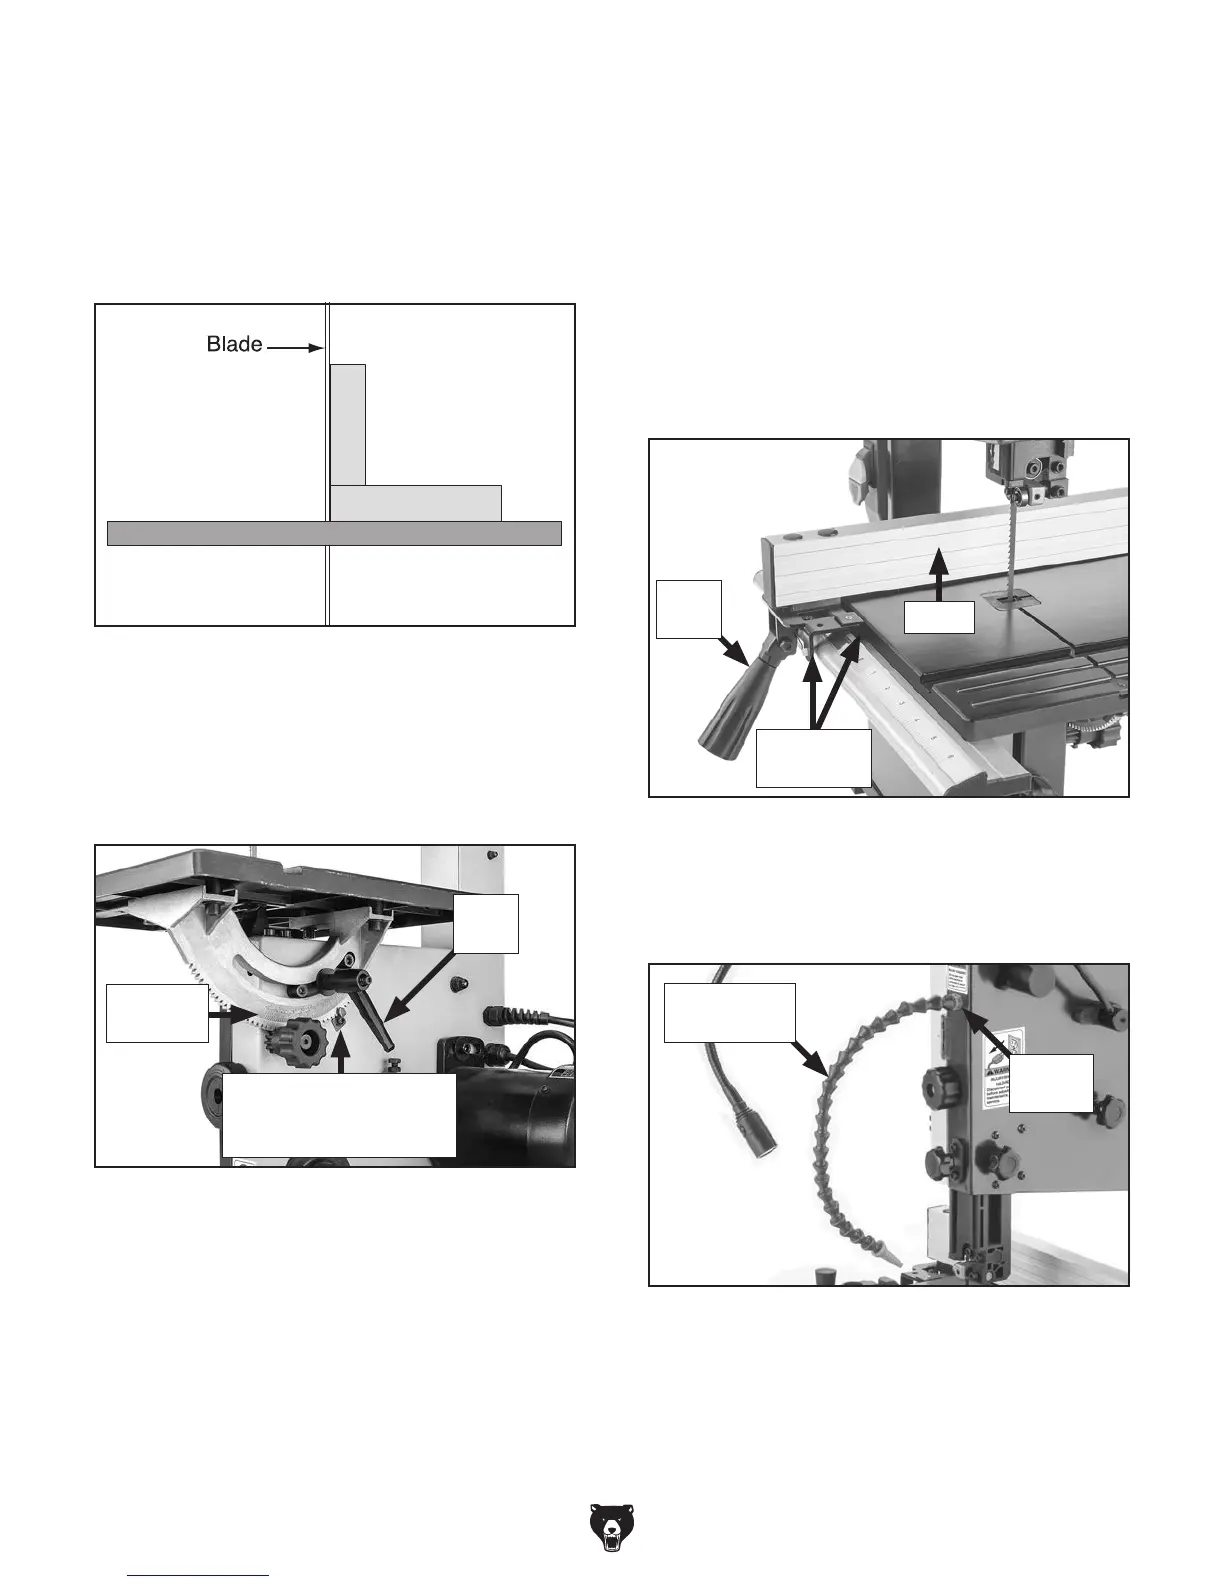
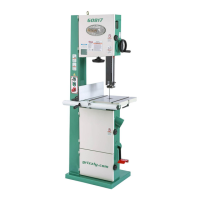
9. Use lock lever to secure table perpendicu-
lar to blade, then set scale indicator to "0"
on table tilt scale and tighten screw (see
Figure 15).
10.
Re-install wing bolt, lock washer, flat washer,
and D-nut (removed in Step 4) on table
assembly.
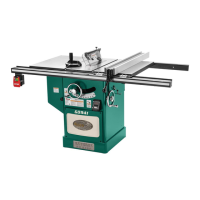
11.
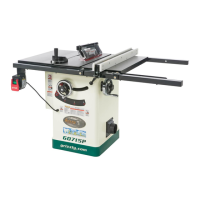
Install fence on fence rail as shown in
Figure 16.
Note: Fence lock lever (see Figure 16)
needs to be in up position when fitting fence
onto fence rail. Once fence snaps onto fence
rail, push lock lever down to secure fence in
position.
Figure 15. Table tilt controls re-installed.
Table Tilt
Scale
Lock
Lever
Set Indicator to
"0" When Table is
Perpendicular to Blade
Figure 16. Fence installed on fence rail.
Fence
Lock
Lever
Fence on
Fence Rail
7. Completely raise upper blade guide assem-
bly, then place machinist's square flat on
table, against side of blade (see
Figure 14).
8.
Use adjustment knob to tilt table until square
is flat against side of blade, as illustrated in
Figure 14.
Table
Square
Figure 14. Using a square to adjust table
perpendicular to the side of blade.
12.
Attach chip blower nozzle to nozzle base
(see
Figure 17). Nozzle simply snaps onto
base.
Figure 17. Chip blower nozzle attached to base.
Chip Blower
Nozzle
Nozzle
Base