-26-
Model T31739 (Mfd. Since 11/19)
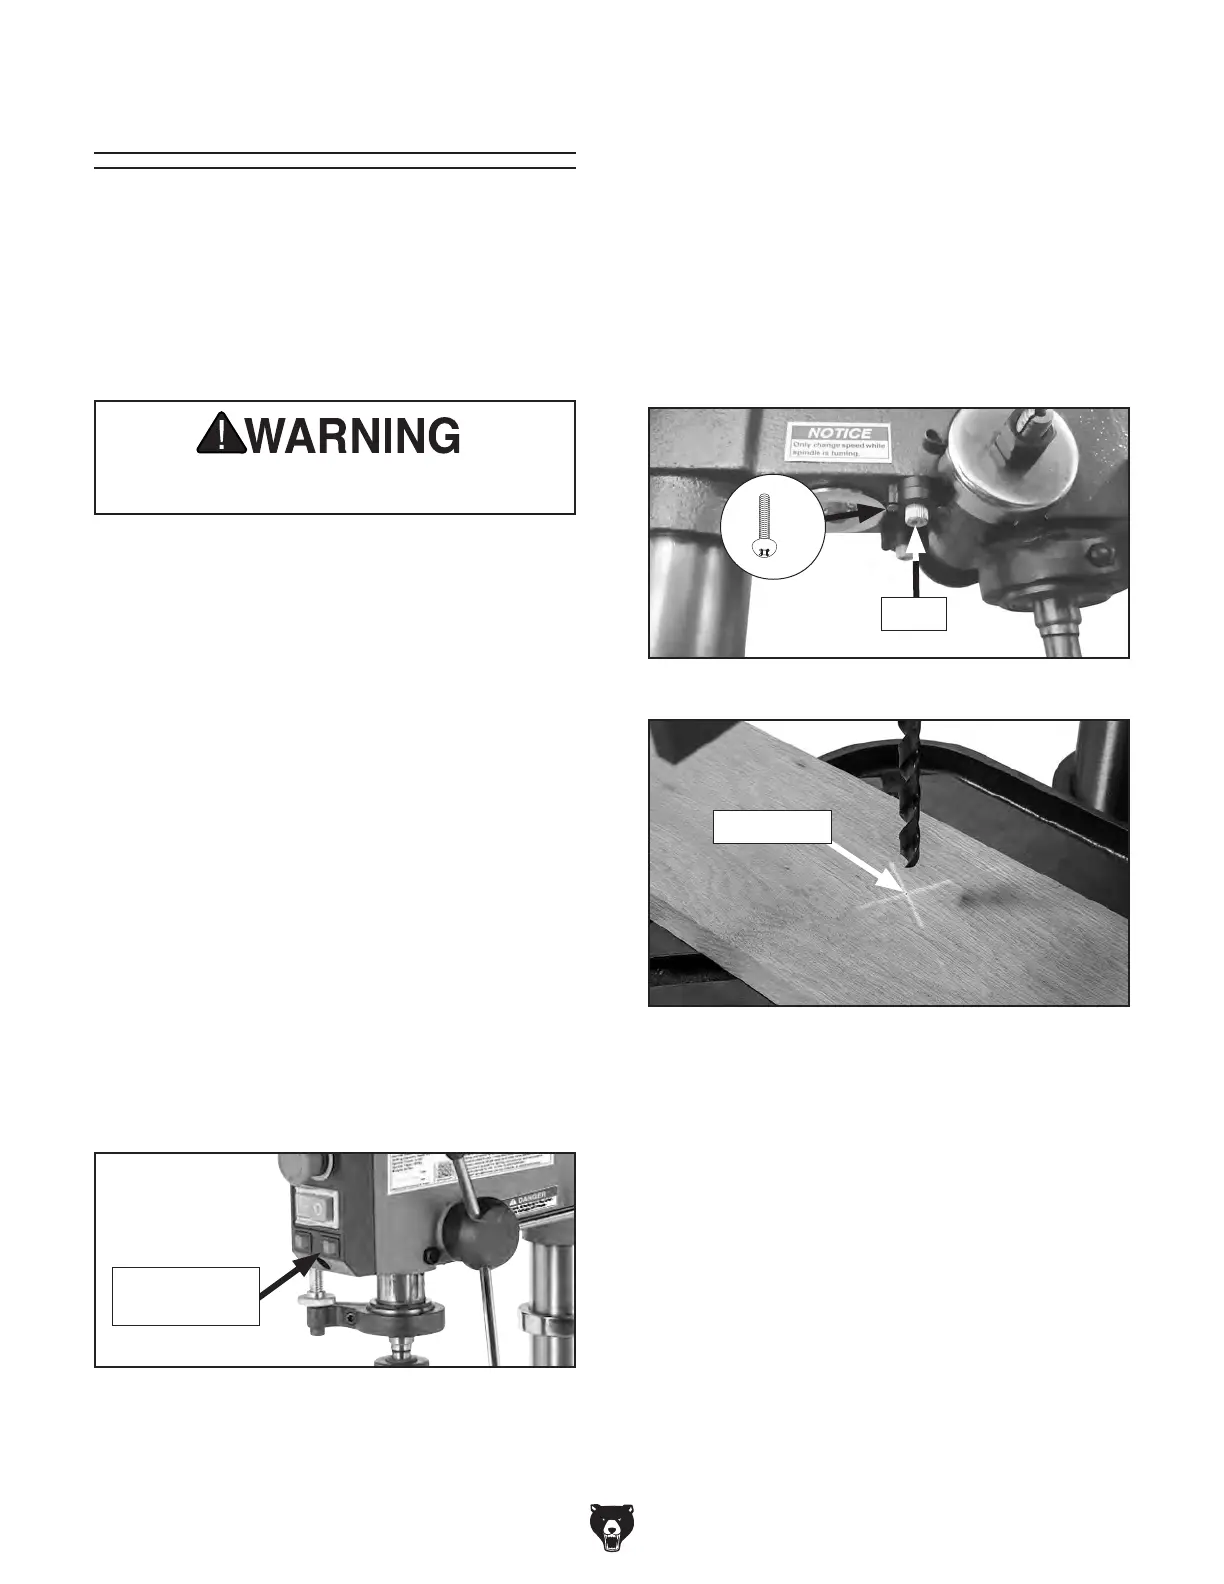
Adjusting Laser
7. Loosen (2) Phillips head screws securing
each laser seat then adjust lasers by hand
(Figure 34), positioning them so crosshairs
align with indentation you made earlier in
surface of workpiece (see Figure 35).
— Turning each laser will adjust each cross-
hair line angle.
— Adjusting laser position in seat will adjust
crosshair line positions.
Figure 35. Crosshairs aligned with indentation
on workpiece.
Indentation
Figure 34. Laser adjustment components.
Laser
The crosshair lasers should be checked and
adjusted for accuracy before starting a new
project, raising or lowering the table, or changing
workpiece thickness.
DO NOT look directly into laser. Severe eye
injury will result.
To adjust lasers:
1.
DISCONNECT MACHINE FROM POWER!
2. Install drill bit in chuck (see Installing/
Removing Drill Bits on Page 24).
3.
Clamp workpiece to table.
4.
Adjust table so workpiece is just below drill
bit, then lock table in position.
5.
Lower drill bit so it touches workpiece, mak-
ing a slight indentation in the surface, then
raise bit.
6
. Connect drill press to power. Turn laser
ON using switch on front of drill press (see
Figure 33).
Figure 33. Location of laser ON/OFF switch.
Laser ON/
OFF Switch
Items Needed Qty
Phillips Head Screwdriver #1 ............................. 1
If a laser burns out, refer to Replacing Lasers &
Worklight on Page 33 to replace.
8
. Once crosshairs are aligned with indenta-
tion in workpiece, tighten screws loosened in
Step 7 to secure laser positions.
x 2