41
ENGLISH
Registering the device with the
WLAN router with individual
network settings
These settings require advanced knowledge of
network configuration.
1 Press »MENU« to open the menu.
2 Select the option »System settings« by pressing
» « or » « or by turning the Jog-Shuttle and
confirm by pressing »OK«.
3 Select the option »Network« by pressing » «
or » « or by turning the Jog-Shuttle and con-
firm by pressing »OK«.
4 Select the option »Manual settings« by press-
ing » « or » « or by turning the Jog-Shuttle
and confirm by pressing »OK«.
Time/Date
Internet Setup
Internet Wizard
PBC Wlan setup
View settings
Wlan region >
Manual settings
5 Select the option »Wired« or »Wireless« by
pressing » « or » « or by turning the Jog-
Shuttle and confirm by pressing »OK«.
6 Select the option »DHCP enable« or »DHCP
disable« by pressing » « or » « or by turning
the Jog-Shuttle and confirm by pressing »OK«.
Notes:
7
Setting »DHCP disable« means all address-
es must be entered manually.
7
If »DHCP enable« is set, the addresses are
automatically assigned by the router. If you
have selected »DHCP enable«, continue
with step 12.
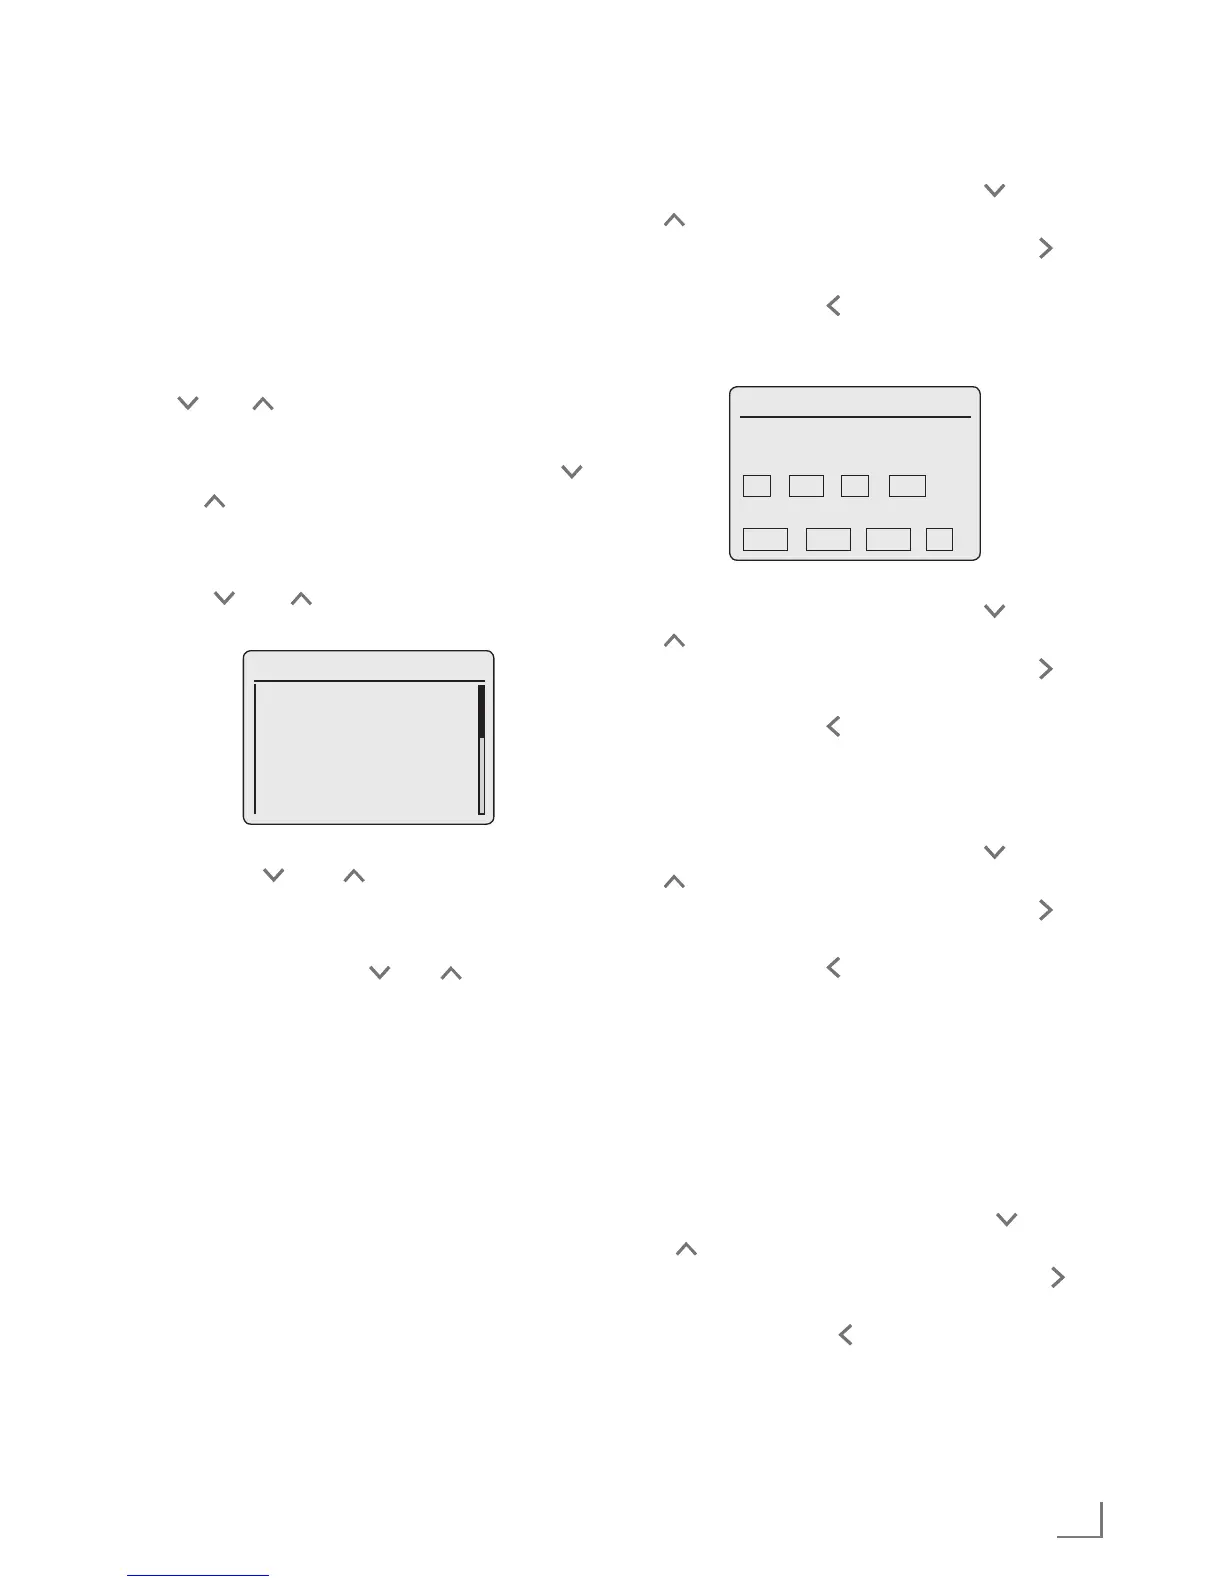
7 Enter the IP address.
Select the first number by pressing » « or
» « or by turning the Jog-Shuttle.
Select the next digit position by pressing » «
or by turning the Jog-Shuttle (you can switch
back by pressing » « on the remote control).
Repeat the procedure for all characters.
Confirm the IP address by pressing »OK«.
Time/Date
IP settings 3/9
IP adress
10 . 134 . 10 . 254
Subnet mask
255 . 255 . 254 . 0
8 Enter the Subwork mask.
Select the first number by pressing » « or
» « or by turning the Jog-Shuttle.
Select the next digit position by pressing » «
or by turning the Jog-Shuttle (you can switch
back by pressing » « on the remote control).
Repeat the procedure for all characters.
Confirm the number by pressing »OK«.
9 Enter the Gateway address.
Select the first number by pressing » « or
» « or by turning the Jog-Shuttle.
Select the next digit position by pressing » «
or by turning the Jog-Shuttle (you can switch
back by pressing » « on the remote control).
Repeat the procedure for all characters.
Confirm the number by pressing »OK«.
Note:
7
The primary and secondary DNS (Domain
Name System) are the network address of
the server allocated by the provider.
10 Enter the Primary DNS.
Select the first number by pressing » « or
» « or by turning the Jog-Shuttle.
Select the next digit position by pressing » «
or by turning the Jog-Shuttle (you can switch
back by pressing » « on the remote control).
Repeat the procedure for all characters.
Confirm the number by pressing »OK«.
SPECIAL SETTINGS
 Loading...