8
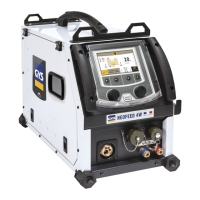
Using the machine interface
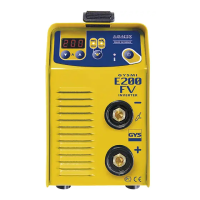
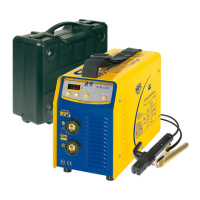
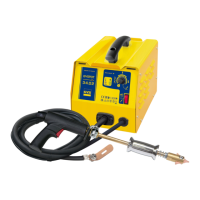
Control of the power source
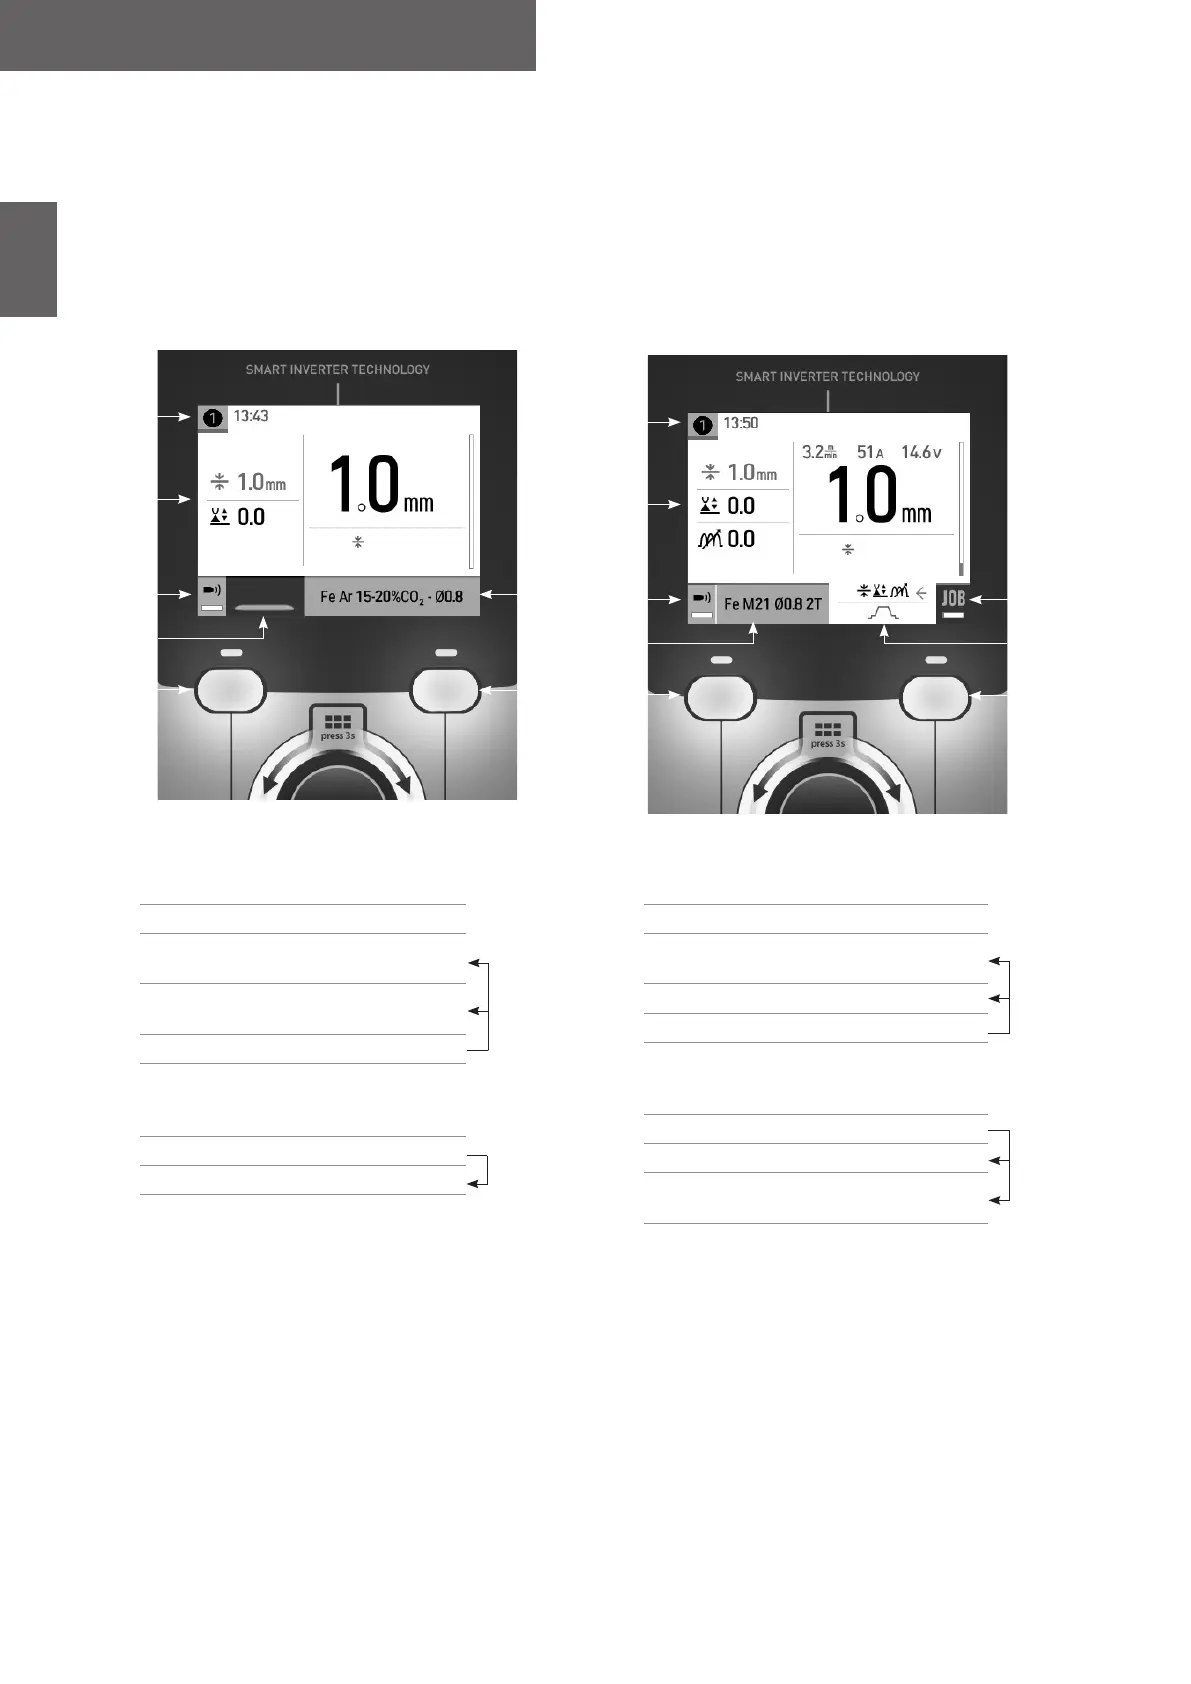
The main screen displays all the information needed before, during, and after welding.
The interface is adjustable with 2 dierent display modes: Easy or Expert.
Easy Expert
Thickness
Welding
1
2
3
4
8
5 7
6
1
2
3
4
9
5 7
6
Thickness
8
1
Torch used (E2 / E3)
Schedule
2 Current settings
3
Long press BP1
Gas ow control
4
Welding mode choice:
Welding/Spot-welding/Chain-stitch
5 Push-button no. 1 (BP1)
6
Navigation thumbwheel
Short press to conrm
Long press = General menu
7 Push-button no. 2 (BP2)
8 Current process settings
1
Torch used (E2 / E3)
Schedule
2 Current settings
3
Long press BP1
Gas ow control
4 Current process settings
5 Push-button no. 1 (BP1)
6
Navigation thumbwheel
Short press to conrm
Long press = General menu
7 Push-button no. 2 (BP2)
8 Advanced settings
9
Long press BP2
Access to JOB
Easy Mode:
This streamlined display mode is ideal for achieving optimum weld quality.
- 3 welding modes: Welding, Spot-welding and Chain-stitch
- 4 settings : Choice of welding material (synergies), ller wire diameter, thickness, and arc length.
Expert Mode :
This more extensive display mode is designed for more experienced welders.
- Welding modes: Synergic or Manual
- Trigger behaviour: 2T or 4T
- Spot modes: Spot and Spot-Delay
- Selection of the main setting to be presented on the display
- Full adjustment of the welding cycle: Longueur d’arc, inductance, Pré-gaz, Hot Start, Burn Back, Post gaz, etc