7
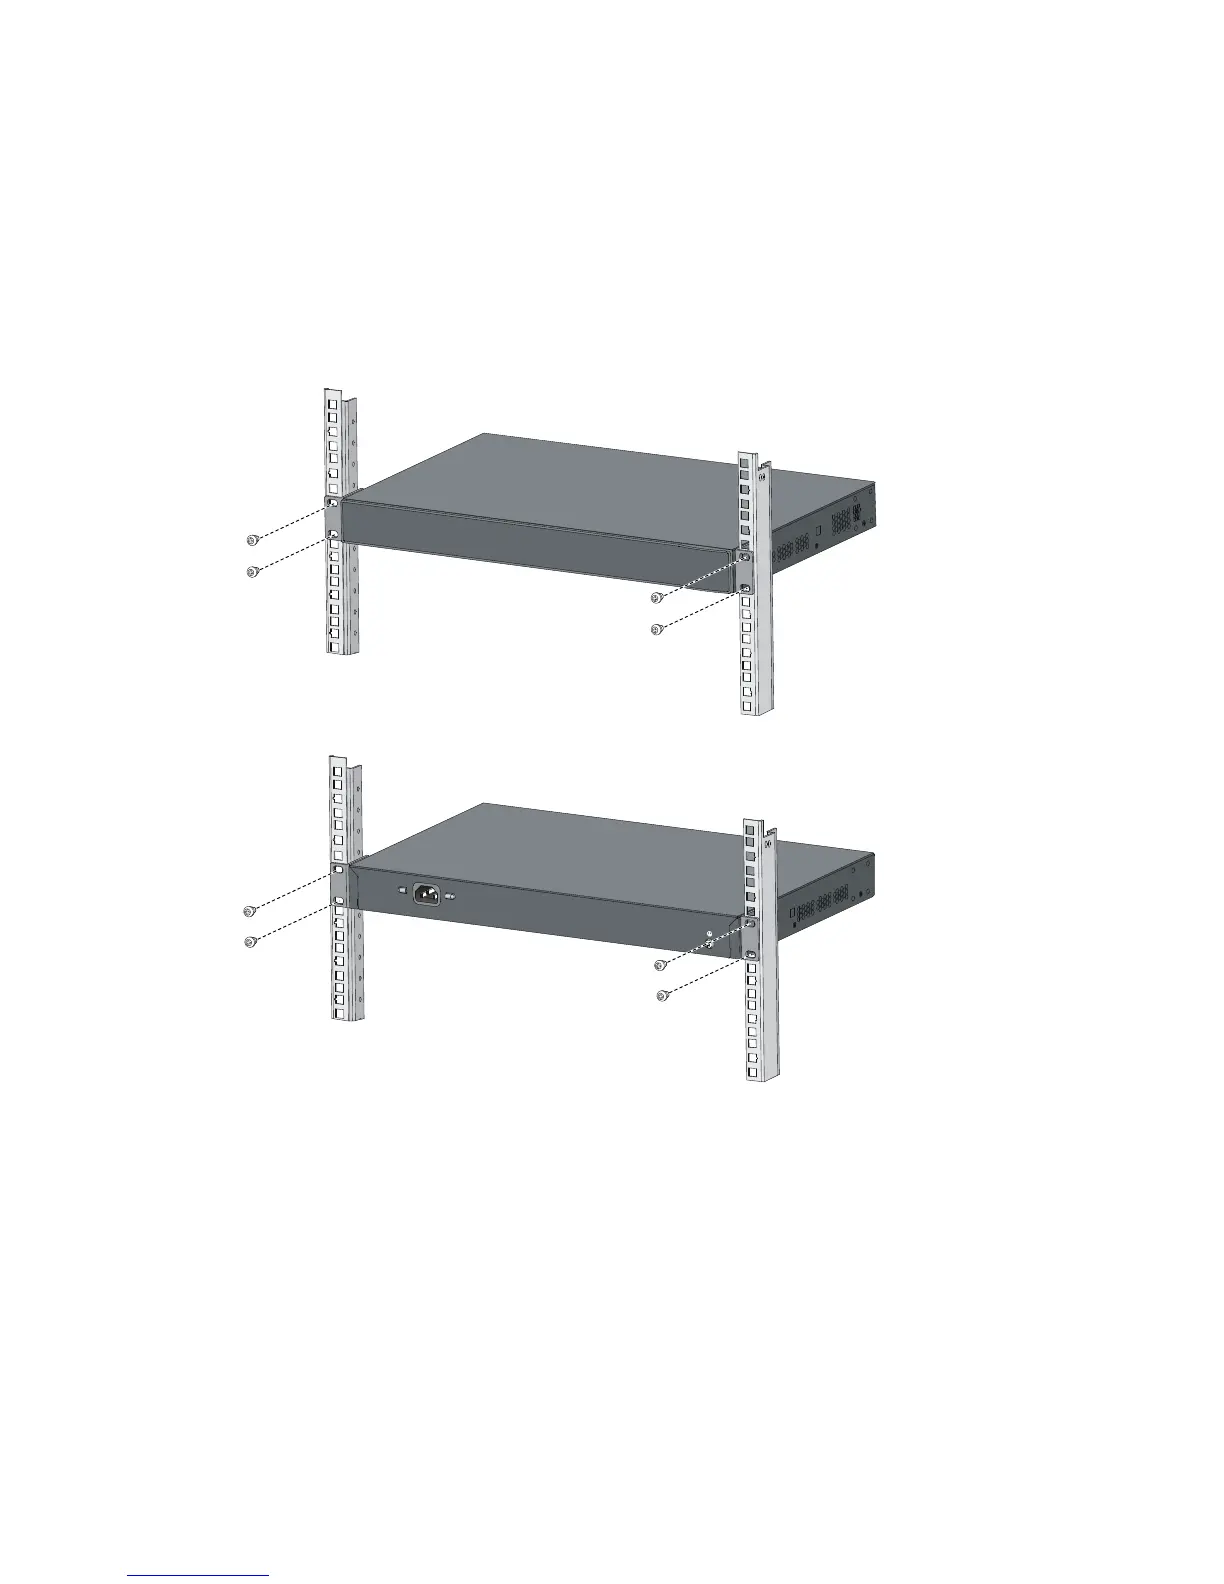
Step2 Check that the mounting brackets have been securely fixed on the two sides of the switch.
Step3 Install the user-supplied cage nuts in the mounting holes in the rack posts.
Step4 One person holds the switch chassis and aligns the mounting brackets with the mounting holes in the
rack posts, and the other person fixes the mounting brackets with anti-rust screws (user-supplied) to the
rack.
Step5 Check that the switch chassis is horizontal and tighten the screws.
Figure 7 Install the switch in the rack
Mounting the switch on a workbench
If a standard 19-inch rack is not available, you can place an S3100V2-52TP switch on a clean, flat
workbench, as follows:
Step1 Check that the workbench is sturdy and well grounded.
Step2 Place the switch with bottom up, and clean the round holes in the chassis bottom with dry cloth.
Step3 Attach the rubber feet to the four round holes in the chassis bottom.
Step4 Place the switch with upside up on the workbench.

 Loading...


