3-3
Installing switching fabric modules
When you install a switching fabric module, avoid damaging the connectors on it.
The M9000-X06 and M9000-AI-X06 gateways do not support hot swapping of switching fabric
modules. The M9000-X10 and M9000-AI-X10 gateways supports hot swapping of switching
fabric modules.
The M9000-X06 and M9000-AI-X06 gateways each provide six switching fabric module slots,
but only slots 6 to 9 are available. Install a minimum of one switching fabric module if the device
is installed with more than one interface switch module. If the device is installed with only one
interface switch module, you can choose to not install any switching fabric modules.
The M9000-X10 and M9000-AI-X10 gateways each provide six switching fabric module slots,
but only slots 10 to 13 are available. Install a minimum of one switching fabric module on the
To install a switching fabric module:
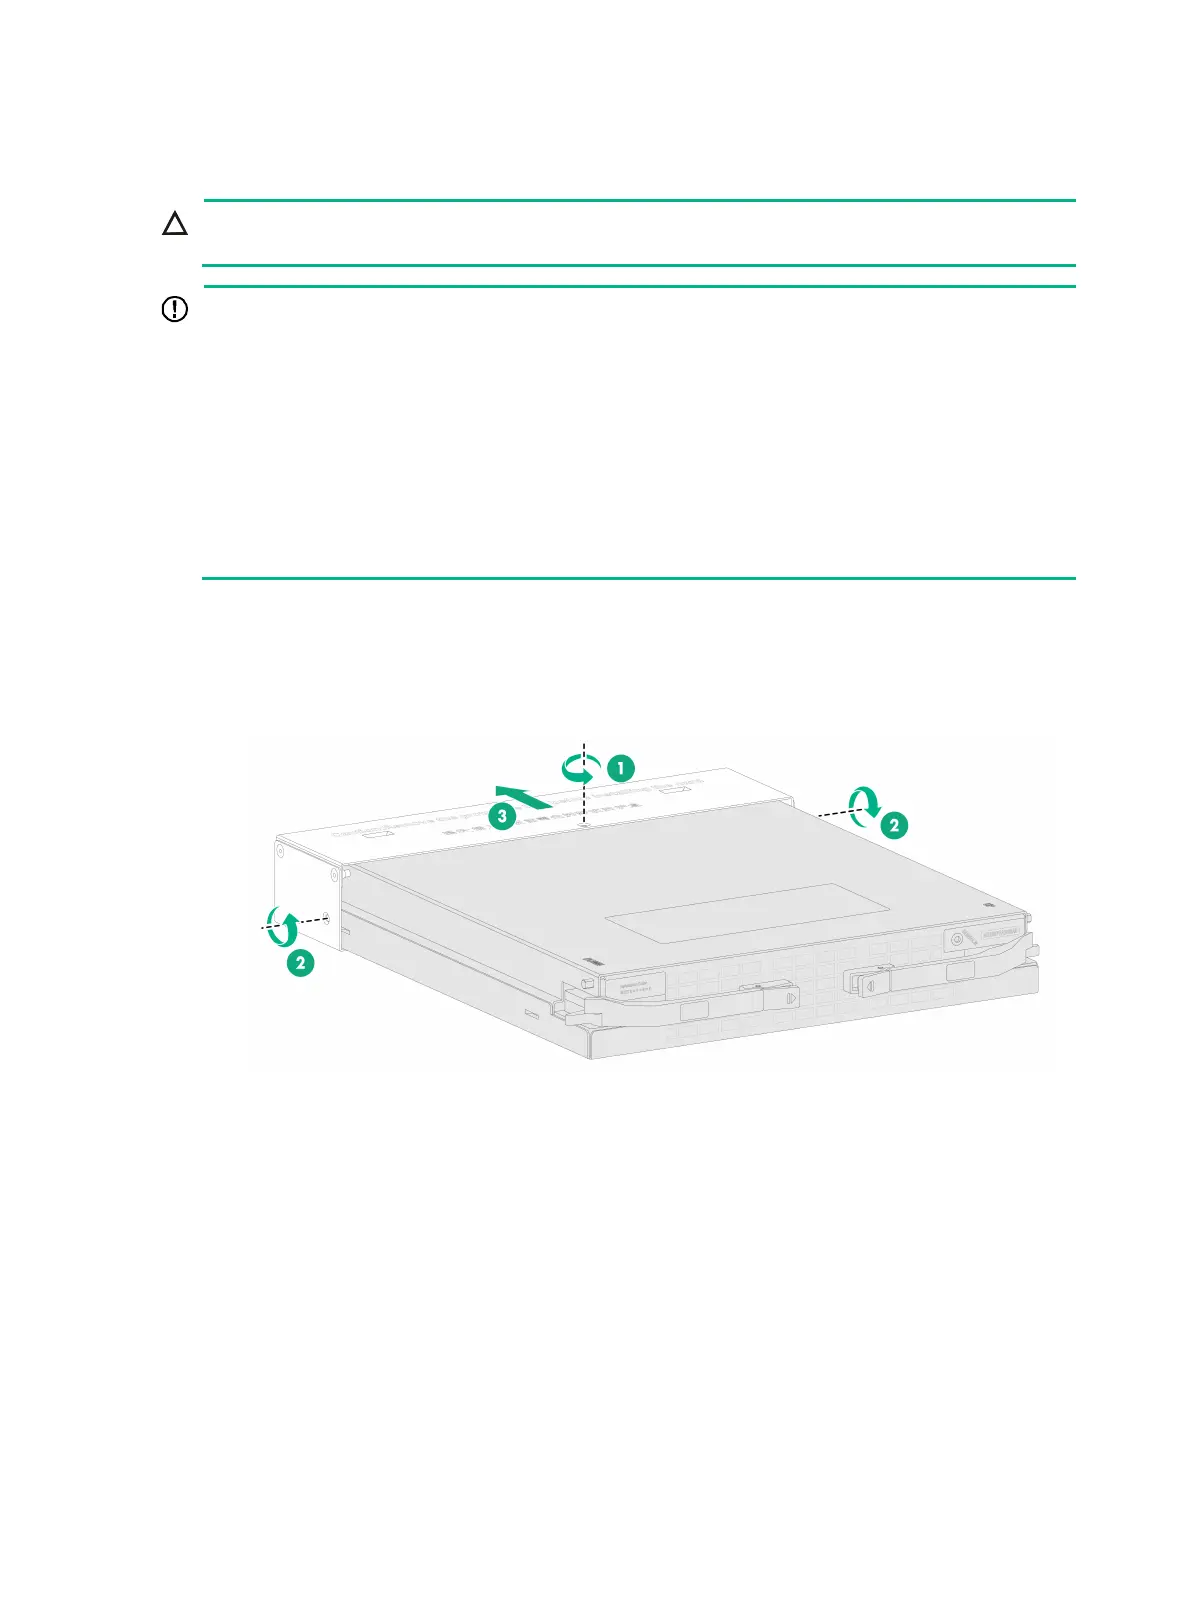
1. Remove the screws from the metal protection box attached to the switching fabric module and
then remove the protection box.
Figure3-3 Removing the protection box from the switching fabric module
2. Remove the filler panel from the target switching fabric module slot.
Keep the removed filler panel secure for future use.
3. Press the locking tabs of the ejector levers to release the levers.
4. Correctly orient the switching fabric module. Align the switching fabric module with the target
slot and insert it into the slot along the guide rails.
5. Continue to push the switching fabric module by its front panel until the ejector levers make
close contact with the slot edges.
6. Close the ejector levers until the locking tabs lock the ejector levers in place.