8.6.4 Verification options
The Verification Options contain: Set Verification Standard, Set
Acceptance Criteria and Verification Reminder.
1. Push the Left key (Verify Cal) and then the UP and DOWN keys.
Option Description
Set
Verification
Standard
To change the verification standard use the UP
and DOWN keys to enter a new standard value.
Range 0.50–20.0 NTU (Default setting:
10.00 NTU)
Range 0–20 NTU for RapidCal (0–40 NTU)
0–800 NTU for calibration curves with a range
from 0–1000 NTU
Set
Acceptance
Criteria
Enter the Acceptance Criteria for comparison
against the initial calibration verification reading
to determine passing or failing. Range 1–50%
(Default setting: 10%)
Verification
Reminder
Verification Reminder—The meter will make an
audible sound when verification is due. Select
one of the following options for time interval and
push OK:Off, 30 min (Default setting), 2 h, 4 h,
8 h, 24 h
Allow Defer—Push Allow Defer and select Yes
or No to postpone the verification due time
8.6.5 Calibration verification (Verify Cal)
The manufacturer recommends a calibration verification once a week.
After a calibration is complete, the meter automatically goes into the
Verify Cal mode.
Make sure that the sample cell is clean. Oil the sample cell with silicone
oil, refer to Apply silicone oil to a sample cell on page 19. Check the
standard solution. Prepare a formazin standard at the same value and
read the value.
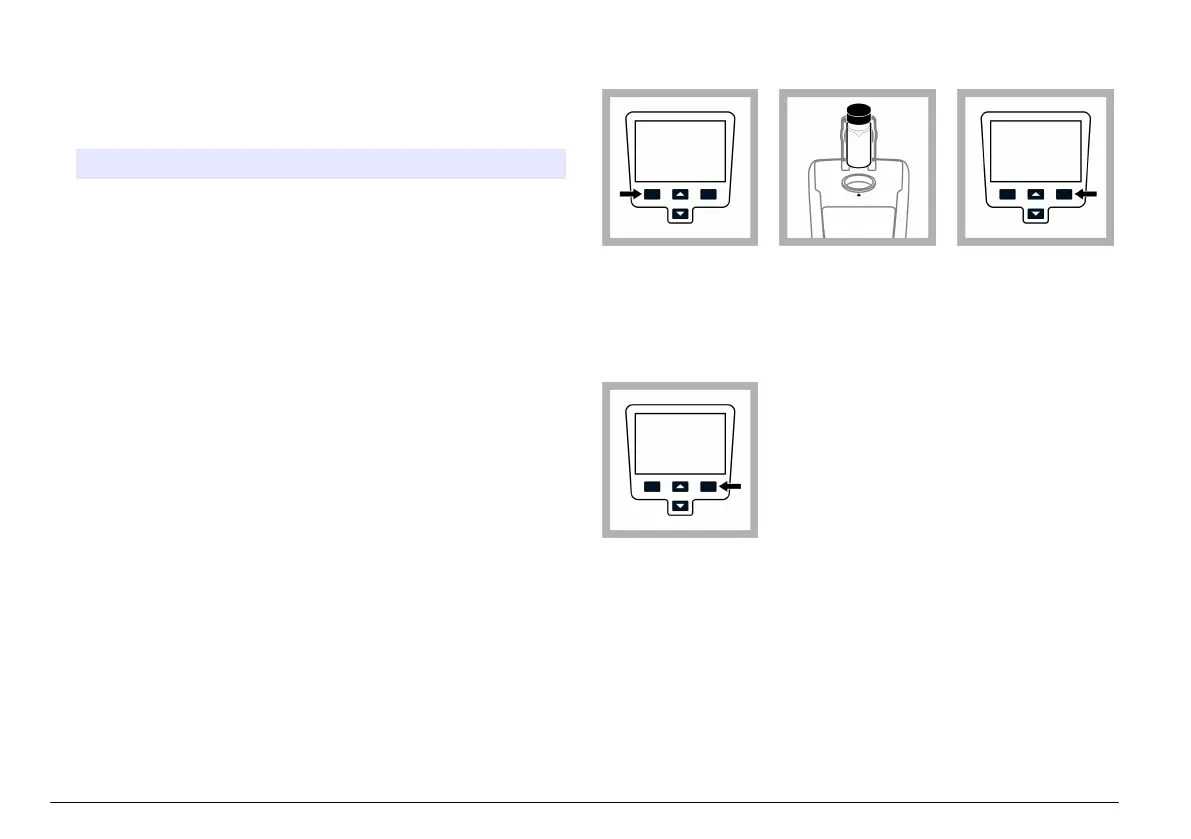
1. Push Verify Cal
to enter the Verify
menu.
2. Gently invert the
standard. Insert the
10.0 NTU (or other
defined value)
Verification Standard
and close the lid.
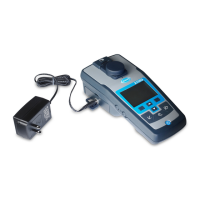
3. Push Read. The
display shows
Stabilizing and then
shows the result and
tolerance range.
4. Push Done to
return to the reading
display. Repeat the
calibration
verification if the
verification failed.
18 English