11
6. OPERATION
D-1 Setting method in AUTO/INSTALL
mode
●
Operations in INSTALL mode
This mode has the following sequence:
①
Vacuum ON (Manual)
②
Start/hot air blow (Manual)(Step/start)
③
Vacuum OFF after 5 seconds
④
Step 1 operation
⑤
Step 2 operation
⑥
Step 3 operation
⑦
Cool down operation
NOTE:
The operation can be set from 1 to 3.
●
Installation
•
Advance preparation of P.W.B.
Apply an appropriate amount of solder paste
to the P.W.B.)
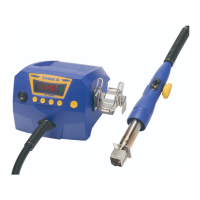
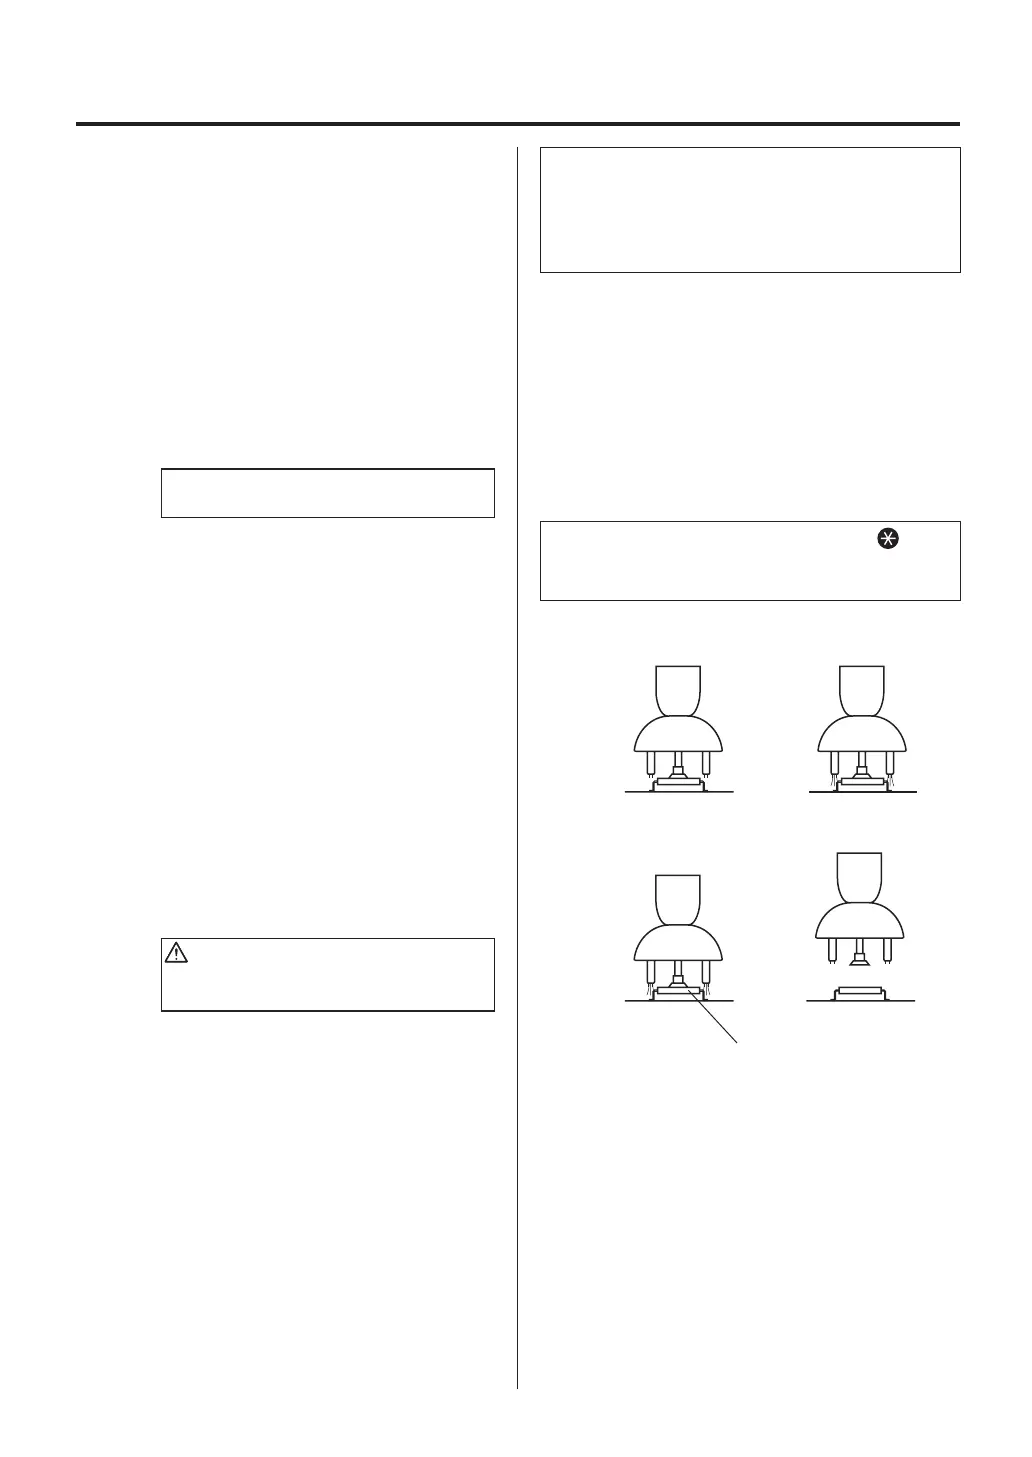
①
Part suction and positioning
Press the VACUUM button on the
handpiece. Have the part sucked by the
pads and position the part on the P.W.B.
(Figure 1)
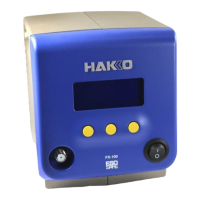
②
Start (heating)
Press the HOT button on the handpiece.
Hot air blows from the nozzle to melt the
solder. The station operates based on
the preprogrammed temperature profile.
(Figure 2)
CAUTION
To stop the program, press the HOT AIR
button. Cooling begins.
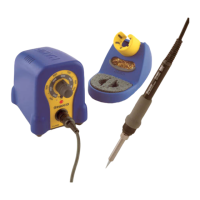
③
Vacuum stop
After 5 seconds, the vacuum turns OFF
and the part is released from suction.
(Figure 3)
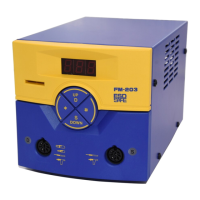
④
Stop
When the step operation is completed,
cooling begins. Make sure the solder has
hardened before lifting the handpiece.
(Figure 4)
To check the temperature setting, press the
button. To change the temperature setting, see “Setting
method in AUTO mode” on page 13.
In INSTALL mode, press the HOT AIR button after
turning the vacuum function ON manually and
aligning the component on the PWB. Vacuum function
automatically will turn OFF 5 seconds after starting
selected the profile.
②①
④③
Figure 1 Figure 2
Figure 3 Figure 4
Vacuum OFF