38
Section 14: Installing the Radio and Centering
the Servos
Aileron Servo Installation
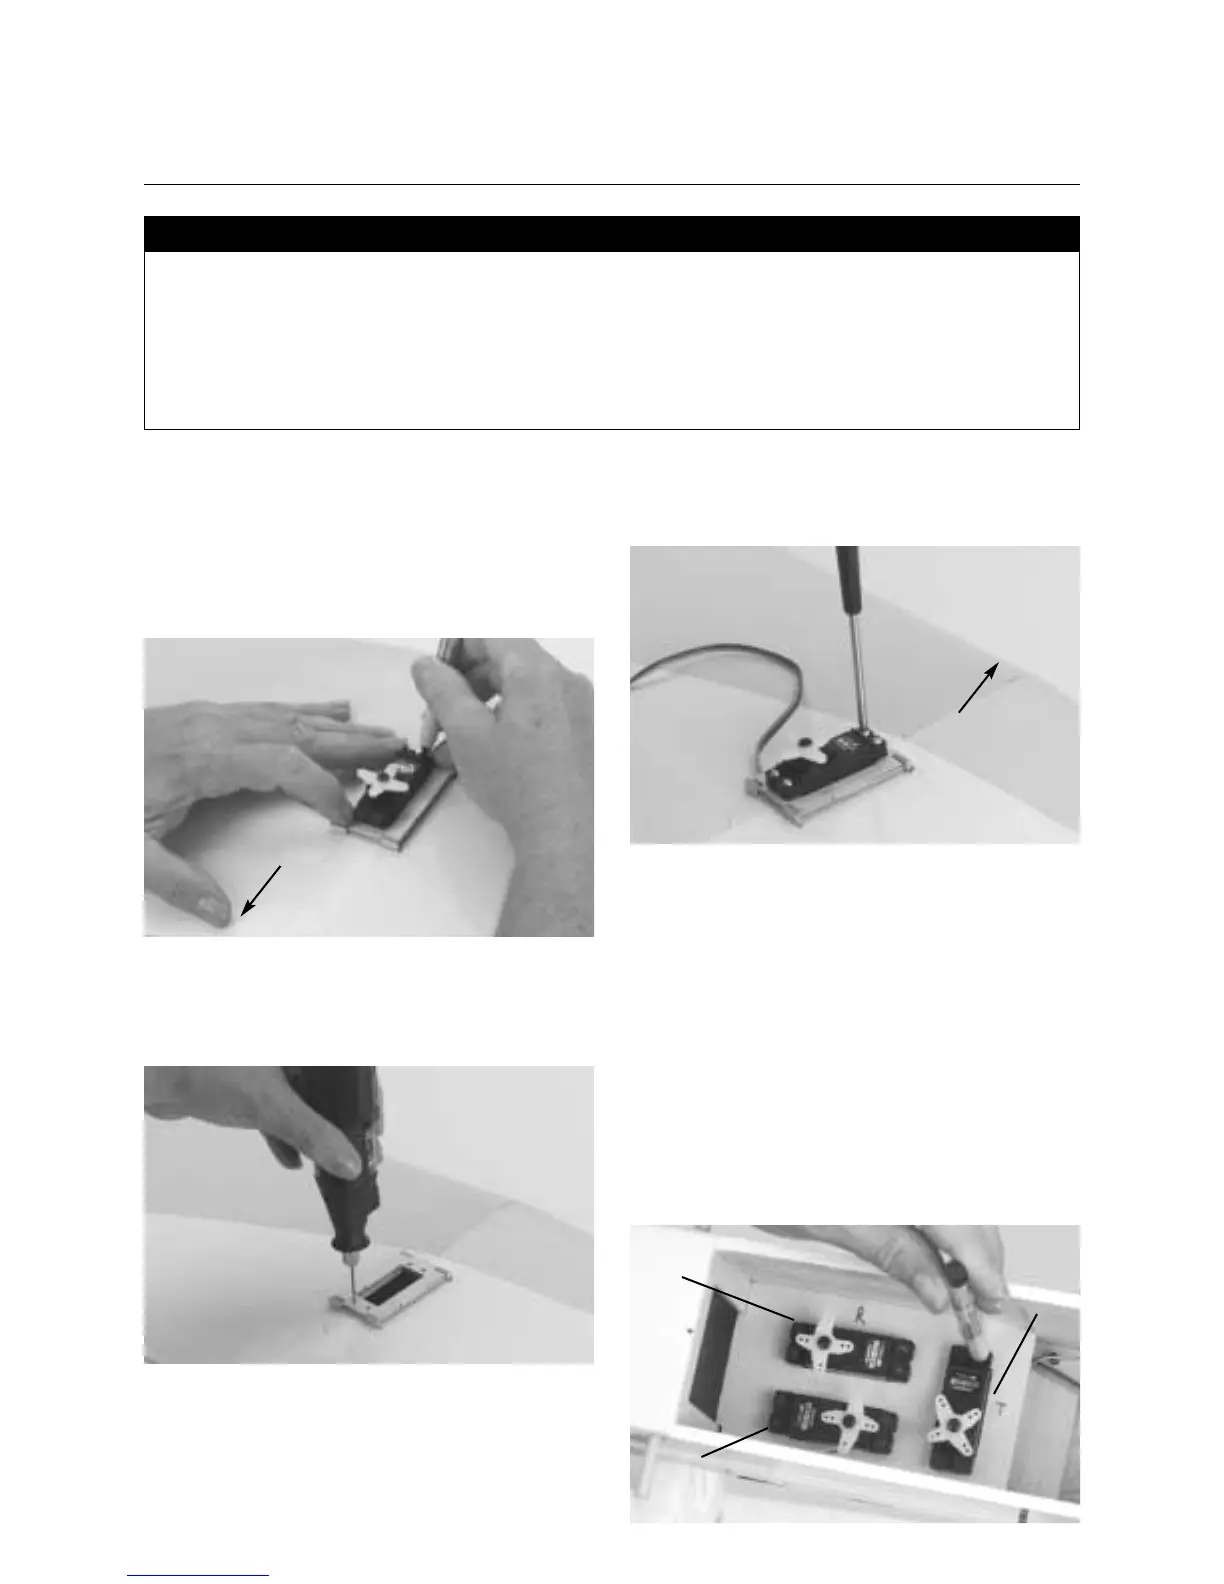
1. Install the rubber servo grommets and eyelets in the aileron
servo and place the servo into the aileron mount as shown. Mark
the position of the four servo mounting holes with a pencil or felt
tipped pen.
2. Remove the servo from the aileron servo tray. Using a 1/16′′
drill bit, drill the four mounting holes marked in the previous
step.
3. Place the aileron servo back in its mount in the wing and
secure it in place using the four screws included with the servo.
Rudder, Elevator and Throttle
Servo Installation
4. Install the rubber grommets and eyelets in the three remaining
servos. It’s helpful to label each servo as to its function
(i.e., rudder, elevator, throttle) by using a piece of masking tape
attached to the connector end of each servo lead. This will be
helpful for connecting the servos to the receiver after they’re
installed in the servo tray. Note also the use of “R”, “E”, and “T”
to identify where the servos are placed on the servo tray.
Position the three servos in the fuselage servo tray as shown,
noting the location of the output horns. Using a pencil or felt
tipped pen, mark the 12 servo mounting hole positions.
• 4-channel radio with 4 servos and hardware (not
included)
• Fuselage
• Wing
• Radio packing foam (not included)
• Antenna tube (optional, not included)
• Drill
• 1/16′′ drill bit
• Phillips screwdriver (small)
• Hobby knife
• Pencil
• Felt tipped pen
Parts Needed Tools and Adhesives Needed
Rudder
Elevator
Throttle
trailing
edge
leading
edge