Section 8: Installing the Control Horns
27
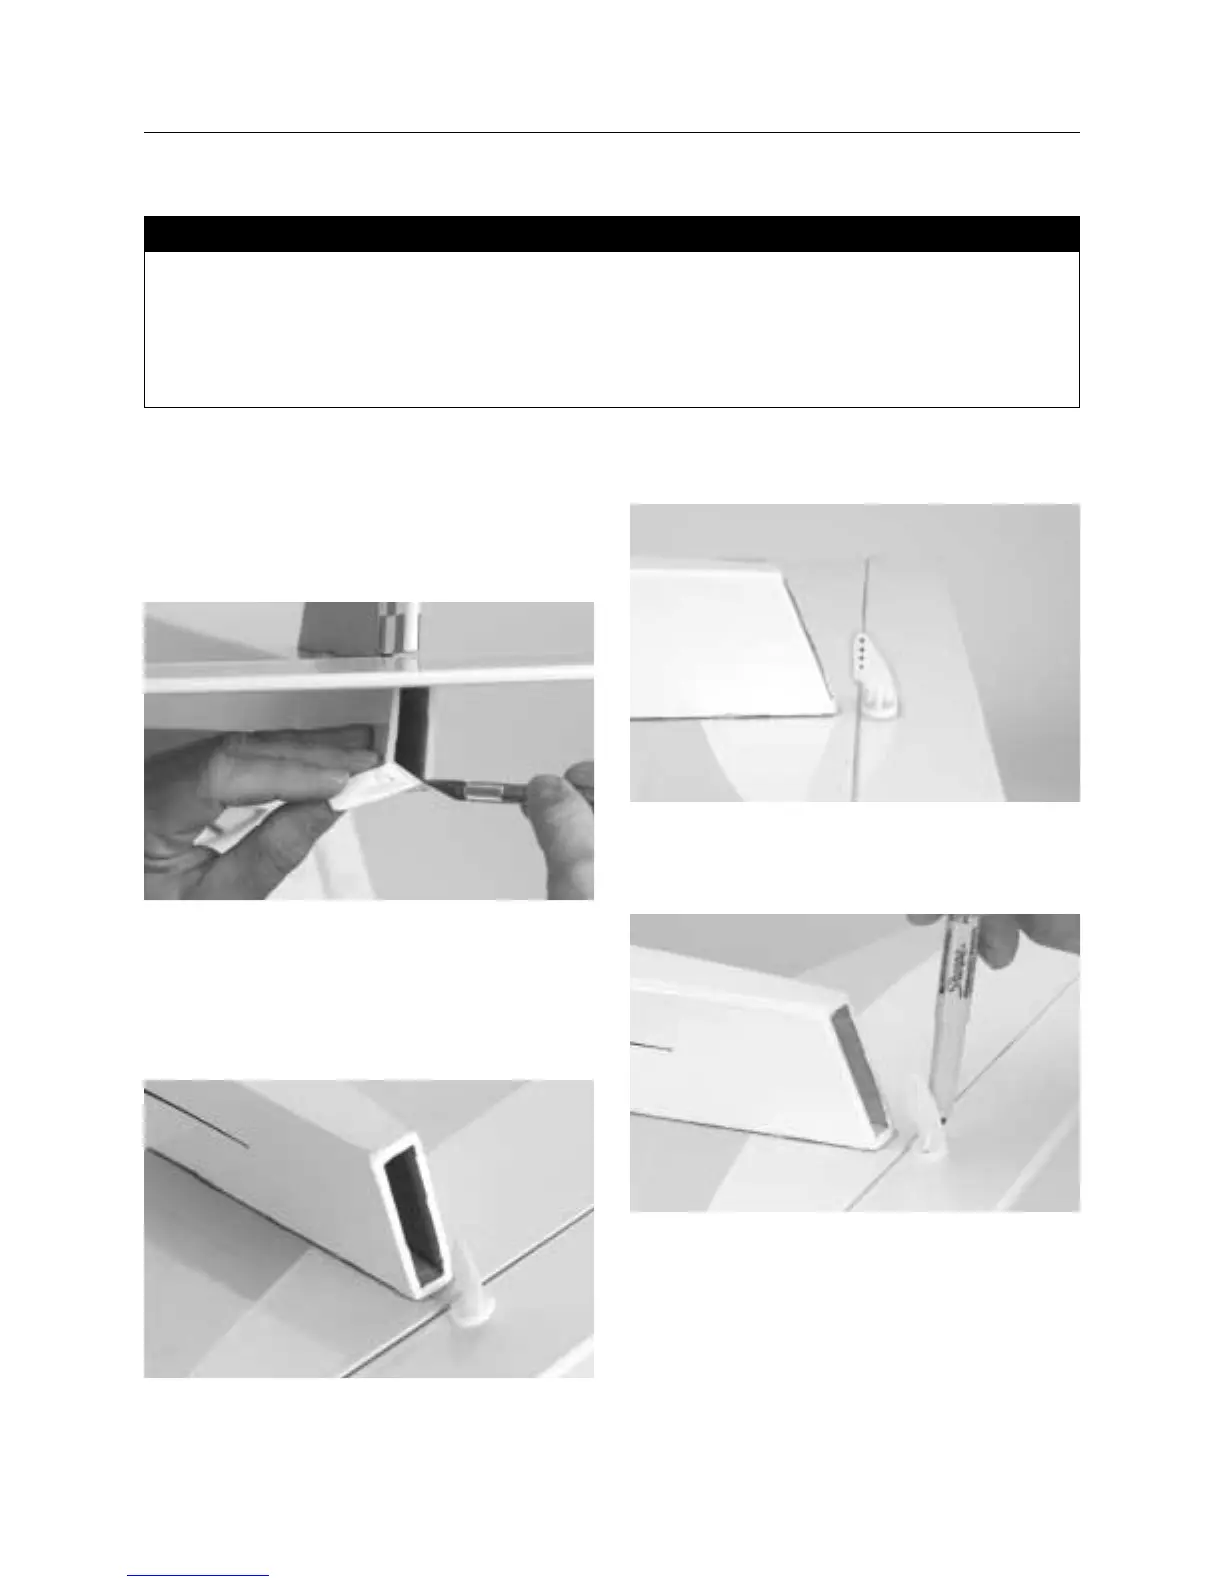
1. Using a hobby knife, cut away the covering in the aft end of
the fuselage. This slot will serve as the exit for the elevator
pushrod.
2. Turn the fuselage over and place one of the control horns on
the bottom of the elevator as shown. The vertical portion of the
control horn must be positioned such that it’s centered over the
hinge line and centered in relation to the slot that was opened in
the previous step.
3. When you’re satisfied with the alignment of the control horn,
mark the mounting hole positions with a felt tipped pen.
• Control horns (2)
• Control horn back plate (2)
• Control horn screws (4)
• Fuselage (with vertical and horizontal stabilizers)
• Drill
• 1/16′′ drill bit
• Felt tipped pen
• Phillips screwdriver (medium)
• Ruler
Parts Needed Tools and Adhesives Needed