28
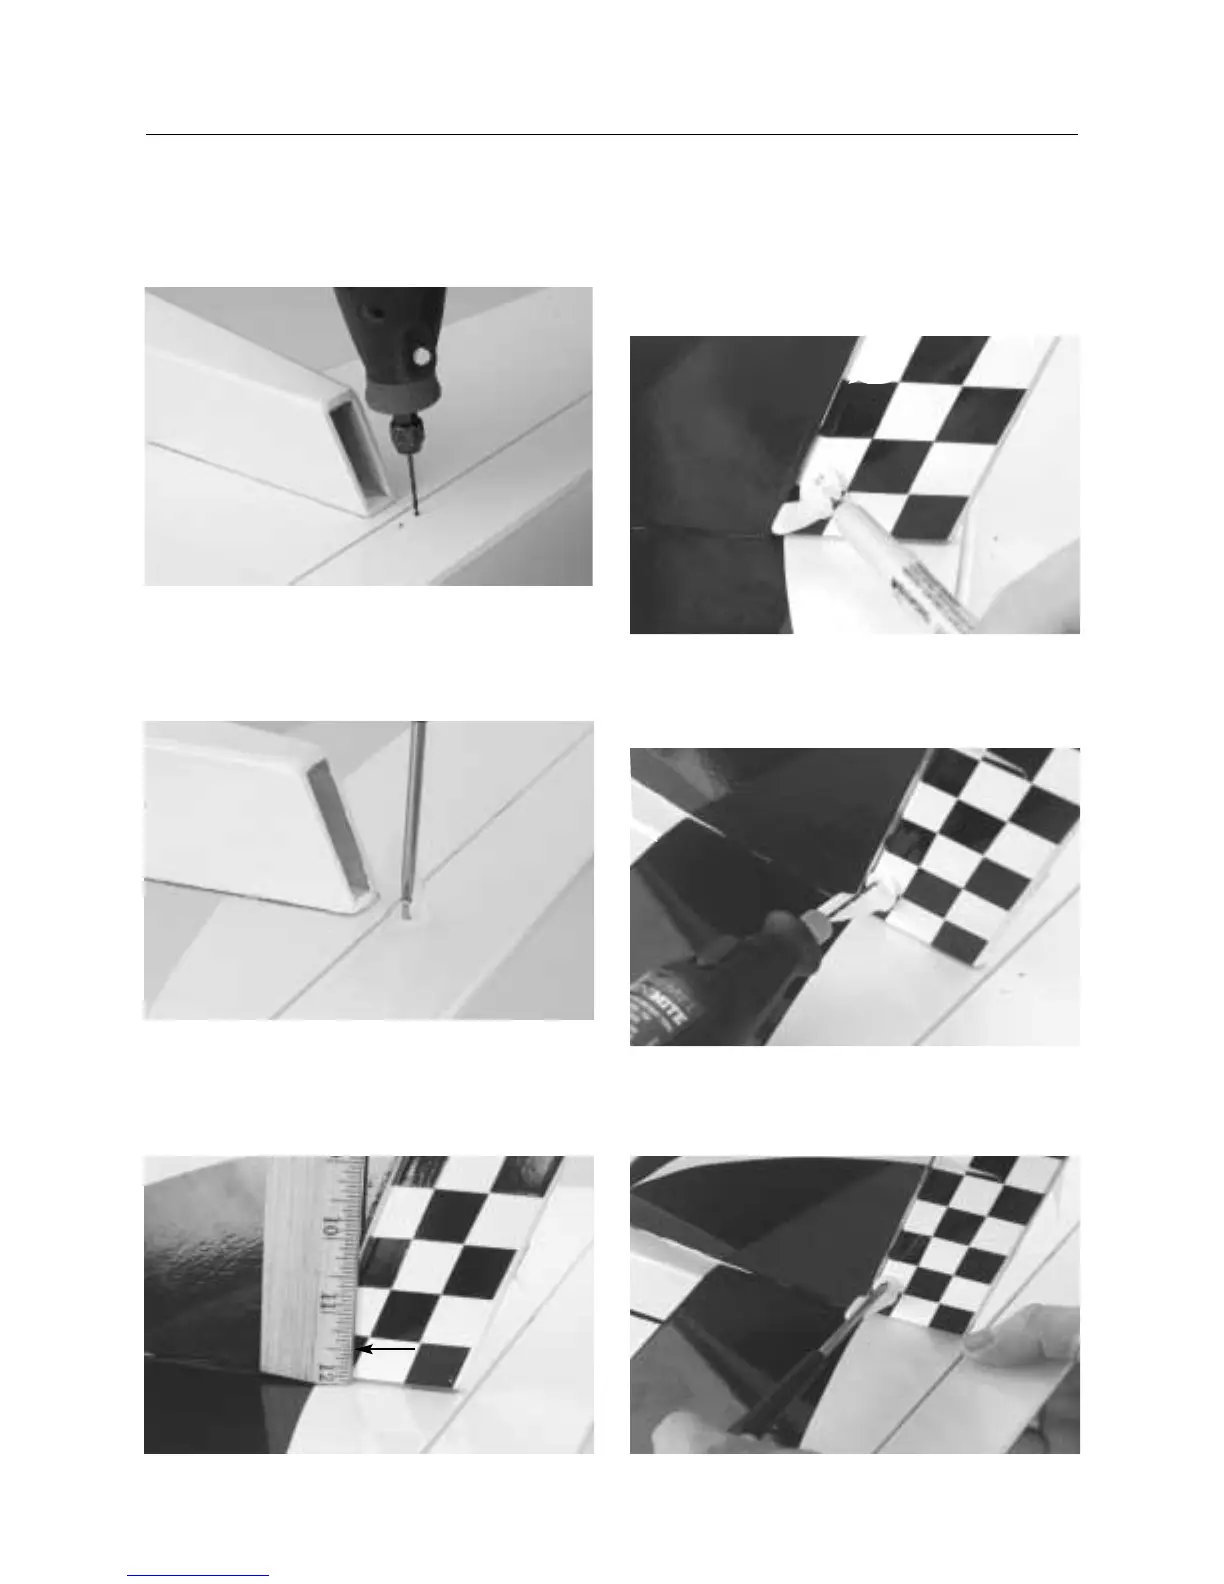
4. Remove the control horn and drill two 1/16′′ holes through
the elevator as shown.
5. Attach the elevator control horn using the hardware provided
(horn and back plate) and fasten in place using a Phillips
screwdriver.
6. Turn the fuselage over so it’s resting upright. Measure up
1/2′′ from the bottom of the rudder and mark with a felt tipped
pen. This mark will serve as the center of the rudder control
horn.
7. Center the control horn over the mark made in the previous
step, making sure it’s centered over the hinge line. Again, mark
the location of the control horn mounting hole positions when
you’re satisfied with the alignment.
8. Remove the rudder control horn and use a 1/16′′ drill bit to
drill these two mounting holes.
9. Install the rudder control horn using the screws and back
plate provided.
CONTINUED
Section 8: Installing the Control Horns