14
Section 3: Installing the Aileron Servo Tray
1. After the wing joint has completely cured, remove the
masking tape.
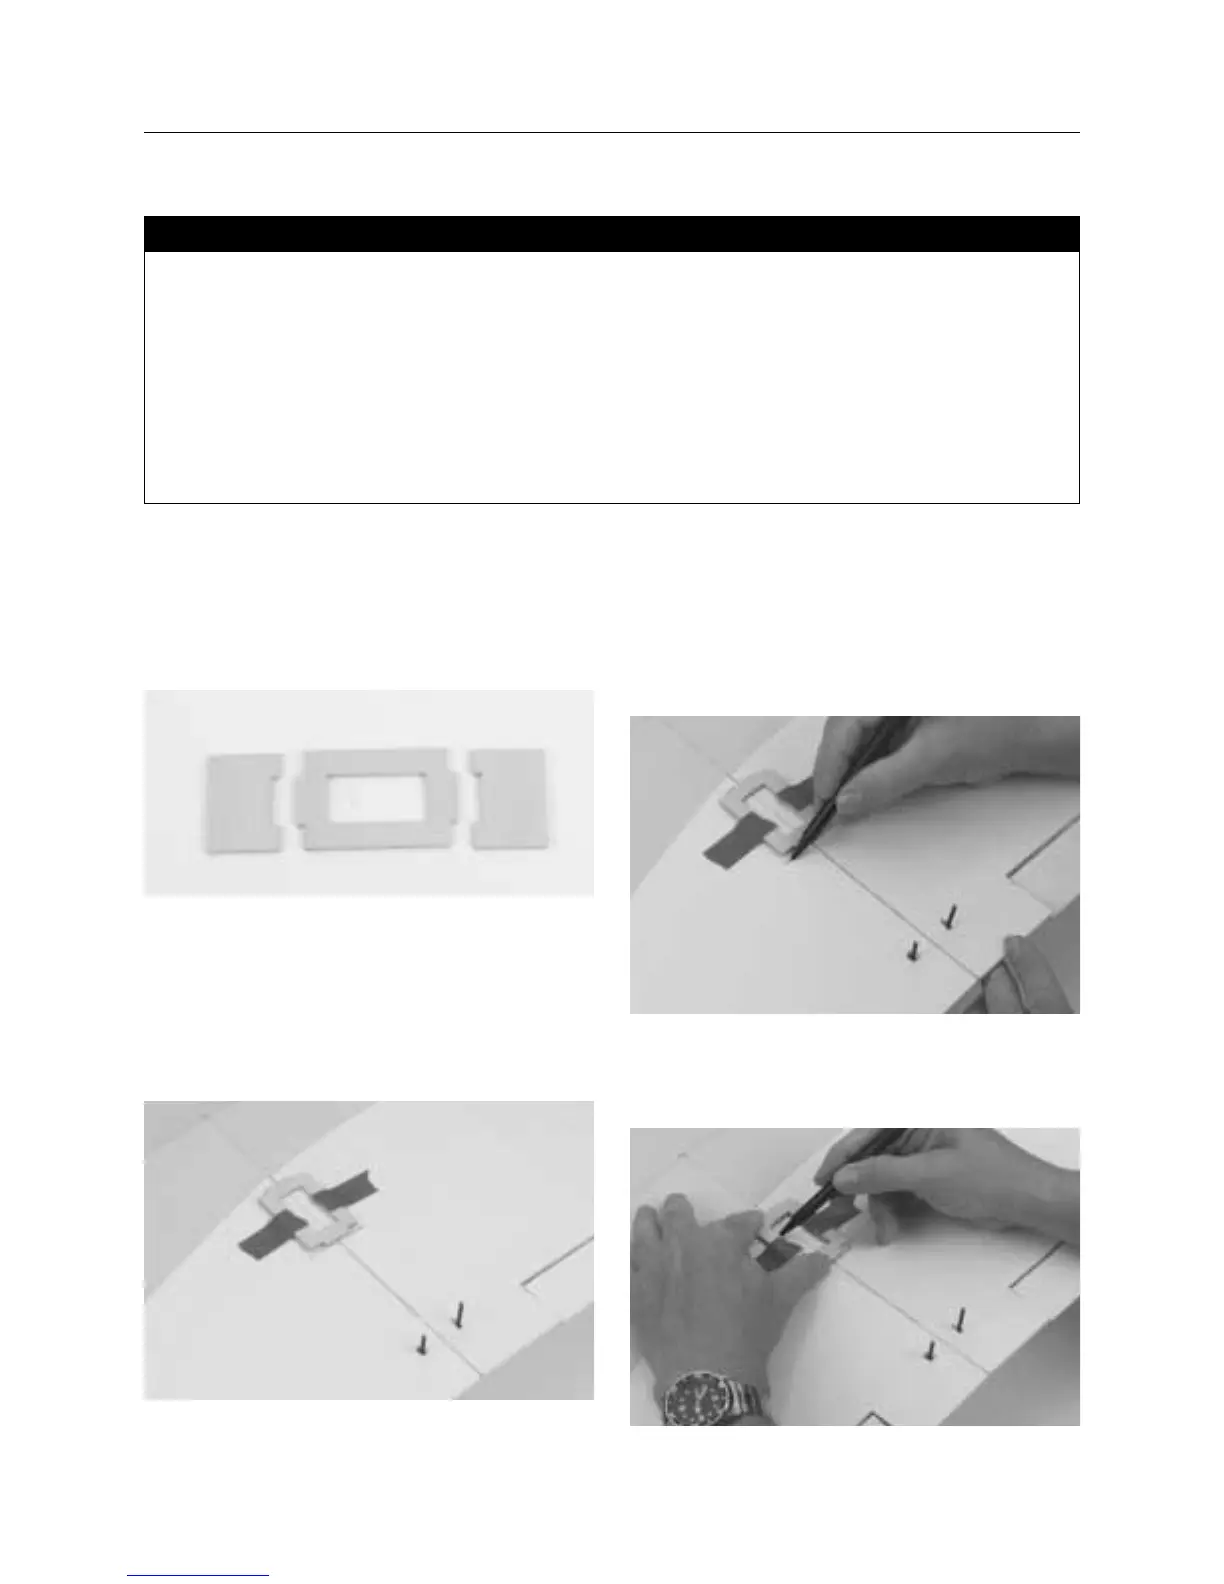
2. Remove the aileron servo tray and the two tray supports from
the 1/8′′ die-cut plywood sheet.
3. Turn the wing upside down and place the aileron servo tray
between the marks that were made previously in Section 2, Step
10. Center the tray across the seam between the wing halves.
4. Tape the tray in place with two pieces of masking tape,
ensuring that the alignment is not disturbed.
5. Trace around the outside upper and lower parallel edges of
the servo tray using a felt tipped pen. These marks will serve as
the guides for cutting the servo tray support slots later in this
section. Additionally, place a mark along each of the outside
vertical edges of the tray. These marks will be the outer edges of
the servo tray support slots.
6. Using a felt tipped pen, trace around the inside edge of the
aileron servo tray; then remove the tray from the wing.
• Wing
• Plywood aileron tray
• Plywood aileron tray support (2)
• Aileron servo
• Wing center tape
• Masking tape
• Hobby knife
• Felt tipped pen
• 6-minute epoxy
• Thick CA glue
• Epoxy brush
• Rubbing alcohol
• Paper towels
• Scissors
Parts Needed Tools and Adhesives Needed