29
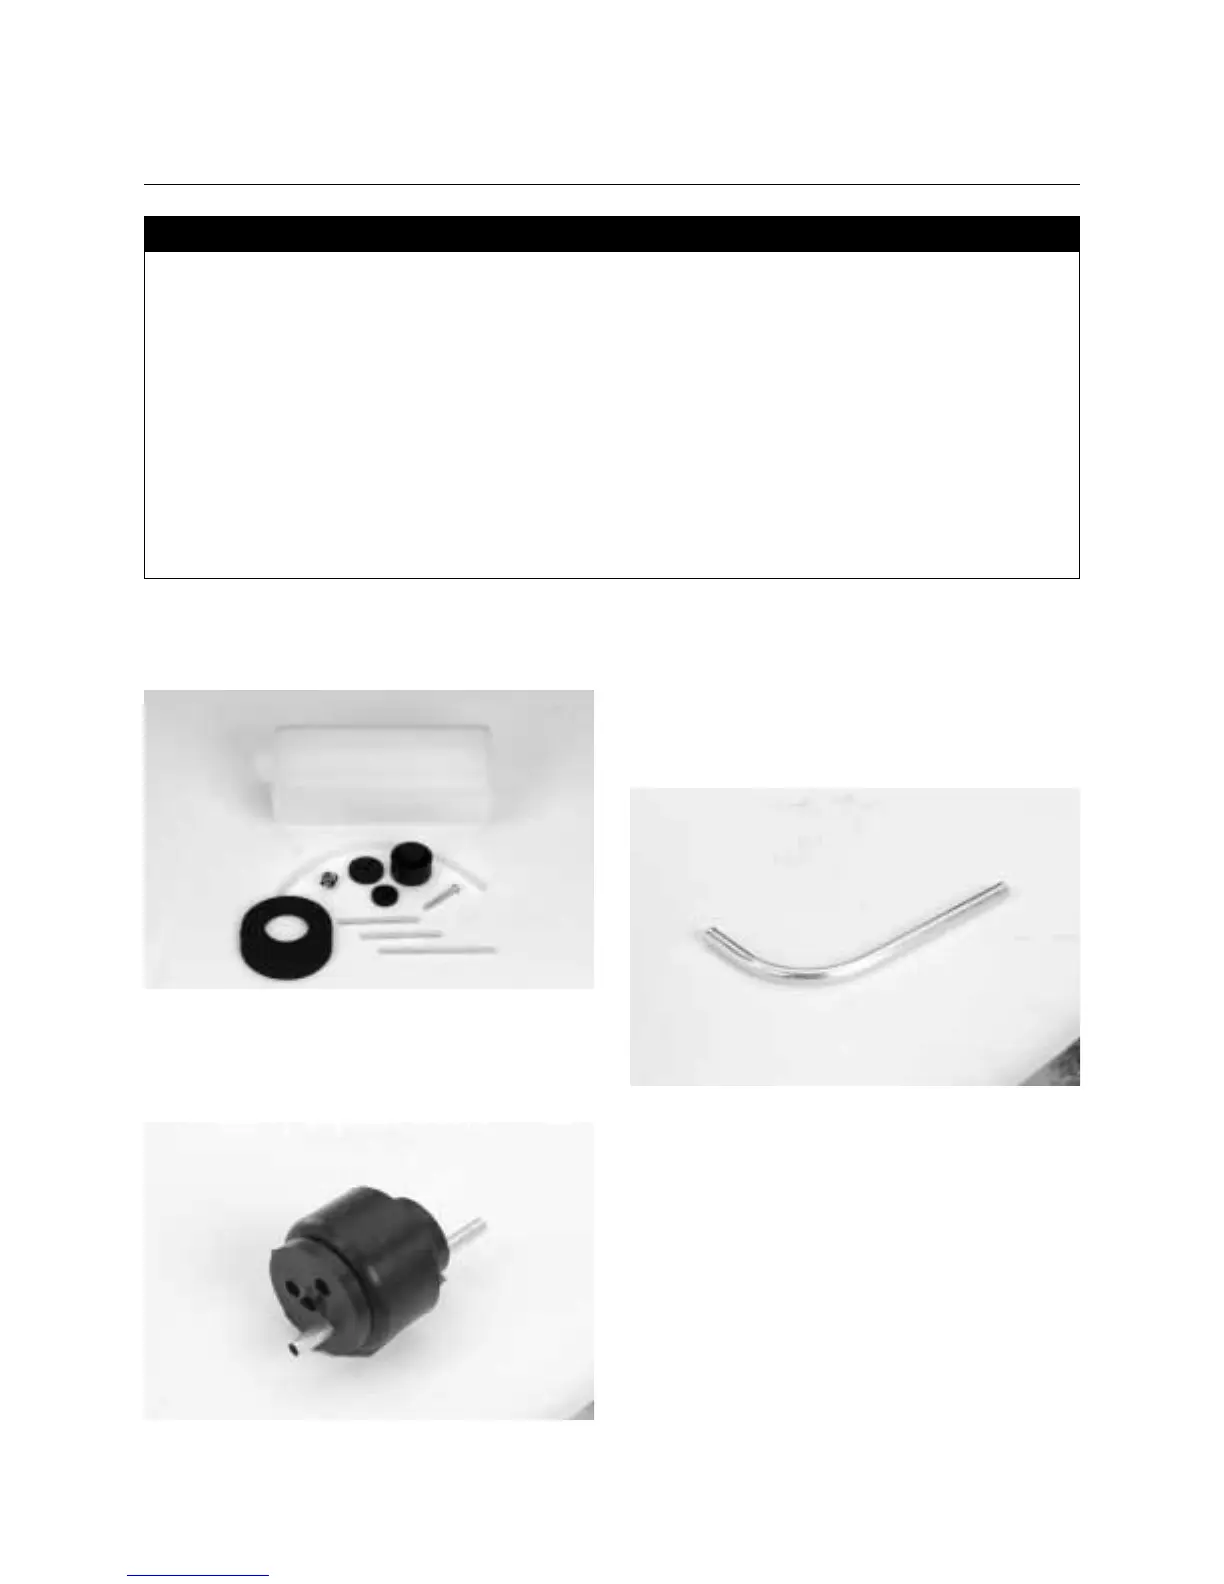
1. Locate the fuel tank and the fuel tank accessory bag. You will
also find the foam collar in the large parts bag.
2. Insert the short aluminum tube into one of the open holes in
the black stopper so that an equal amount of the tube extends
from either side.
3. Locate the longer aluminum tube and carefully bend it with
your fingers as shown. This tube will be the fuel tank vent tube,
which will be connected to the pressure fitting of your motor’s
muffler when the engine is plumbed in Section 16.
Note: Bend this tubing slowly and carefully so it doesn’t kink.
• Fuel tank
• Fuel tubing (not supplied)
• Fuel clunk
• Aluminum tube, short (pickup)
• Aluminum tube, short (optional fill tube)
• Aluminum tube, long (vent)
• Silicone tubing
• Rubber stopper
• 3mm self-tapping screw
• Fuselage
• Foam collar
• Music wile (2) (optional)
• Phillips screwdriver (medium)
• Hobby knife
• Masking tape (optional)
Parts Needed Tools and Adhesives Needed
Section 9: Assembling and Installing the
Fuel Tank