23
CALIBRATION
• Submerse the probe into HI7040 Zero Oxygen solution and stir gently for 2 to 3 minutes. The “Not
Ready” message is displayed.
• Once the reading has stabilized, the countdown timer will count down until the display shows the
“Ready” message.
• Press Confirm to accept the calibration point.
• Press OK to return to the “Calibration” menu.
• Press Measure to return to the measurement screen.
Note: The user can perform a single-point calibration by pressing ESC after the first point is accepted.
If the DO input is not within the acceptable range, the message “Invalid input” is displayed.
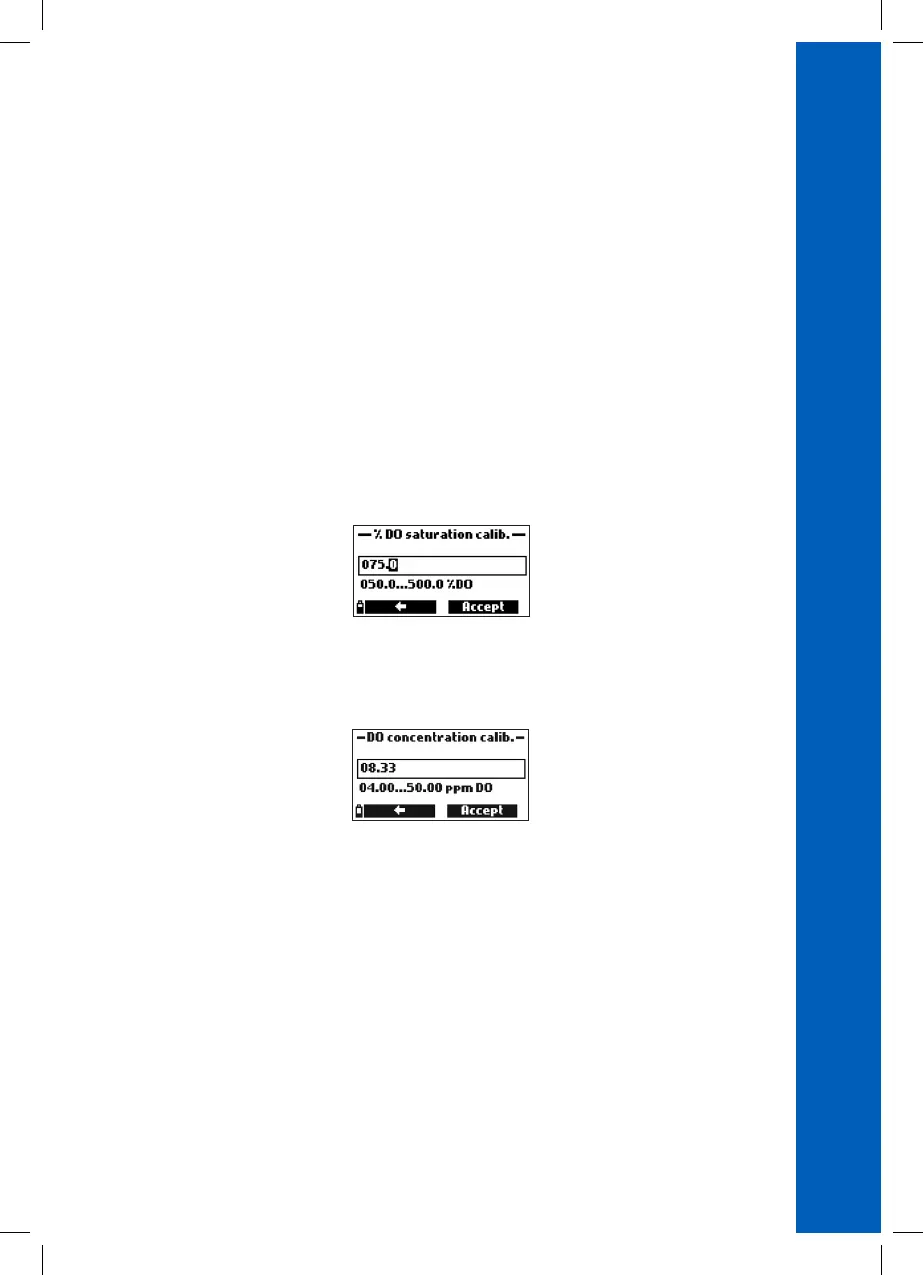
SINGLE-POINT CUSTOM % SATURATION CALIBRATION
To select the custom value:
• Press Cal. Point, then Custom.
• A text box will be displayed. Use the alphanumeric keypad to enter the value, then press Accept.
Note: Only a one-point calibration is available when using a custom calibration point.
DO PROBE CONCENTRATION (HI764103)
From the Calibration menu, use the / keys to highlight DO concentration and then press
Select.
• From the “DO calibration” menu, select the “DO concentration” option, insert the known
concentration. Allow the sensors to reach thermal equilibrium with the solution. Stir or agitate, if
possible, to keep fresh solution in front of the membrane and press OK.
• When the reading is stable, the stability timer will count down and Confirm will appear. Press
Confirm to accept the value.
• When the messages “Storing” and “Calibration completed” appear, the calibration is completed.
To return to the “Calibration” menu, press OK.
• To return to the main menu, press ESC twice.
RESTORING FACTORY CALIBRATION
When a new DO probe or membrane is being used some of the warning messages are based on the
previous calibration. Restoring factory calibration will delete the user calibration and restore the factory
default calibration. Use the / keys to highlight Restore factory calib. and then press Select.
 Loading...