37
LOGGING
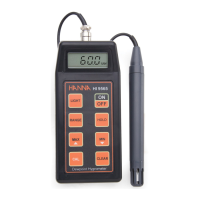
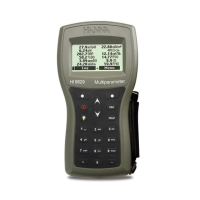
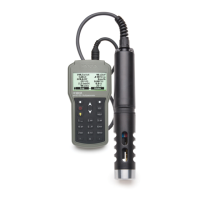
11. LOGGING
Press the Log key to access the Log menu. Use the / keys to select the available option.
11.1. ONE SAMPLE ON METER
This option will store one set of data points on the meter.
• The meter will suggest a lot to store the data in. Press OK to add the data to the selected lot.
• To select a new lot press Options.
• If no logs have been saved, press New to create a lot. Use the alphanumeric keypad to enter the
lot name and press Accept.
• After the data has been saved to the lot, press Yes to add a remark to data point. Press No to
return to the main screen.
11.2. START METER LOG
This option will start an interval log.
• Use the / arrow keys to select Start Meter Log.
• To view the log interval press Options. To change the log interval press Modify. The log interval
can be set from 1 second to 3 hours, use the alphanumeric keypad to modify the log interval.
• To start the interval log, press Select to start the log or to add a note to the lot.
• To stop the interval log, press Select when Stop meter log is displayed.
11.3. LOG RECALL
• Use the / arrow keys to select Log recall. The meter will show the available lots.
• Use the / keys to select the desired lot and then press View.
• The meter displays a summary of all data related to the selected lot: number of samples, memory
space used, time and date of the first and last readings.
 Loading...