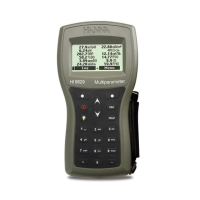
25
CALIBRATION
CUSTOM CALIBRATION POINT
To select the custom value:
• Press Cal. Point then Custom.
• A text box will be displayed. Use the alphanumeric keypad to enter the value, then press Accept.
ABSOLUTE CONDUCTIVITY
From the Calibration menu, use the / keys to highlight Absolute Conductivity and then press
Select.
• A text box will be displayed. Use the alphanumeric keypad to enter the value, then press Accept.
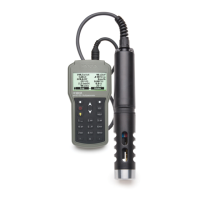
• Pour small quantities of the calibration solution into clean beakers. To minimize cross-contamination,
use two beakers: the first one for rinsing the sensor and the second one for calibration.
• Submerse the EC electrode into the calibration rinse solution and move it up and down gently to
fill the EC sensor channels with solution.
• Submerse the EC electrode into calibration solution, tap the electrode gently to remove any trapped
air bubbles. The “Not Ready” message is displayed.
• Once the reading has stabilized, the countdown timer will count down until the display shows the
“Ready” message.
• Press Confirm to accept the calibration point.
• Press OK to return to the Calibration menu.
• Press Measure to return to the measurement screen.
SALINITY
Solutions with known PSU values can be used to calibrate the sensor.
From the Calibration menu, use the / keys to highlight Salinity and then press Select.
• A text box will be displayed. Use the alphanumeric keypad to enter the value, then press Accept.
• Pour small quantities of the calibration solution into clean beakers. To minimize cross-contamination,
use two beakers: the first one for rinsing the sensor and the second one for calibration.
• Submerse the EC electrode into the calibration rinse solution and move it up and down gently to
fill the EC sensor channels with solution.
• Submerse the EC electrode into calibration solution, tap the electrode gently to remove any trapped
air bubbles. The “Not Ready” message is displayed.
• Once the reading has stabilized, the countdown timer will count down until the display shows the
“Ready” message.
 Loading...