6
5. Assembly
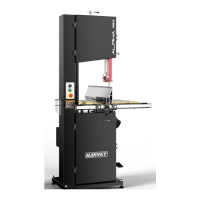
The band saw is partially assembled. The following assembly must be completed before
operation.
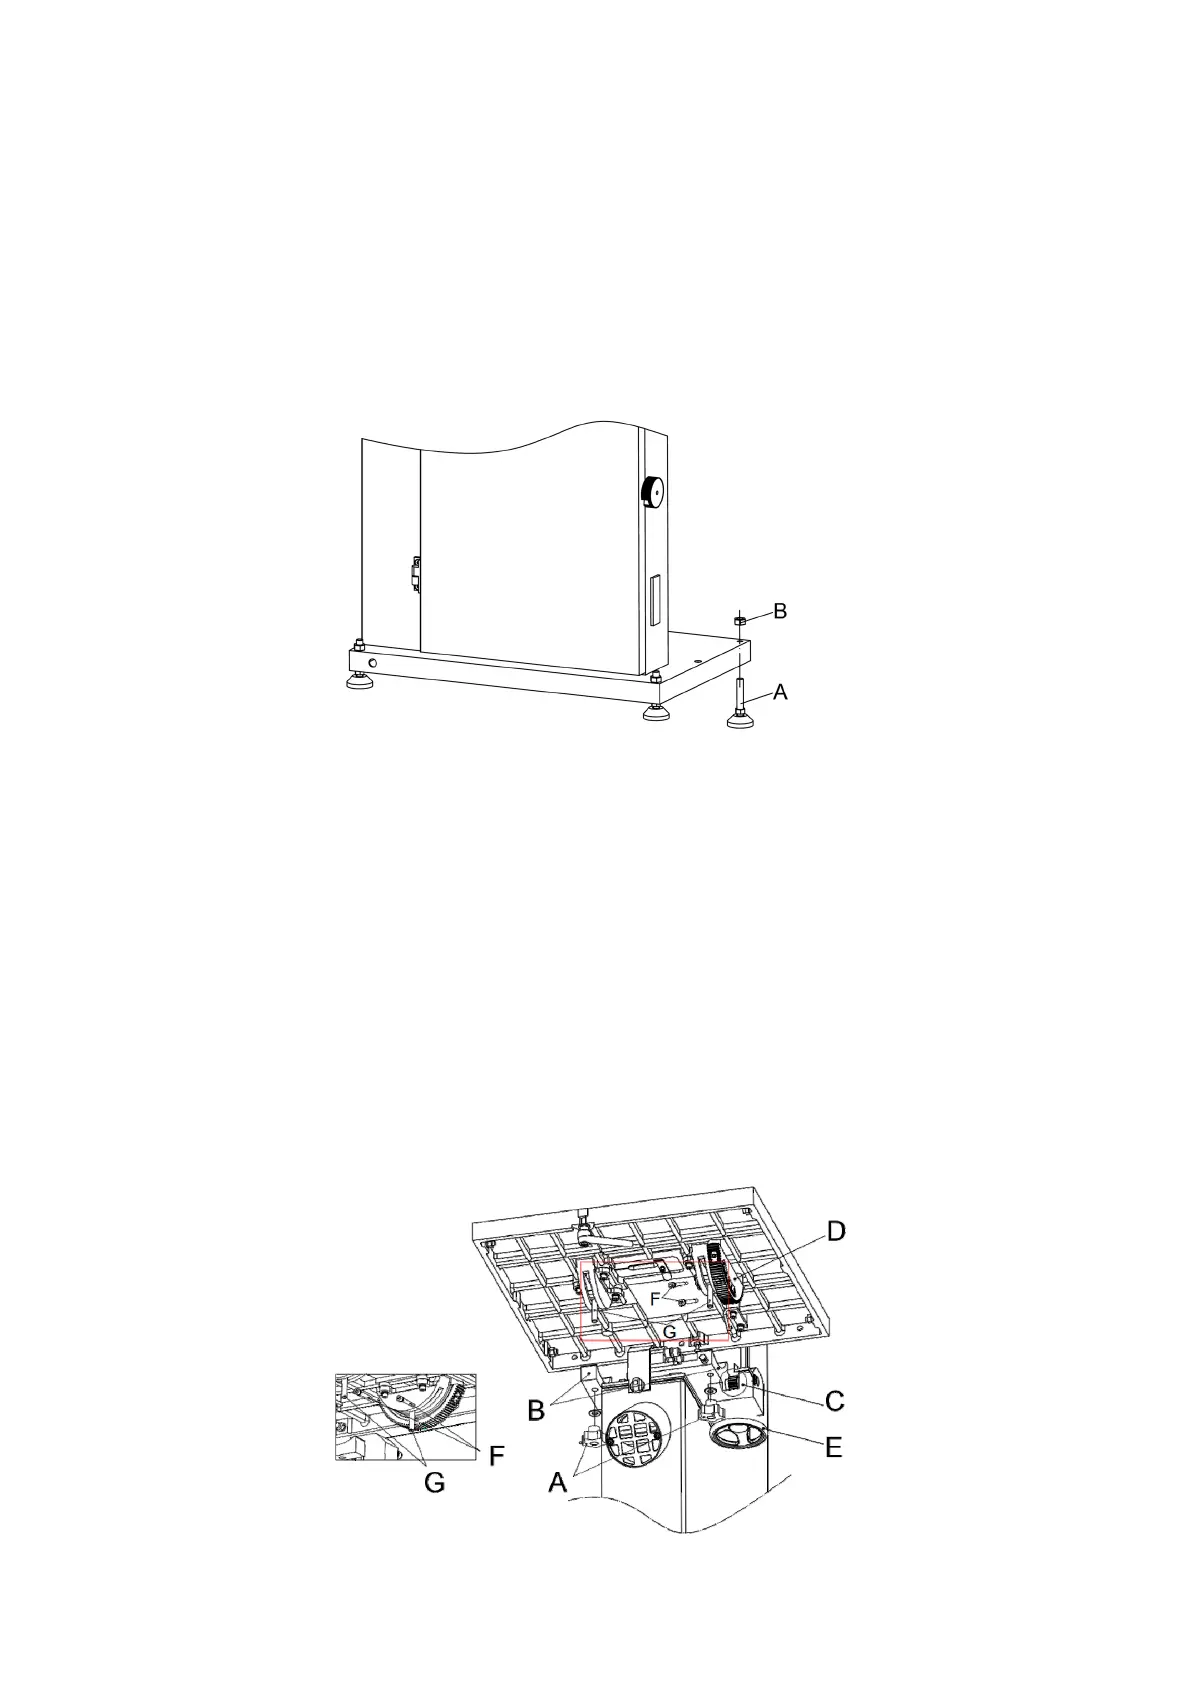
5.1 Stand Pad (Figure 3.)
To be safe, we have mounted the band saw to the pallet for shipment. You must remove the
pallet mounting bolts, screw in the stand pads (A) from the bottom of the band saw and
tighten the nut (B) from the top.
Fig. 3
Position the band saw in a level spot in your shop using the four stand pads to achieve a
solid setting.
5.2 Work Table (Figure 4.)
1. Release the locking handles (A).
2. Put the work table assembly into the trunnion grooves (B) with threaded posts (G)
through the trunnion.
3. Rotate the screws (F) into the matching slot of the worm gear (D) (Don’t rotate too much,
otherwise the tilting of the work table may be affected), then tighten the screws (F).
4. Make sure the worm gear (D) is engaged with the trunnion gear (C).
5. Pre-tighten the locking handle (A).
6. Rotate the table tilting hand wheel (E) to check if the table tilts.
7. Tighten the locking handles (A).
Fig. 4