32 USE ONLY GENUINE REPLACEMENT PARTS
WATER TESTING:
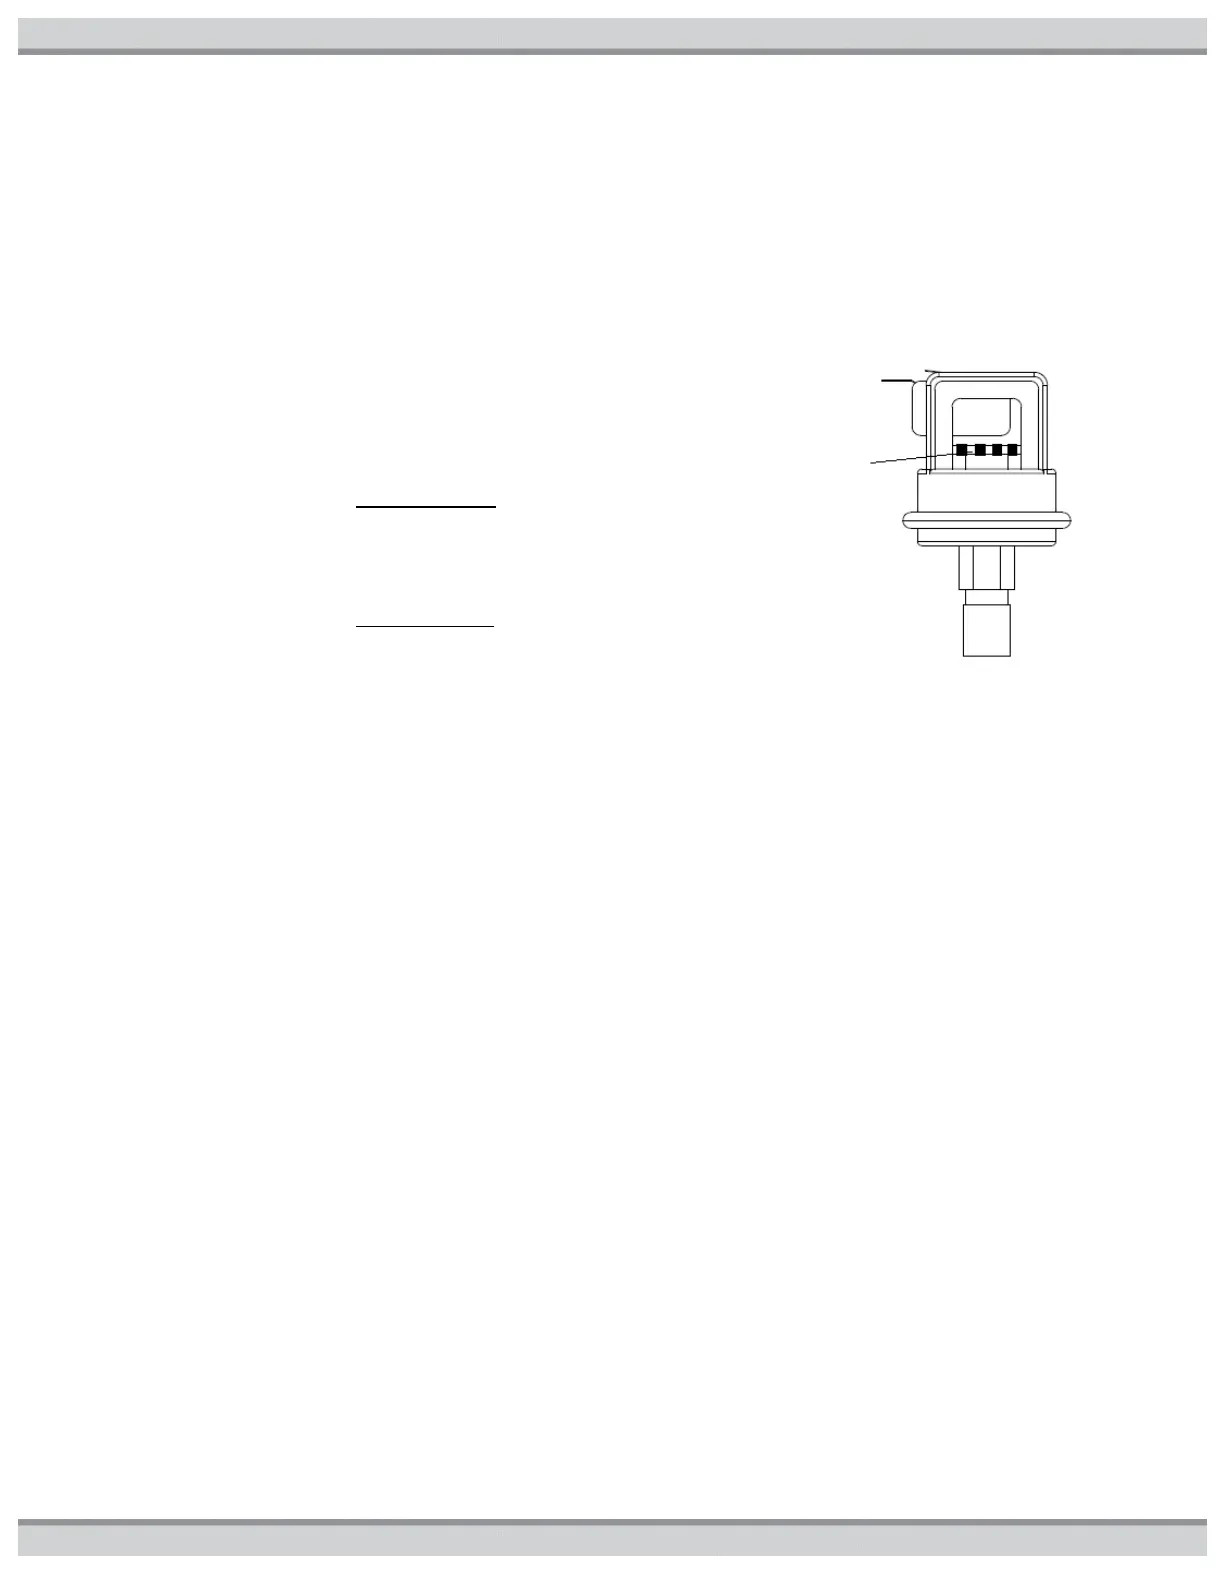
WATER PRESSURE SWITCH TEST / ADJUSTMENT PROCEDURE:
The pressure switch is preset at the factory for most typical deck level
installations. When the heater is located above or below the level of the
pool or spa, the pressure switch will require adjustment to compensate
for the change in static pressure. The following procedure is
recommended when the switch needs adjustment and/or is replaced;
1. Be sure the filter is clean before making any adjustment.
2. Turn “ON” the filter pump and ensure all air is out of the water lines,
and ensure water flow rate is at least the rated minimum (see
SPECIFICATION SECTION).
3. Turn “ON” the heater and adjust the temperature control to create a
call for heat.
4. For Installations with Heater above water level: If the heater does not
light, adjust the pressure switch by turning the adjustment knob on
the pressure switch counter-clockwise until the heater lights. Turning
the adjustment knob counterclockwise decreases the pressure
needed to close the switch (see Figure27).
4. For Installations with Heater below water level: Turn the adjustment
knob on the pressure switch clockwise, until the heater turns off,
then turn the knob ¼ turn counter-clockwise, so that the heater turns
back on. Turning the adjustment knob clockwise increases the
pressure needed to close the switch
.
5. Check the function of the pressure switch by turning
the filter pump on and off several times and confirming
that the heater turns off immediately when the pump is
turned off. Never allow the heater to operate with less
than the minimum rated water flow rate.
Figure27: Water Pressure Switch
TWO-SPEED PUMP: In a few cases the pressure from a two-speed pump is below the 1-pound minimum required to operate the
water pressure switch on the heater. This is apparent when the pressure switch cannot be further adjusted. In these cases the
pump must be run at high speed to operate the heater. If the pump and piping arrangement are such that the required 1-pound
minimum pressure cannot be obtained, do not attempt to operate the heater. Correct the installation.
NOTICE: Heater installation, checkout, and start-up should now be completed. BE SURE to leave this manual with the
pool owner.
MAINTENANCE & SERVICE
PERIODIC INSPECTION: The heater is designed and built for long performance life when installed and operated according to the
manufacturer’s directions. Regular inspection by qualified service personnel is recommended to keep the heater working properly.
The following inspection points are suggested to help maximize heater life.
1. Periodically check the venting on outdoor heaters. The heater’s venting areas (the louvered top panel) must never be obstructed
in any way and minimum clearances must be observed to prevent restriction of combustion and ventilation air. Remember that
shrubs grow and in time may obstruct a heater’s venting areas.
2. Check the venting of indoor heaters for looseness and possible leaks. Keep all openings for combustion and ventilation air clear
and unobstructed.
3. Keep the entire pool heater area clean and free of all debris, combustible materials, gasoline, and other flammable vapors and
liquids. Remove any leaves or paper from around the heater.
4. Do not store chlorine, other pool chemicals, or other corrosives in the vicinity of the heater.
5. If the heater is operating on propane gas, the tank must not fall below 30% full or damage to the heater may occur. Manufacturer
will not be responsible for heaters that soot up due to improper gas level in the tank resulting in inadequate gas volume.
6. If another appliance is added to the gas line at a later date, consult the local gas company to be sure the gas line will have the
capacity to supply both units at full input rating at the same time.
7. Do not use the heater if any part has been under water. Contact a qualified service technician to inspect the entire heater and
replace any part of the control system or gas valve that was under water. If heater has been totally submerged in water it must
be removed and the entire heater must be replaced.
8. An inspection program is a good preventative maintenance measure. Keep this manual in a safe place for future reference for
yourself as well as for a service technician to consult when inspecting or servicing the heater. Any additional inspection
procedures are to be performed by a qualified service technician.
 Loading...